
Ferrari 330 GTC Assembly I
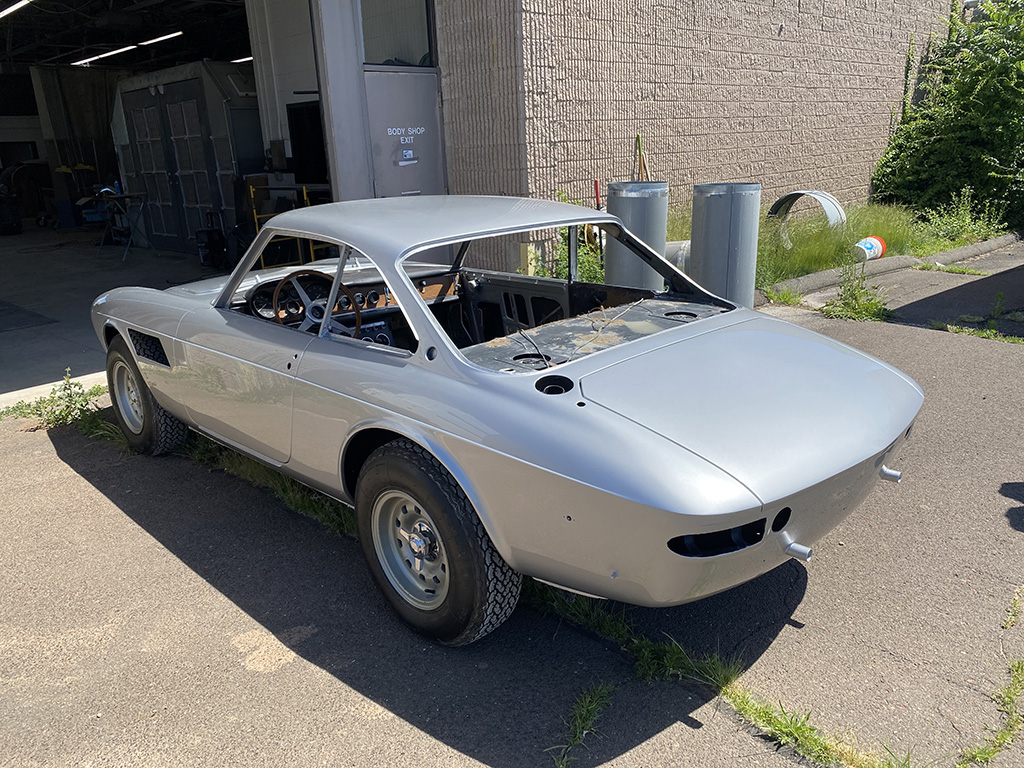
My last post talked about a GTC that was ready to come back from the paint shop, so I made room at my shop to receive the car.
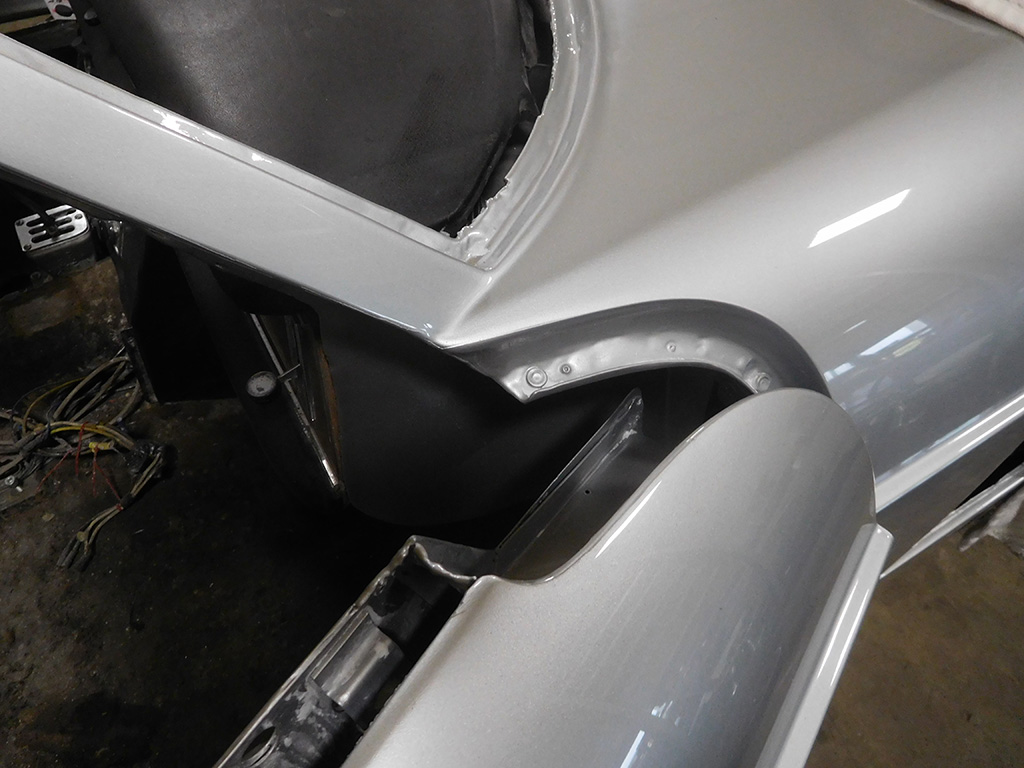
Assembling a car from paint always brings up a bunch of little challenges and a bunch of little projects. A lot of the nose of this car was repaired and corrected with new sheet metal, so parts were removed and replaced that would not normally happen. When reassembling, I had to replace and correct all the changes.

An example would be the radiator overflow tank bracket. This part is pop riveted to the underside of the lower valence, but it was removed for sheet metal repair. Finding the holes, and riveting it back on was one little project.
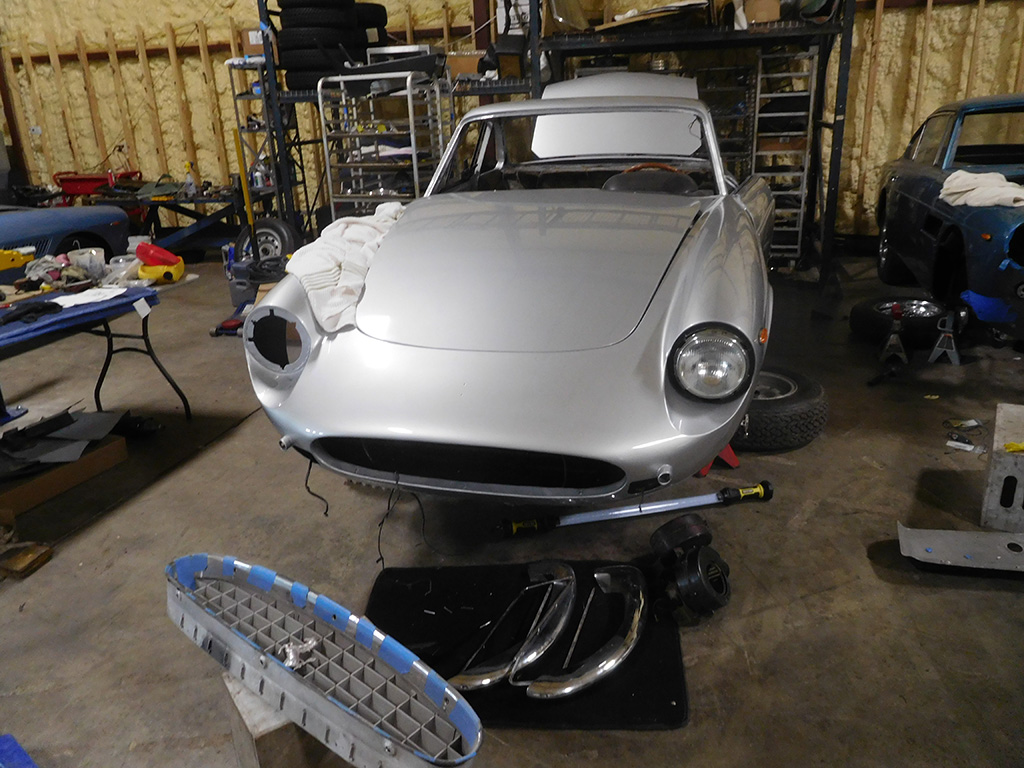
I still needed to send some small pieces of chrome out for plating, but this was my last chance to check for fit on the freshly painted car before plating!
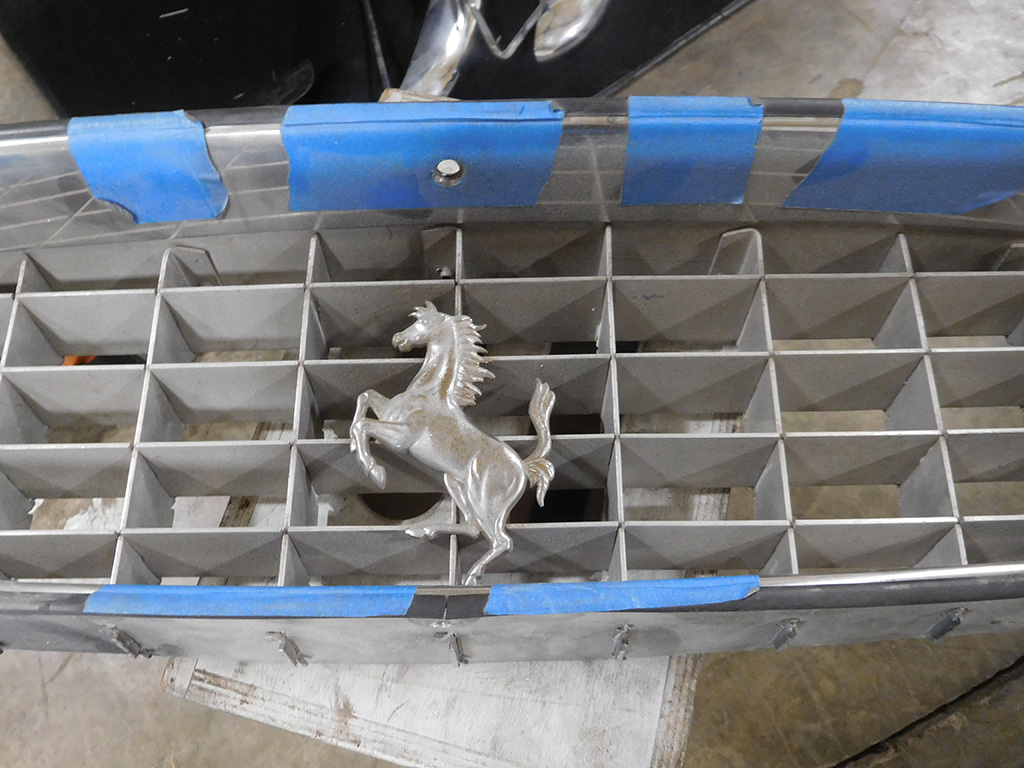
The grill will polish out fine (another little project), but the horse could use some new plating.
I have an order in for all the new rubber seals I will be installing. These will go in the doors, windows, and windshields.
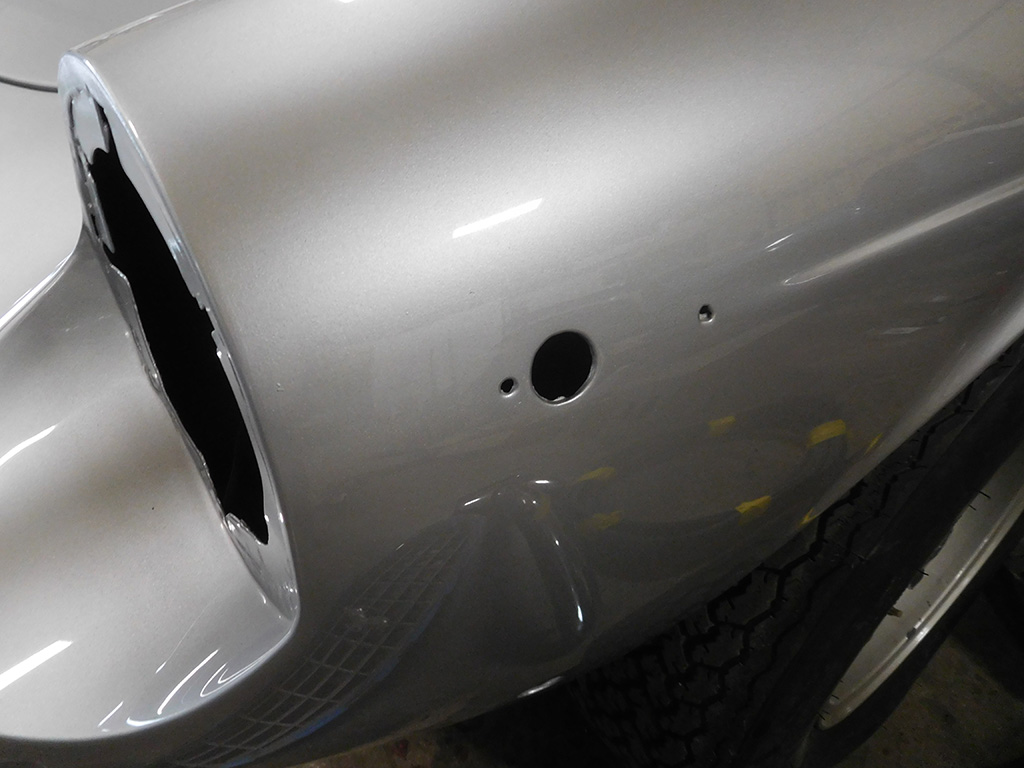
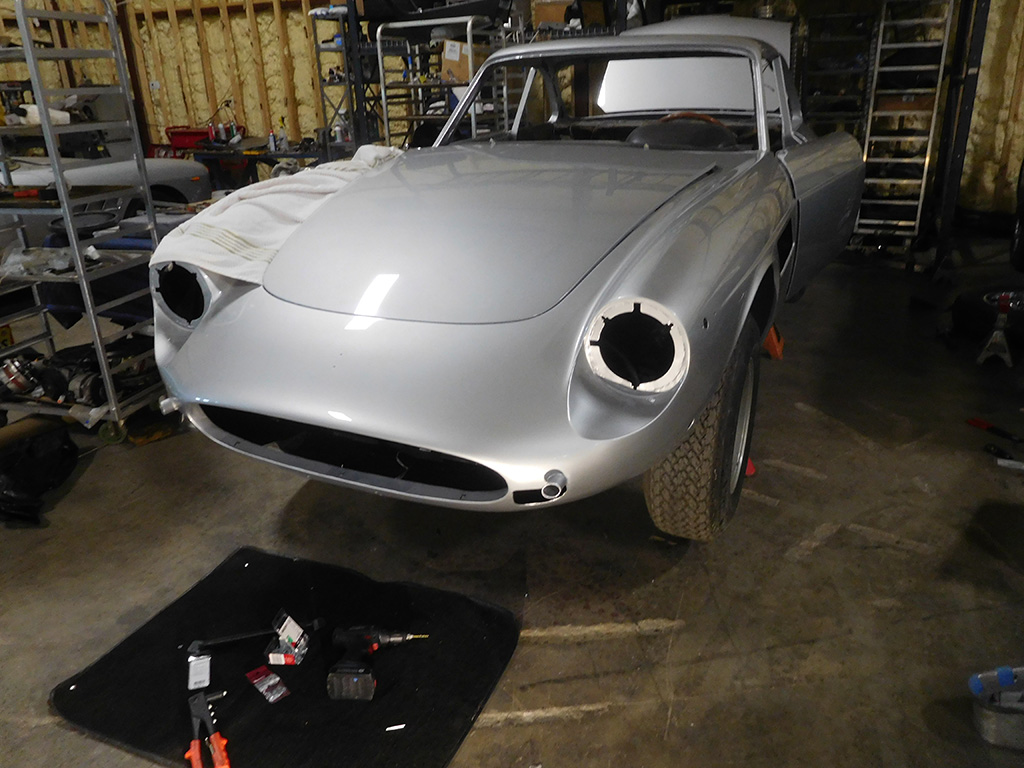
Before any of the lights went back in, I will had to check the holes and clearance them for the studs. Not only will the lights be hard to fit if the excess paint isn’t removed, you also risk chipping the paint when the light is removed if it’s just jammed into place.
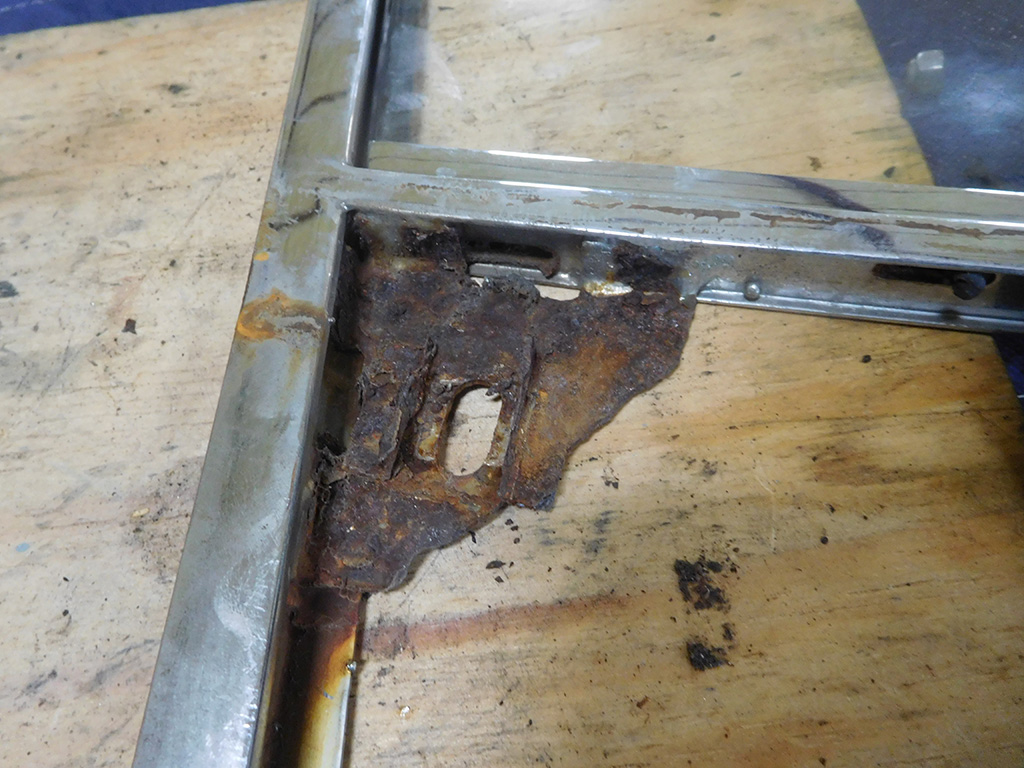
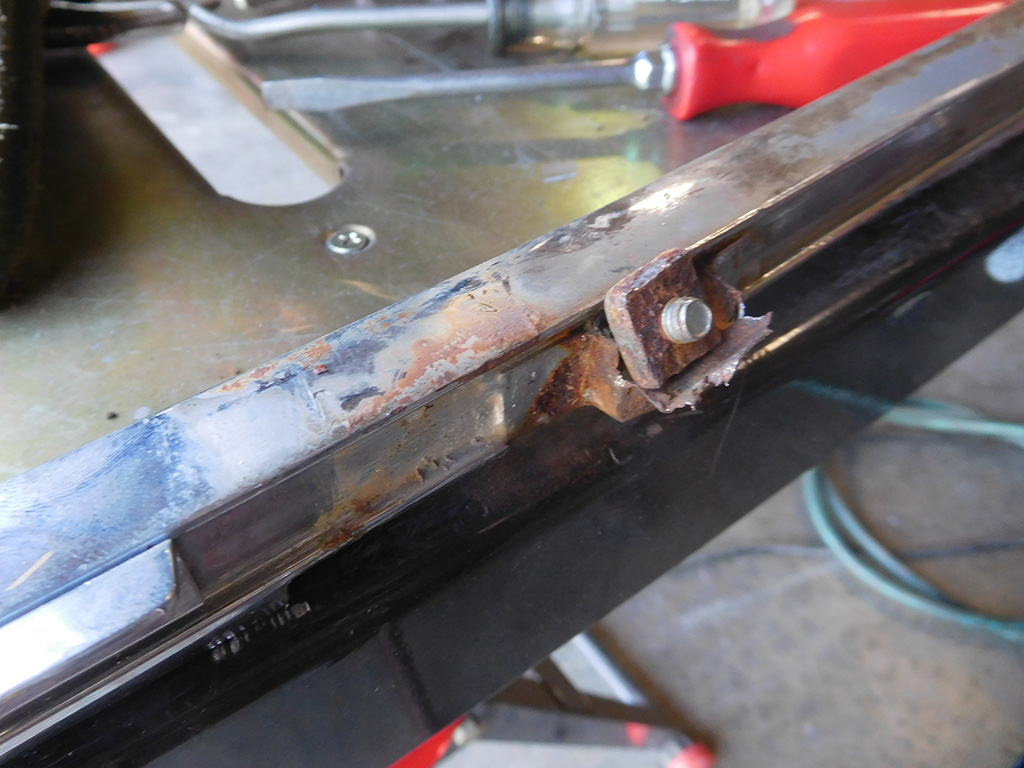
The biggest challenge I had was the broken and rusted capture nut cages.
The window frames are chrome plated brass and the capture nut assemblies are steel, so they rusted faster than the rest of the window frame. With one capture nut frame completely rusted away and a couple of bolts seized, I had to remove the parts so they could be reconstructed.
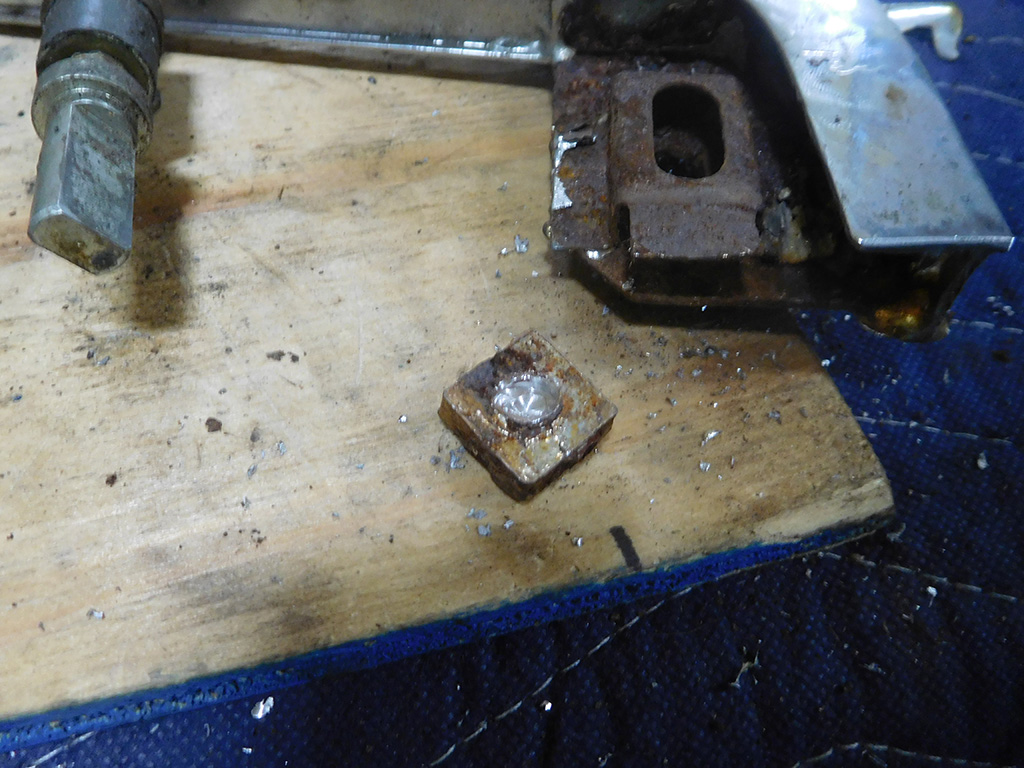
I still had to partially drill out the remaining bolt to give enough clearance to slide the remaining square nut out of the cage after carefully bending it open.

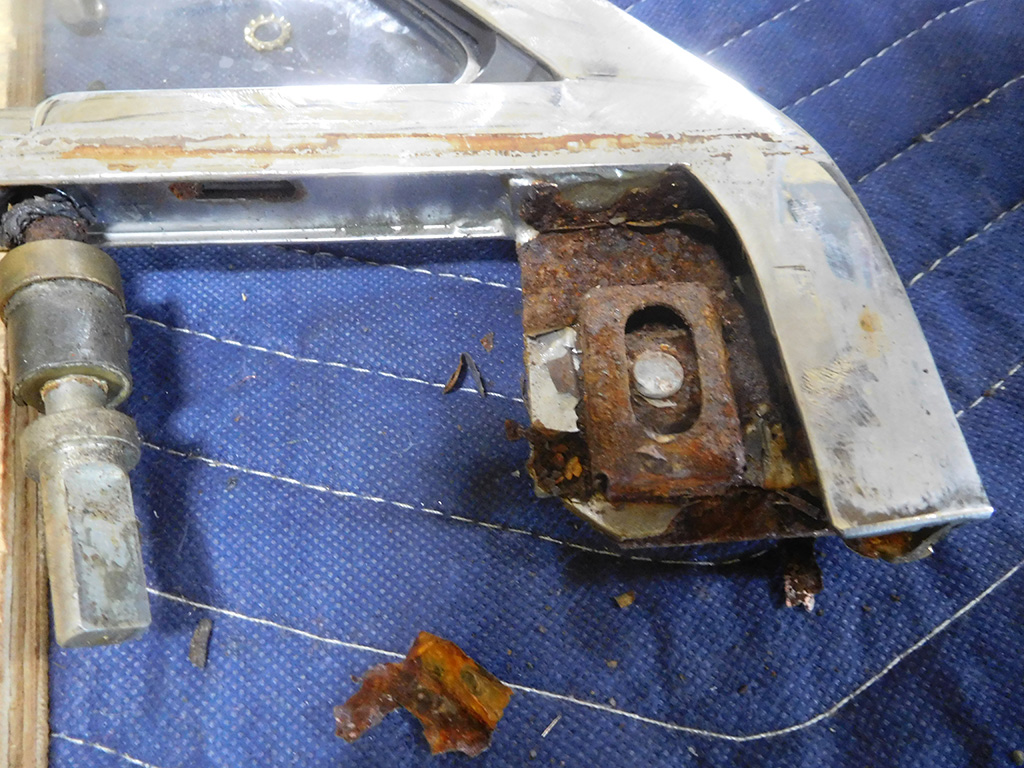
I fabricated a new cage with hopes of welding it to the remaining steel. The chrome on the window frame was in excellent shape, so I didn’t want to do add too much heat to discolor the chrome, but I needed this weld to stick. I thoroughly removed the rust on the steep pieces to give the weld a fighting chance of holding.

I made new M8 square nuts from some steel bar so they would fit perfectly in the original cage. I also made another one for the new cage I made.
After successfully welding the large cage to the window frame, I turned my attention to another broken and seized cage nut. After making a M6 square nut for this cage, I managed to reconstruct the cage and tack weld it back together. It’s repairing little details like these that take so much time to get these cars to come back together nicely!
Blog

Forum

Resource
