Stainless, Brass, and Aluminum.

4/17/01 Stainless, Brass, and Aluminum

The fuel lines are back from the welders with the fittings installed. François dropped them off pre bent and cut to length, so all they had to do was solder on the fittings. Normally, François would have done this, but since I decided to use stainless steel fuel lines, he didn’t have the right solder or flux to do this kind of work.

I think it was worth the extra expense, and time to have a line that will last a long long time.
I snaked the new fuel lines through the chassis of my car following the original locations. I had to straighten some of the bends to get them into place, and will have to bend everything back when we hook up the lines.

Now was as good of a time as any to install the electric fuel pump. François had rebuilt it months ago, so all I needed to do was find a couple of bolts, and bolt it in place.

Here you can see the fuel lines roughly in place. One has to bent upwards to meet the filter. François and I are going to set a day aside to hook up all the fuel fittings, and run all the brake lines. We’re another step closer!

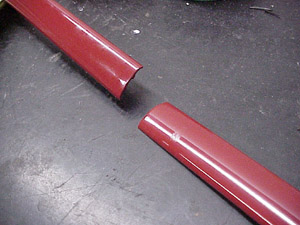
A few weeks ago, I had my defroster vents painted. They fit on top of the dash beneath the windshield. A small clip is missing that holds these two pieces together, so I tried my hand at fabricating it.

François had a piece of scrap metal laying around his shop that would work for this clip. After measuring a clip on another car, I cut out a piece. It turns out that this piece was nickel plated brass which would actually work out better for me because it would be more malleable. I took out my hammer and dolly, and began shaping the square into the piece I needed.

After a lot of hammering, and bending, I finally got a profile that matched the defroster duct. After some paint, it’ll look exactly like the missing piece.

Continuing on my “all metal” day, I decided to take a look at some trim pieces that need some polishing before being installed in the trunk area. These two pieces hold some of the trunk weather stripping in place, and now is a s good of a time as any to start cleaning them up. The previous restorer used masking tape to hold the screws with the trim piece.

Masking tape is very acidic, not to mention gets gooey when old, and some of the residue ate into the soft aluminum.

I had to use a 220 grit sandpaper to remove the marks left by the masking tape before using progressively finer sandpaper for the buffing stage.

I’ll stop at 1500 grit, and buff these pieces to a high shine. It’s already looking pretty good!
Previous Restoration Day
Next Restoration Day
Ferrari Home Page
www.tomyang.net


