
Speaker, Vents, and Dash

7/6/01 Speaker, Vents, and Dash

Since I had some scraps of aluminum, I decided to address a problem I had with my radio’s speaker. I bought a 5X7 inch speaker to replace the original speaker that was well rotted out. It doesn’t quite fit in the original hole, so I decided to make a plate to secure the new speaker.

It was good practice for my tin cutting skills on this piece of aluminum. I still need lots of practice to make clean cuts, but I can at least fix my sloppy cuts with a file.

I’ll have to look at my original panel to check how the speaker fit. I think I remember seeing a speaker grille, and in that case I can keep it the way you see here. If I decide to go with a flat leather covered panel with pereforations in the leather, I’ll need to remount the speaker under this panel. We’ll see.

I installed the the fresh air ducts in the dash today. It’s a project that has been pushed out of the way when I got started on the exhaust shields. This hose takes a very odd route through the glove box to get to the center vent. I could never understand why Ferrari left the top of the glove box open like this.
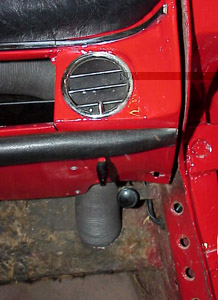
The passenger side vent runs through the fire wall down by the foot well, and rises up to the vent in the dash. This area will be finished with carpeting, and leather trim.
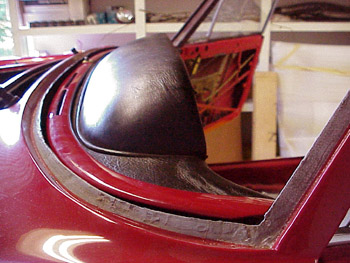
Now that the vent hoses are in, I could finally attach the dashboard to the car. The windshield is out of the car so fitting the screws and defroster duct trim piece was much easier.

Now that I was done inside the car, I moved into the engine compartment to finish the rest of the job. You can see how I routed the fresh air vents by the windshield wiper motor. I had to partially disconnect the motor to push these hoses through. Now that everything is reconnected, I can move onto the next project in this area, the battery tray! Stay tuned to how I fabricate a new one from scratch!
Previous Restoration Day
Next Restoration Day
Ferrari Home Page
www.tomyang.net
Blog

Forum

Resource
