
Upholstery II
3/11/03
Upholstery II
There was so much to write about from last week’s work day, I’m putting it on a second article.

I took out some of the interior that I could begin stripping so new leather could be measured and cut to fit. The bottom piece at the table edge is the trim strip that covered the tack strip on the seat back I showed last time. We already sprayed contact adhesive on both the metal strip and the foam pad, and you can see that both pieces are glued together. Frank showed me how to use his spray gun filled with glue, and how thick I should apply the glue. One piece of advice he gave which I didn’t know, was not to spray glue on the foam that attaches to the outside covering. He explained that the glue soaked foam will dimple when you press down on it, and not spring back. Applying glue to both pieces to glue them together, but the next step requires only the leather to get glue.
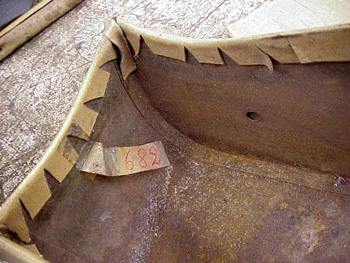
Turning over the rear armrest, I found this tag taped underneath. “682” is the Pininfarina body number that my car was assigned at the PF factory. Perhaps this was the handwriting of the person who made this interior almost 40 years ago!
The armrest is a little more complicated, and may need professional supervision. It has a welted bead along the seams, and a formed foam pad for the top that will need some rebuilding. I set it aside for another day.
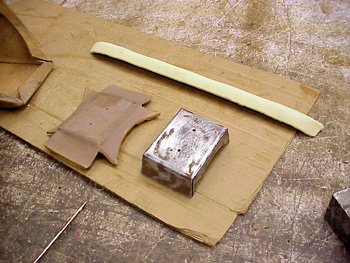
A project I thought I could handle was to recover the ashtray base that sits on the drive shaft tunnel for the rear passengers. There is no foam for this piece, and the leather is glued directly to the metal base. After sanding all the old glue off, I took the old piece of leather to my stockpile of leather, and cut a piece.
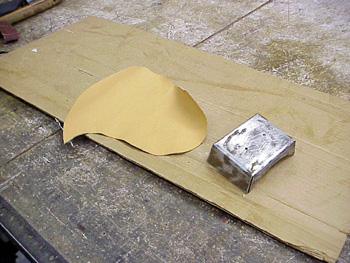
Although this photograph was taken under fluorescent lights, you can still see how much brighter and nicer the new leather will be compared to the old dyed color.
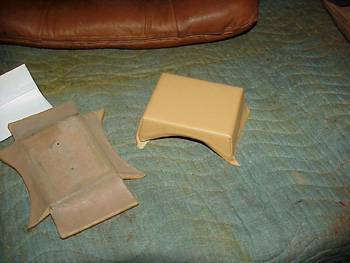
I had to get comfortable stretching the leather to conform to the shape I was covering. Cutting the excess leather to fit was also hard to gauge, so in one corner I almost came too short. Frank gave me a tucking tool to work the hide into the crevices, but my inexperience tore an edge. Starting over with a new piece was the only solution! Frank inspected my work and also rejected it after seeing some lumps of glue under the leather. He felt that these were typical beginner mistakes, and said I’ll do better next time. Let’s just hope I bought enough leather!
The Mystery Ferrari Part
The last mystery Ferrari Part yielded less response. Here are some of the answers:
Clip holding the brake pads in position: Since I just did my front brakes, this was too easy. Regards, Kerry
C’mon, give us a challenge. That’s a brake pad retaining clip. Tim
Ferma pastiglie, part number 5181: Dunlop brake pad retainer. Jon
That’s the brake pad retainer clip! Jean
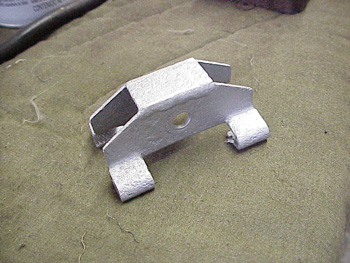
This part, although painted dull silver should be nickel plated.
Here’s the next part:

Attention!
In the last weeks of March I will be moving this web site to a new server. The web site location will be the same tomyang.net address, but it will live on another computer. Be patient with this transition, but if all goes well., it should be fairly transparent.
Blog

Forum

Resource
