Transmission and Overdrive Rebuild
10/19/06
Transmission and Overdrive Rebuild

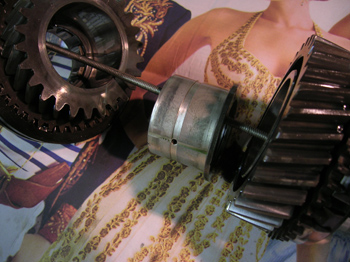
My transmission was completely stripped and inspected by François, and I am lucky we followed his intuition. Although there was no permanent damage, the bearing shells inside the transmission showed signs of oil starvation. As he took the main shaft of the transmission apart, he also found a couple of roller bearings popped out of their cage. Although these bearings were probably still in place before the shaft was pulled, they should not have come out of their cage so easily. Something was wrong, and we will be replacing this bearing.
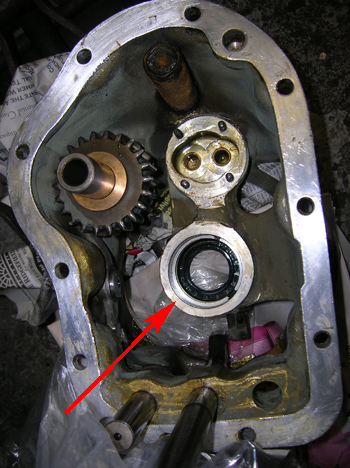
As I showed before, the seal that I accidentally cut when I mated the overdrive to the transmission contains the oil pressure generated by the oil pump in the next compartment. We’re actually looking at the transmission upside down in this picture, but the top of the frame shows the screened oil pick up where oil is pumped by the oil pump (oval shaped housing), then to the main shaft that is sealed with the crucial seals (red arrow). Luckily I only put about 1000 miles on this transmission before we tore it apart, so I didn’t do any irreparable damage!
François also sourced a new bearing for the overdrive unit that caused me to pull the transmission out in the first place. I now realize that it was a blessing in disguise that this bearing went bad, because if it had not gotten noisy, I may not have pulled the transmission so quickly, and the rest of it would have destroyed itself! How many more bullets can I dodge on this car?!
After the new bearing was installed on the overdrive, I took it over to Quantumechanics, a transmission shop in Monroe, CT. John Esposito specializes in British transmissions, 5-speed conversions, and Laycock Overdrives. I met John at Lime Rock in September, and he said that he could look at my overdrive. John’s been fixing overdrives for British cars for many years, and was very knowledgeable on the subject. I received a crash course on British overdrives while I was at his shop, learning all the differences between ones made for British cars and ones for the Ferrari. My overdrive was a type A overdrive, but many parts were made specifically for Ferrari. The type A overdrive was one of the stronger overdrive units, and was good for higher horspower of the Ferrari engines. More springs (12 instead of 8)were fitted to this overdrive to help with the extra torque as well.
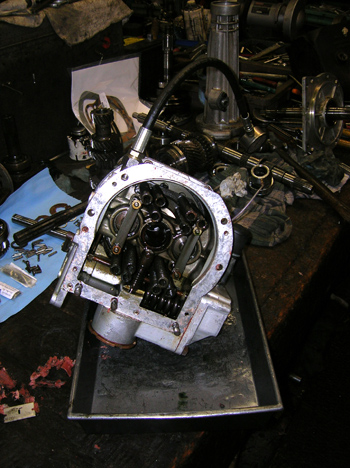
Connected to an electric motor, we were able to test this overdrive on John’s work bench. Pressure looked good at about 450 pounds per square inch, and she held that pressure without a problem. The overdrive engaged fine, and John believed my problem may have been a simple adjustment of the actuator lever. As these parts wear, the adjustment has to be set past the minimum setting. Beyond that, there were two issues that were bothering the both of us. The first problem was there seemed to be an inordinate amount of resistance in the overdrive when we turned the input shaft. Something seemed to be binding, like a bearing or a seal. The second problem was we found clutch material at the bottom of the case. The fear is the the 40 year old clutch lining is disintergrating, and more of it will be falling apart the more I use this overdrive. The only way to make sure everything is O.K. was to have John strip the overdrive for inspection and rebuild. A new clutch may cost about $200 bucks, but the time and trouble to take the transmission out again would not be worth the risk. I’m not one to fix what isn’t broken, but I certainly don’t want to take this transmission out again! Unfortunately, John is backlogged with work for the next four weeks, so we’ll just have to wait in line, but hopefully we’ll get my Ferrari on the road eventually!
Previous Restoration Day
Next Restoration Day
Home page


