
Daytona Engine, and an Interim 330
10/31/07
Daytona Engine, and an Interim 330

I arrived at François’ shop to find the Daytona engine in a sling, and the car waiting for her engine to be installed. The clearance under the hood required we remove the distributor bodies and the tight fit between frame rails even had us loosening some of the suspension control arms to gain access behind the bolts!
Even with the engine in place and lined up with transmission input shaft, we still had a bear of a time getting the exhaust header pipes in place. The long tube headers on the left side of the engine compartment were the hardest, not only because of the way they snaked along the frame of the car, but also because they shared space with the steering column and front frame members. With the two people working on both sides, it took us almost all morning to get all the bronze nuts and steel washers tightened down a couple degrees at a time.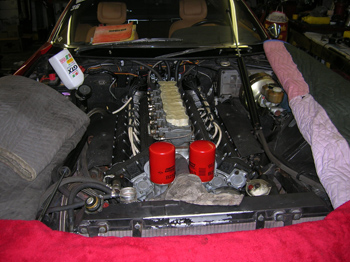
After the engine was dropped in place, François left me and Alvin to finish up the installation. We slowly worked our way towards getting everything plugged in. The distributors were re-installed, the fuel lines were bolted back on, and the throttle linkages were hooked up. Coolant lines were wrestled in place, A/C lines connected, and the radiator was installed. By the end of the day, oil and coolant were added to the engine, and just a couple of things were left before firing this engine up!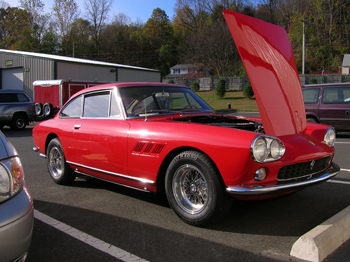
At Bill Pollard’s shop I’ve been working on a 330 GT 2+2. It’s being sold by Pete Sweeny, and is a decent Interim 330. Series I 330s are not the most popular Ferrari because of the quad headlights, but there is a strong following. I admit it’s an acquired taste, but they definitely look better in person than in pictures! Interim 330s were the four headlight cars that benefited from the model change to the new two headlight design by having some of the mechanicals of the more modern 330. A true 5-speed transmission, a dual circuit brake system, and factory installed air conditioning were just a few improvements that were added. 
There are a couple of issues with this car that we are trying to fix for Pete so he can sell the car, and one is a worn out shifter mechanism. To get to the shifter however, I had to take out half the interior. After the two front seats, the center console, and the transmission cover were removed, I was able to unbolt the top of the shifter mechanism to take a look at what was happening.
Inside the transmission was what was left of the old bushing seen here as reddish crumbling reddish debris. 
The missing bushing used to reside in a collar and cushioned a ball socket inside the shifter housing. 
Changing this bushing required popping out one of the cover plates on the top of the shifter. I was lucky that it came out with relative ease when I tapped it with a thin brass drift. 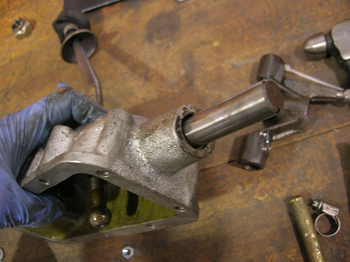
Only one shifter shaft needed to come out to get enough clearance to pull the mechanism apart. 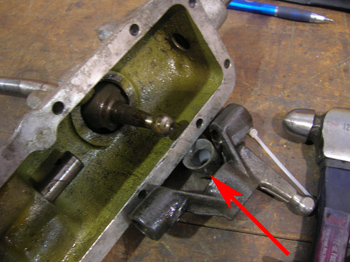
Sport Auto had the correct bushing in stock, so I was able to reassemble the shifter housing without having to wait for parts to come in the mail.
Previous Restoration Day
Next Restoration Day
Home page
Blog

Forum

Resource
