
Daytona Spyder Transaxle and Another Video
3/2/11
Daytona Spyder Transaxle and Another Video
I finally got a chance to edit a video I shot when we first got the Daytona Spyder in at the shop. After fixing an electrical gremlin, we found the car drove really well. Fast forward a couple of weeks, and we’re nearly done with sealing up some transaxle leaks and a tune up…
The Daytona transaxle was cleaned painted and reassembled. It’s a great improvement over the dirty greasy unit I pulled out from under the car several days ago. With such a good looking transaxle, it’s always a shame to put it back under the car where hardly anyone can see such a mechanical beauty. I know I say this all the time, but I guess I just like looking at this stuff!
Before I installed the transaxle, however, I needed to address some details under the car. One of them was to fabricate a new brake line cable clip just below the halfshaft. The right side one was missing, allowing the brake cable to hang down precariously.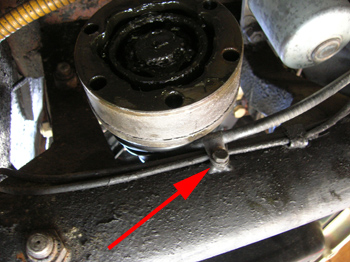
The one on the left side of car was still there, but next to the halfshaft was the rear fuel filter which needed attention. With the transmission out of the way, now was the time to replace this filter.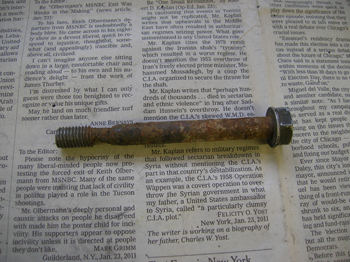
When I removed the canister, I found the bolt holding the canister badly corroded. It didn’t make us comfortable putting the bolt back in, so we found a replacement. This bolt wouldn’t come out without removing the whole housing, but we felt it was necessary. 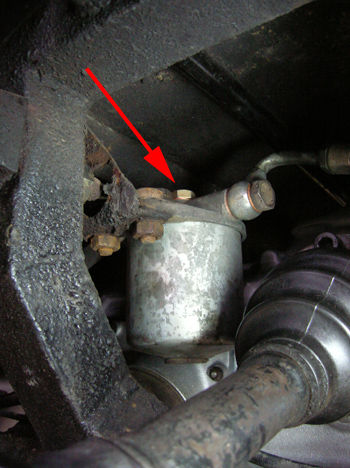
If that bolt broke, the fuel canister would have fallen off, allowing all the contents of the fuel tank to siphon onto the exhaust system on its way to the ground! A new bolt was good insurance for some safety. Here’s a picture of the new bolt in place with a new gasket installed. 
With all the issues near the back of the car addressed, we installed the transaxle. Installing one of these things is never easy. The input shaft of the transaxle has to line up with the torque tube, all the while clearing crossmembers and transmission mounts. I didn’t take pictures of the process because my hands were full, but trust me, it was tricky!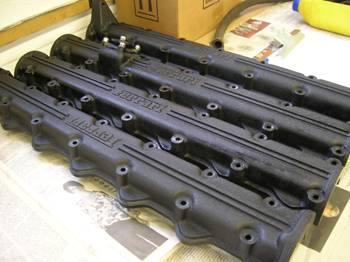
With the transaxle installed and the job completed I could turn my attention back to finishing up the major service on the engine. We were waiting for a lower distributor bearing to come in from our parts supplier to finish the ignition system, but with the new parts installed, I could continue with the putting the valve covers back on. Sealing the top of the engine is best done with all the pieces ready to install, including the distributors that mount on the back of the engine. Getting all these surfaces sealed together at the same time helps prevent pesky oil leaks.
Reminder: If you have a Ferrari related project, car, or idea you’d like to explore, I’d love to talk to you. I can also help if you’re thinking of buying or selling. This website represents what I love to do, share, and how I make a living, so if you’d like to do something together, let me know. It all begins with an e-mail!
Save the Date! Fourth Annual Radcliffe/Tomyang.net Spring Car Show on Saturday May 7th 2011. Richard Garre and I are looking forward to planning this show and more details will follow here and the Radcliffe Motorcar Company Website, but if you want to mark you calendar, the date to remember is May 7th, 2011!
Previous Restoration Day
Next Restoration Day
Home page
Blog

Forum

Resource
