
Survivor GTE Gas tank and Suspension
8/11/11
Survivor GTE Gas tank and Suspension

I started working on installing the gas tank on the Survivor GTE we have at the shop. The tank was cleaned, coated, and painted, but I needed to prep some parts before the tank went in. 
One thing to do was to chase the threads to the fuel sender with a tap. The tank coating gets in the threads, and it’s a lot easier to clean the the threads with the tank out of the car!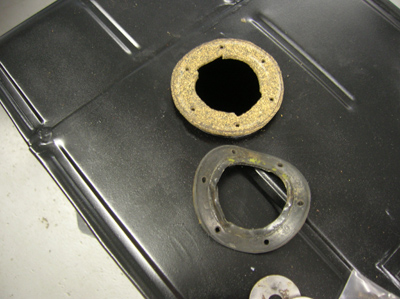
I believe gaskets are available for the sender, but prefer to make cork gaskets. Although the replacement gaskets are supposed to be resistant to modern fuels, I still find cork pretty good at withstanding the corrosive nature of modern gasoline. As the oil companies change their fuel formulas, you never know what they will add that will all of a sudden start eating away the gaskets. 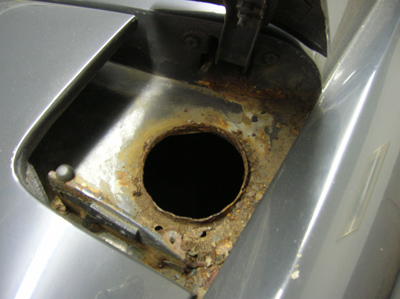
2259 is pretty rust free, but there are still places that show a little bit of rust. Condensation beneath the fuel door must have caused this area to rust a little bit, so with the fuel filler neck out of the way, now was the time to address some of the rust. 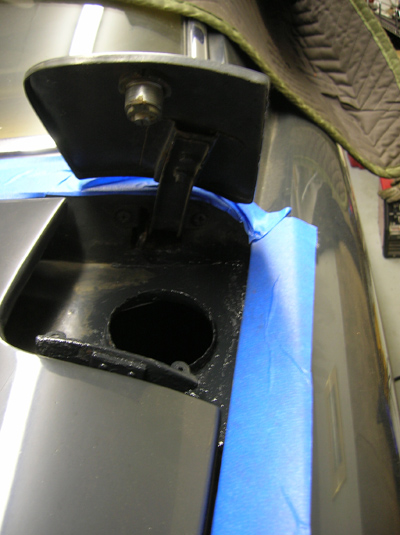
After scraping and sanding away some of the rust, I primed and painted the area with paint matched to the body color. The modern paint is more shiny than the original lacquer paint, but it will be fine under the fuel filler door. 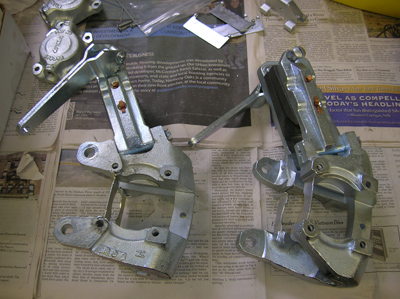
All the pieces for the brakes are coming together from the platers and rebuilders, and I’m starting to reassemble the brakes. Before I put the brakes back on the car, however, I wanted to grease the front suspension. We checked the suspension travel and signs of binding, and found everything to be operating correctly, so we think a good “lube job” was in order. With modern cars and their permanently sealed suspension parts, we forget that old cars require greasing every once in a while. I try to do my suspension every couple of years because I don’t drive the car regularly, but if the car saw rain and more mileage, I would do it more often.
Vintage Ferraris have a button type grease fitting that is not the easiest thing to grease well.
Instead of trying to use the button type adapter on a grease gun, I have found it much easier to replace the button with the standard “zerk” fitting to do the greasing. After the fitting was greased, I replaced the original button fitting. It only added a couple of minutes to each fitting, but it is much better than having grease squirt all over the button fitting because of a bad fit.
The cocktail party in Carmel next week is coming together nicely. Vintage owners and Ferrari enthusiasts are coming from all over to join us. Tom Wilson has heard from many GTE Registry members, and I’m looking forward to seeing everyone there!
If you’re going to be in Monterey on Thursday August 18th, please come and join other tomyang.netters, members of the GTE Registry, and other Vintage Ferrari notables at a cocktail party I’m hosting at Quail lodge from 5:30-8pm . Details can be found here.
Reminder: If you have a Ferrari related project, car, or idea you’d like to explore, I’d love to talk to you. I can also help if you’re thinking of buying or selling. This website represents what I love to do, share, and how I make a living, so if you’d like to do something together, let me know. It all begins with an e-mail!
Previous Restoration Day
Next Restoration Day
Home page
Blog

Forum

Resource
