275GTS 7039
11/19/11
275GTS 7039: Stripping Trunk and Interior

I started with the rear of the car to begin the tear down of the 275GTS 7039. After the lights were removed, the carpets were next. I was really surprised how well the glue was holding onto the carpet on the trunk lid. I didn’t want to rip it up since this square weave carpet is sometimes hard to find. The orignal carpet is in pretty good shape, and we may be able to save it. If we find the correct Italian Square Weave, I’ll at least have some spare material to repair sections in other cars that may just need a small section. NEVER THROW ANYTHING AWAY!
With the trunk lid carpeting removed, I could access the badges that will be sent out for replating.
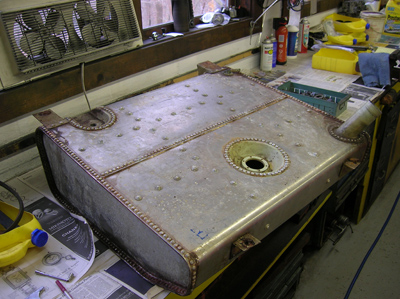
The tank in a GTS is easily accessible below the floor of the trunk, so it was quickly removed and on the work bench. We found it drained dry and it was in great shape. We’ll first send it out for pressure testing to make sure it doesn’t leak. If it passes, it’ll clean up nicely.
Moving on to the interior, the door handles and window cranks needed to be removed first before the door panels could come out. 
I’ve been taking tons of pictures to remind me how this car came apart. Along with my notes and labels, I hope to have a painless reassembly. 
Pictures like this of the right door lock mechanism can save tons of time when putting things back together. It shows how the lock is oriented, and how it attaches to the latch.
The window frames were removed and will be disassembled for chrome plating and the weather stripping and stainless trim was removed and inspected.
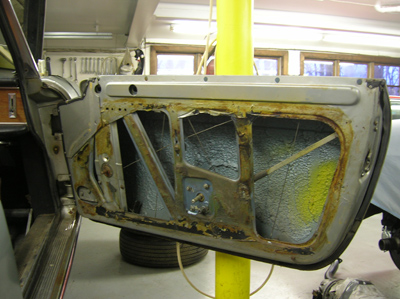
Although the door panels will have to be replaced due to water damage, I found “034” written in pencil on the back side of the panel. This is probably the Pininfarina internal factory build number. I’ll be looking for this number on other parts on this car to confirm.

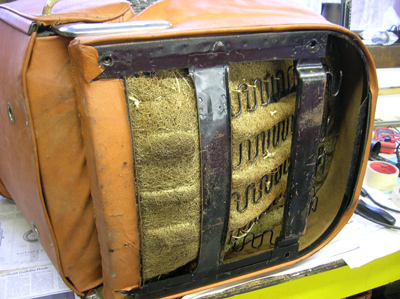
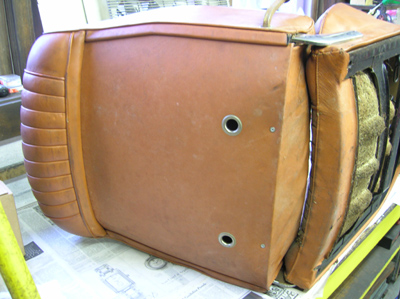
The seats were removed and and they’ll be recovered in new leather, but now was the time to photograph some of the details.
No matter how good your upholsterer is, it’s always good to have photos of the seats before they come apart to show them how you want them to return the seats. It becomes impossible to argue a detail if it’s obliterated during the disassembly!
I’ll never know what detail I’ll have to refer back to several months from now, so I simply take a lot of pictures of everything.
With the seats out, the carpeting was removed and I began the removal of the sound insulation. It’s a real messy job but the stuff needs to come out. It absorbs moisture and has become a rotted dusty mess.
As much as this was an unpleasant job, I kept thinking how nice it will be to get this mess out of here and make it all clean and nice again.
Reminder: If you have a Ferrari related project, car, or idea you’d like to explore, I’d love to talk to you. I can also help if you’re thinking of buying or selling. This website represents what I love to do, and now it’s how I make a living, so if you’d like to do something together, let me know. It all begins with an e-mail!
Previous Restoration Day
Next Restoration Day
Home page


