Finishing Out the Year
12/30/11
Finishing Out the Year
2011 has been an exciting year with some good projects to work on and share with you on this website. The Survivor GTE is coming together nicely, and the 275GTS is well into her complete restoration!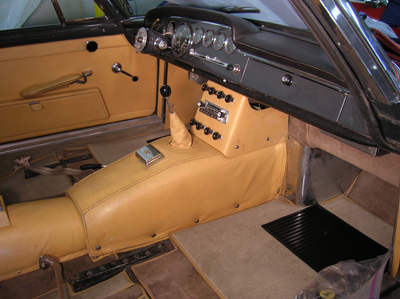
I’m really getting excited about the GTE, as the interior nearly finished. There are only a couple of wrinkles in the transmission tunnel, but I think these will fade as the leather is allowed to take a set. The newly sewn carpets look great, and all I’m waiting for now are the front seats from our upholsterer. For eagle-eyed viewers, you can see a stainless steel kick panel covering the forward part of the passenger compartment foot well. These pieces came with the car, but I don’t believe are original to the GTE. I’ve never seen these on other cars, and there are all the correct snaps for the carpet pieces under this panel. I’m thinking of eliminating these panels, but was wondering if anyone has seen these panels on other early GTEs?
Another small detail I wanted to point out on this GTE was the height of the shifter boot. A lot of upholsterers sew replacement boots all the way up to the top of the shift knob, but this original one leaves some of the shift lever exposed. 
Speaking of boots, I spent some time rejuvinating all the leather on this car and that included the parking brake lever cover. Although the leather was saved, not so much could be said about the stitching which rotted and came apart at the seams. At first I though about taking this piece down to the upholsterer for re-sewing, but I remembered the words of Frank Segreto, by upholsterer mentor, who said that sewing over leather that had already been stitched will weaken it much like perforating a piece of paper. After thinking about how to save this piece of leather, I decided the only way to resew this piece of leather would be to hand stitch it, threading the needle through the exisiting holes. 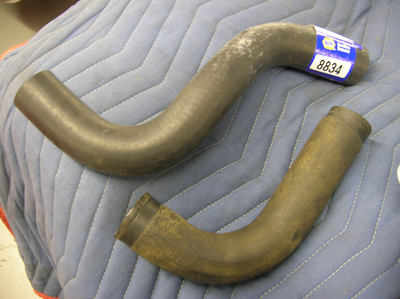
We chased down some small pieces to finish up the engine compartment. I found a match for the hose at my local NAPA store for the lower radiator hose. “8834” will be the best replacement after we cut the portion we need. 
We sent out the original Cheney hose clamps out for plating and found some original ones that were missing. Reproductions are available, but don’t offer the same clamping force as the original ones. Unfortunately, our stock of large clamps are dwindling down to nothing! If anyone wants to sell me their stash, let me know!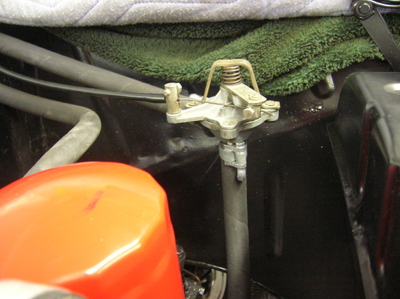
The heater hose got the appropriate clamps.
We were using the trunk to store many of the parts that go on the car, but with most of the pieces installed, I could finally finish the trunk area.
All the original trunk carpeting is present and in great shape. 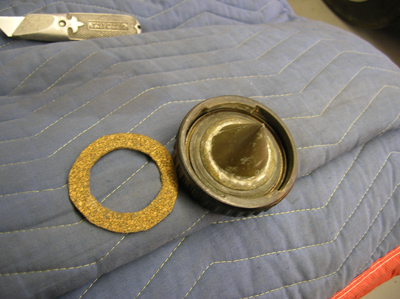
While I was in the trunk area, I remembered to address the fuel filler cap. The rubber used on the orignal caps melts in the presence of modern fuel, so we’ve been replacing them with fuel safe cork. 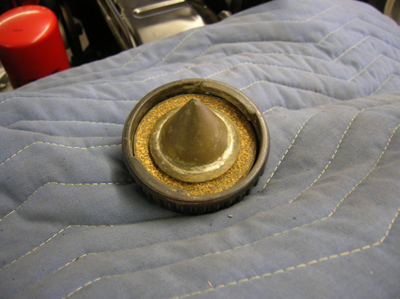
The original rubber gasket had to be cut out and the new cork gasket squeezed into place. 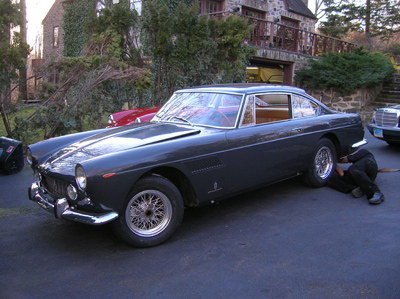
We installed the hood and brought the car outside to turn her around in the shop. We still have the rear exhaust section to deal with, along with some carburetor work, but she’s looking great!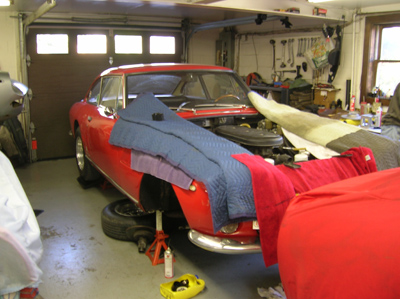
Last week, I had a 330GT in the shop for a short list of repairs. The right front wheel bearing and radiator core was replaced, but I had one more issue to look at with the passenger side seat. The owner said the seat adjuster was not latching and the seat rocked in the mounts. There are several different seat rails Ferrari used in this era car, but I had a pretty good idea of the problem.
The tracks in this 330 were the type with ball bearings in the track. You can just make out the groove made by the ball riding down the center of the track in this picutre. A few balls were missing, and this was causing excessive play in the seat rail. Through the years of use and wear, the balls pop out of the tracks and once one ball pops out, the rest will soon follow. Luckily, this 330 still had two of the original sizes left in the track for me to measure and order some replacements.
Two large balls ride in the center of the track, while four smaller balls ride on the edge of the track rail. Replacing them so everything stayed in the correct order and placement requires a specific sequence of bending open the rails, inserting each ball, and carefully bending things back in place to secure the balls. 
A newly purchased GTC was dropped off at the shop for us to sort out a couple minor details. It’s a very nice car with a fresh restoration, but as with most old cars, they always need some fettling. 
It was fortuitous for the owner to have brought the car to us when he did because he was having the same rocking issue with his seat rails! When I took one seat out, I found ALL the balls were missing. 
The previous restorations shop did a nice job cleaning out the tracks, but never put the balls back. Perhaps these balls were already missing when they restored the car, but whatever the case, new balls were needed so the seat would slide correctly. Luckily these were the same design as the 2+2, so the balls and insertion technique worked the same way.
Reminder:
2011 Annual Pledge Drive
Donations can be sent via Paypal through clicking this button below, or sent to my paypal account: tom@tomyang.net

You can also send checks made payable to Tomyang.net LLC
Tomyang.net LLC
P.O. Box 36
Hollowville, NY 12530
Thanks everyone for your support and I hope you like what you see on this website.
Tom Yang
Previous Restoration Day
Next Restoration Day
Home page


