
7039
1/14/12
7039: 275GTS Sheet Metal
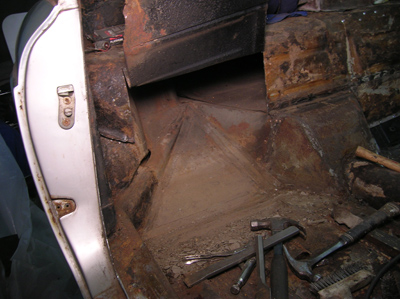
Jay began pulling the right floor pans out of the 275GTS project. The left floor is basically done, but we’ll need to fabricate new seat mounts and position them in the car. We’ll get all the floors repaired and come back to the final tweaking.
As Jay peeled back some of the inner structure to access the floor pan, he found a lot of debris trapped in between the floors. Upon closer inspection, we found a gaping hole left by the guys at Pininfarina that allowed road mud and dirt to splash up into the car. This water found its lowest spot and slowly rusted out some of the floor in this car. We’ll be a little more careful to weld up all the pathways for water to get inside the car. It’s amazing how one little oversight can cause so much damage over the years!
When the new floors are installed, all these panels will be bent back into place, and welded, and ground smooth. No one will know about the repair except you and I!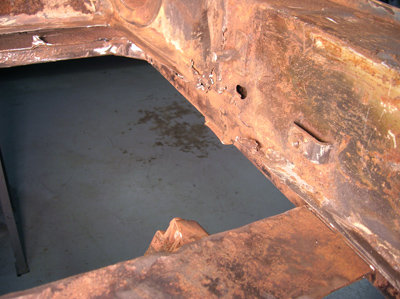
By the end of the week, Jay cut out all the floors and exposed some of the problem areas in the rocker areas. What at first looked bad from the rusty floor pan surrounding the door post area, turned out not to be so bad.
The rust was actually from a bad gas weld that burned through the thin sheet metal when it was first welded in place. The thin metal was left in place along with the holes that burned through, and it was these thin pieces were the first to rust. The rest of the structure was solid and can be easily welded. Our welds will be a little neater, and will last a lot longer!
The original pans were taken out to make templates for new floors. Jay and I were especially careful to mark the locations of the seat tracks so the seats will go back exactly as they came out. The out riggers that you see here are firmly attached to the frame sections and the inner rockers look good. When the new floors go back in, we’ll let our body guys work on the outer skin of the car. 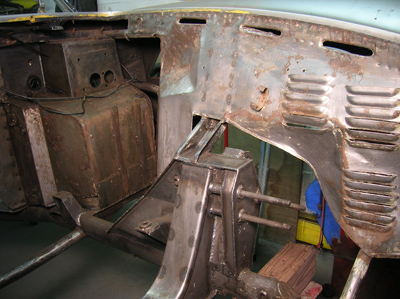
We decided to have the engine compartment chemically stripped by hand, and it’s looking pretty good.
With the paint gone, we marveled at the crude work done on the inner fender sheet metal. The waves and use of brute force to get the panels to weld together was common practice from the boys in Italy.
It’s a lot less noticeable when the engine compartment is painted in semi gloss black, but to the uninformed, they would wonder if this car had seen an accident in its past, but nope, this is normal for Ferrari!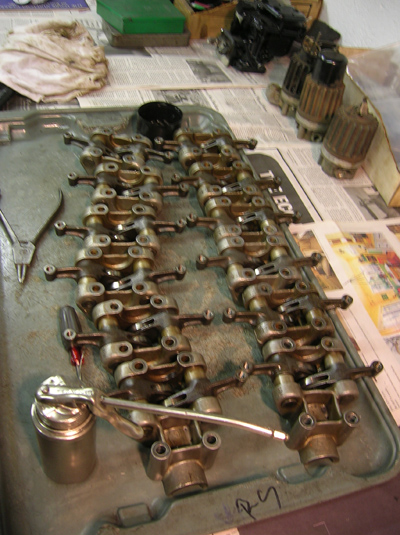
As the work continued on the floor pan and engine compartment, I worked on some of the sub assemblies in the engine. I disassembled, inspected, and repaired anything I found wrong with the valve train. 
The water pump also got a cleaning, checking, and rebuilding.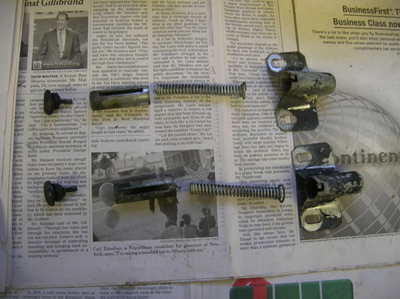
We already sent on large batch out to the various plating shops, but there are always a few stragglers. These hood bumper mechanisms missed the last batch, but will be cleaned and readied to go out with the next batch that goes out.
Reminder: If you have a Ferrari related project, car, or idea you’d like to explore, I’d love to talk to you. I can also help if you’re thinking of buying or selling. This website represents what I love to do, and now it’s how I make a living, so if you’d like to do something together, let me know. It all begins with an e-mail!
Previous Restoration Day
Next Restoration Day
Home page
Blog

Forum

Resource
