
Series II 330 Specialist
7/25/12
Series II 330 Specialist
I’ve been working on a lot of Series II 330s lately, and this week we had three of them at the shop at the same time. Not only do we have three cars in the shop, but we also have another in storage, and two 330 engines in line for rebuilding. I could safely say we probably have the most 330s in one place than any other shop!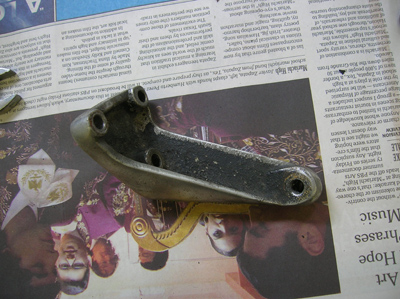
I’ve keeping close contact with the new owner of the black 330. While we’re waiting for the master cylinder to be rebuilt, the wheels to be painted, and some plating to be finished, we’ve been painting some small pieces to match the other parts in the engine compartment.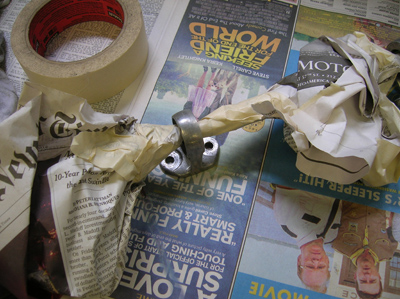
I masked the throttle shaft to put some wrinkle paint on the bearing stands. The correct way to do this piece would have been to disassemble the assembly, but if it came apart, we would have send the throttle rod out for black oxide, and the throttle ends out for cad plating, and ….
We want to make this car into a nice driver, and one thing I found was a seized heater control valve. Being able to control some of the heat inside the car is pretty important in a 330, and after getting the stuck shaft out of the valve, we found the control disk inside the valve was completely rotted away. Luckily, we had another valve to compare the missing pieces, and I fabricated a replacement piece. We’ll weld that onto the old shaft, and should be back in business.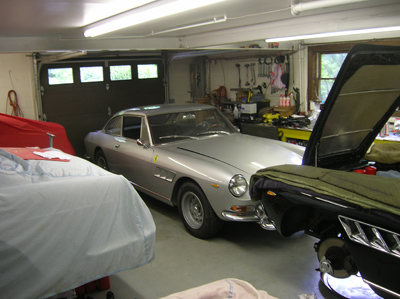
Our second 330 at the shop was Al’s SII 330. I first saw this car over two years ago when Al first bought the car, and he was restoring it himself. He learned a lot from the process, and the results are something he should be very proud of, but there has been a nagging problem that has been keeping Al from truly enjoying his car; electronic ignition. This “upgrade” is a topic of great debate among amateurs and professionals. Many people have installed these systems with no trouble what so ever, and see immediate differences in startup and idle, but every once in a while there will be a problem that baffles even the most experienced. Francois and I are not a big fans of these systems, and feel a properly tuned ignition system is reliable, and simple to diagnose, and fix.
Al read all the marketing available on these systems, and decided to go with a Petronix system. After removing the original points inside the distributors, he installed the electronic ignition parts. Things seemed to be going well until one side failed. Ferraris run on two separate ignition systems, so two $100+ dollar pertronix systems have to be purchased to work. A replacement unit was installed, but soon that one burned out too! Al did the usual search for voltage issues, replacing wiring, and double checking his install without any real cause for this failure. We had several discussions on what the problem could be, but the only suggestion I could offer was to reinstall the original points. Going backwards from a Pertronix system is not so easy, since all the original parts were removed, and the distributor would have to be rebuilt from scratch. After months of struggle, taking it to two other shops, and trying another system, Al has finally conceded and brought the car to us to reinstall the original points!
Al gave us a box of parts that came with his car, and in it were the parts to his distributors.
After removing the electronic ignition parts inside the distributor, I discovered my first problem. Missing was a holder that secured a felt brush to oil the distributor cam. Since this system relied on it’s own triggering system, the cam was no longer needed, so oiling it was not necessary. The clip was probably also in the way, so it was removed. Unfortunately, it did not make it into the bag of parts!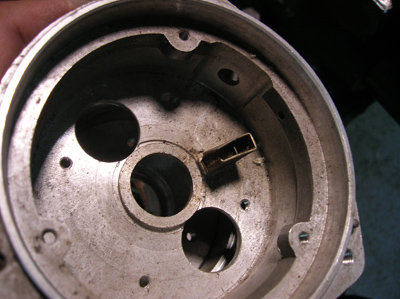
Here’s a picture of a clip installed in one of the old distributors at the shop. 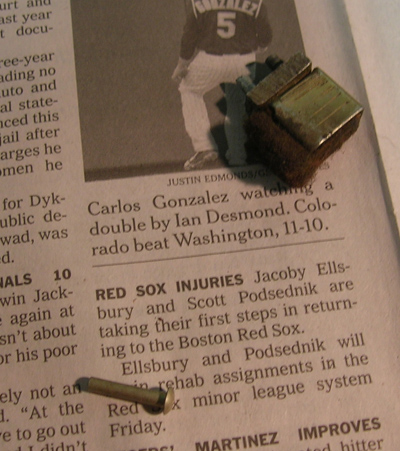
Luckily we had two brushes I cannibalized from two other distributors we had in our parts stash, and had the correct rivets to reinstall the brushes in Al’s units. 
The next broken part I found (right)was the insulator that keeps the distributor lead from grounding out. Although seemingly insignificant, shorts around this insulator can affect spark events, so making sure these parts are working as they were designed all help with a properly working system.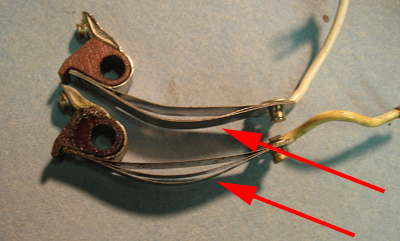
My next problem was with a new part! As I installed a new points set, I noticed some strange binding in the springs of the new points. Taking a closer look, I found a manufacturing flaw. Look at the old points (bottom) and notice how the three blades of the spring have a gap between them. Now look at the top points set (the bad one) and how one spring blade is touching another one. This was another seemingly insignificant difference, but big problem when installed in the distributor.
Here’s how the original points set is bent and installed into the distributor. Notice how the gaps between the springs close.
With the defective springs, the longer blade would bind inside the others, causing the points to misalign when it was installed. After installing many of these points sets, I knew something didn’t feel right. I had a conversation with my parts supplier, and he’s sending me out replacements, but the work on this distributor was stalled until the good parts arrived in the mail.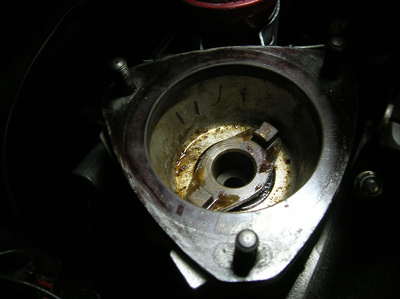
I still had plenty of things to do like fixing an oil leak at the distributor drive. We once had a seal like this leak so badly, it flooded the distributor with oil, cutting out the ignition system. With the problems this owner had with his ignition, we didn’t need that to happen!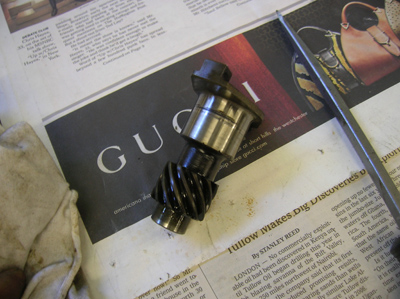
There were some marks on the distributor shaft, so before reinstalling, I polished them out on the lathe so it wouldn’t damage the new seal.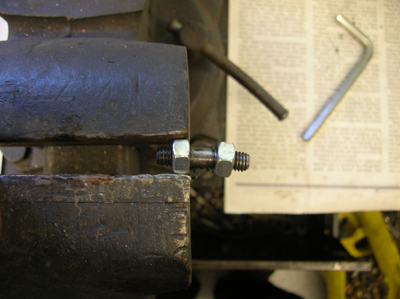
Removing one of the angle drives was very difficult, and with the amount of times I’ll have to do this when it came time to re time the distributor, I had to find the problem. It turned out to be bent stud securing the distributor.
Al asked us to look at a steering box leak and I found the top seal leaking around the steering shaft. Getting the steering shaft out of the way was the first task. 
Unbolting the steering column is the only way to slide the shaft back and away from the steering box. 
The third 330GT was sent out for some body work. This car is another “driver” and the new owner wanted us to fix a rust spot forming on a lower rocker. We all knew this could blow up into a bigger job, but the plan was to make a good repair to last a few years until the owner decides to fix the rest of the car. Luckily, we had a nice blend line at the lower rocker molding.
Quail Cocktail Party
I’ll be out in Monterey again this year, and I’d like to invite you to an informal gathering of Tomyang.netters at the Quail Lodge on Thursday August 16th, 5:30-8:00pm. The cocktail party will be held behind the Lodge by the pool overlooking the greens where the big Quail show will be setting up the next day. It’s a great chance to put faces to names that we hear on the Internet, and meet some of the restorers, parts suppliers, and owners of Vintage Ferraris. I hope to see you there!

Reminder: If you have a Ferrari related project, car, or idea you’d like to explore, I’d love to talk to you. I can also help if you’re thinking of buying or selling. This website represents what I love to do, and now it’s how I make a living, so if you’d like to do something together, let me know. It all begins with an e-mail!
Previous Restoration Day
Next Restoration Day
Home page
Blog

Forum

Resource
