
365 Windshield and 330 Valve Adjustment
6/7/14
365 Windshield and 330 Valve Adjustment

Last week, we were prepping the windshield for a new seal on the 365GT 2+2 we have at the shop. 
Before the windshield was installed, I wanted to paint a small trim piece that was a little rusty. Access to this piece with the windshield removed was the best time this rusty part could be cleaned and painted. The rest of the dash was pretty nice, but this rusty part was an eyesore. 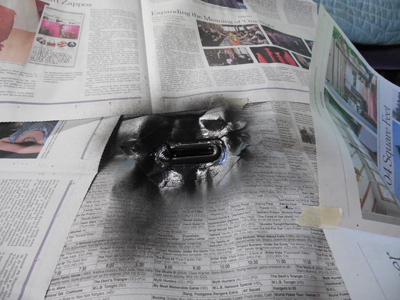
Masking and painting this area was very easy with the glass out of the way. 
With the glass reinstalled, it was nice to have the rust on this part sorted. Now all we’ll have to do is find a replacement knob that was missing. I can’t remember if this black plastic knob is barrel shaped, or a round disk shape like the ones found on the toggle switches. Can someone with a Queen confirm?
The new windshield gasket fits great and the windshield went in without a glitch. We had to loosen the dashboard to gain access to the lower part of the windshield to get the gasket hooked around the lower windshield opening, but everything looks great, and we DIDN’T BREAK THE WINDSHIELD! Whew!
On the other side of the shop, I started a tune up, valve adjustment, and general inspection on a 330GTC. 
This car had suffered a blown head gasket a couple years ago, so we checked things over and adjusted the valves. Everything looked good and nothing was wearing abnormally. 
After cleaning off the mating surfaces, I began the process of putting it all back together. 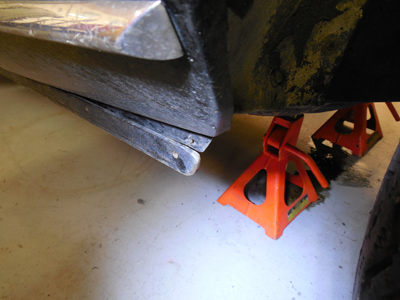
As I was going over the car, I noticed a lower rocker trim had come loose. When I tried to push it back, I noticed a resistance that wouldn’t let me simply get the trim back in place. 
Closer inspection found a rusty section on the rocker that was behind the trim piece. As this portion rusted, it swelled in size and pushed the trim piece hard enough to pop the end screw holding the rocker trim! 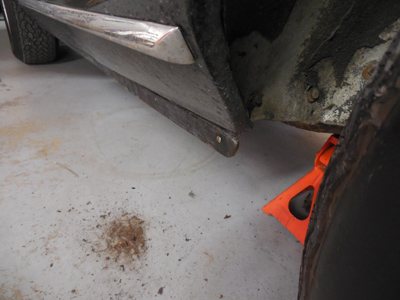
After scraping away some of the rust, the trim was easily pushed back in place. Eventually the rust will have to be addressed, but for now, the parts are where they’re supposed to be. 
Another issue was a leaking mechanical fuel pump. The leak was emanating from the diaphragm, so a new one was ordered. Before installing it however, I checked the mating surfaces of the pump. There was definitely some warpage between the pump surfaces, so I surfaced the mating surfaces to insure a nice flat and leak-free fit.

Reminder: If you have a Ferrari related project, car, or idea you’d like to explore, I’d love to talk to you. I can also help if you’re thinking of buying or selling. This website represents what I love to do, and now it’s how I make a living, so if you’d like to do something together, let me know. It all begins with an e-mail!
Previous Restoration Day
Next Restoration Day
Home page
Blog

Forum

Resource
