Prepping Parts por Plating
10/4/14
Prepping Parts por Plating

More parts came out of the engine compartment of the 275GTB/4 for plating including the fuel rail, crankcase ventilation tube, and brake booster. The booster has to be done in Yellow Cadmium and the other pieces go in the nickel plating batch. 
This Four Cam engine has special cam cover bolts that a previous owner polished, but the correct finish is black oxide. I had to clean and rough up the surface of all these fasteners before they could be sent out for black oxide. Without this extra step, the black oxide finish would not look right on the polished steel. 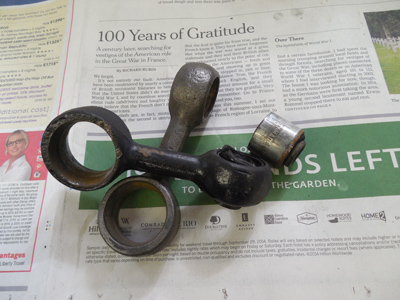
Everywhere I looked, there was something else that had to removed for plating. The end links on the front sway bars were painted black, so they needed to be stripped and plated. New bushings were ordered since these were shot. 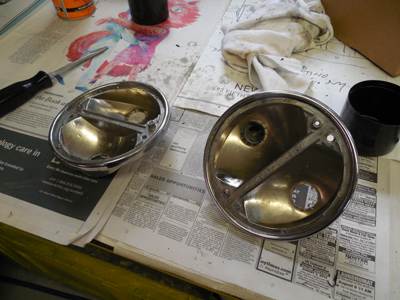
The tail light assemblies needed to be disassembled before they were added to the chrome plating batch. 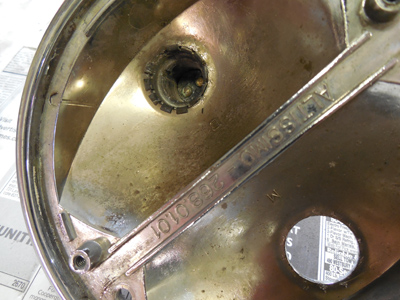
The light sockets have to be carefully pried out by bending the tabs back, making sure not to bend them too far or else they’ll break off when they go back in.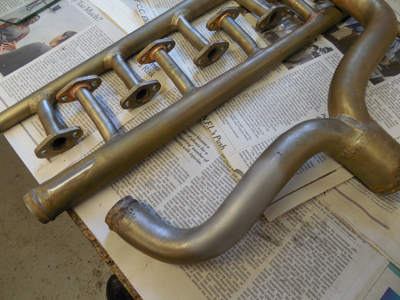
The water pipes came back from my plater after he stripped the polished nickel finish off the pipes. 
The plan is to roughen up the surface of these pipes to return them to the original unpolished nickel finish. Unfortunately, the previous polishing left some light marks in the steel which may show through the nickel, so I will lightly sand these marks out before I bead blast the surface for the correct finish. Then it’s back to the plater for nickel plating!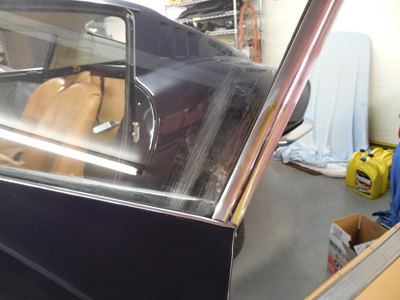
While working on this car, I rolled up the driver’s side window to find horrible scratches in the glass. There was no way these deep scratches were coming out of a piece of tempered glass. I’m trying my best to get as many points for this car at a Ferrari Club National Event, and these scratches were not going to help us win an award! The only real solution was to have a new piece of glass made for this door. Luckily, the side glass on Vintage Ferraris is flat, but there are several steps to the process. First, a piece of glass has to be cut to copy the original piece and holes will need to be drilled for the mounting points. Next, the glass has to be sent out of tempering so it becomes stronger, and will not break into dangerous shards. After that, a stencil has to applied to recreate the manufacturer’s stamp that is on original pieces of glass. Before any of this can be done, the side glass needs to come out of the car! 
The first thing I noticed was a stripped screw on the window frame. I’ll have to add this to the list of things to repair later. 
I managed to get the window our of the car without completely removing the window frame. It still wasn’t an easy task, but I was glad to have that task finished! The frame securing the glass to the crank mechanism was pretty rusty, so now was the time to clean it up and paint it. 
I have a bunch of items to hunt down for this car, and one of them is hose clamps. I have not called around a lot, but I’m hoping I can get some help from you. With all the people watching this website, someone has to know a good source for these hose clamps. Is anyone reproducing them? I need a bunch for this four-cam, and all of them are missing. Can anyone help?
Set the Date! Tomyang.net Fall Party
October 25th, 2014 1pm-5ish
Westbrook, CT.
Vintage Ferrari gathering in New England. Come join Tomyang.netters for an afternoon of fun, food, and Ferrari talk!
Please contact me to RSVP and for directions to the party!

Reminder: If you have a Ferrari related project, car, or idea you’d like to explore, I’d love to talk to you. I can also help if you’re thinking of buying or selling. This website represents what I love to do, and now it’s how I make a living, so if you’d like to do something together, let me know. It all begins with an e-mail!
Previous Restoration Day
Next Restoration Day
Home page


