
Chrome details

The door and trunk locks came back from the chrome plater and I needed to make the trip to the locksmith to reinstall the tumblers. My plater carefully masked off the threads so plating would not interfere with putting everything back together. We also checked to make sure the push button on the trunk lock worked smoothly.

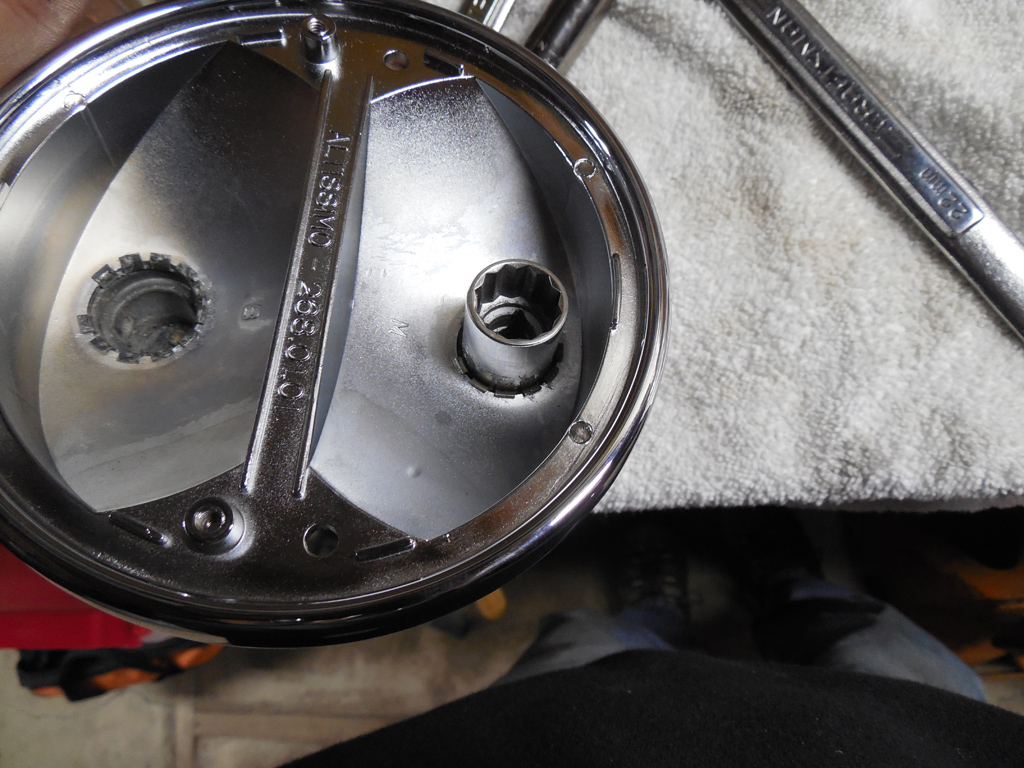
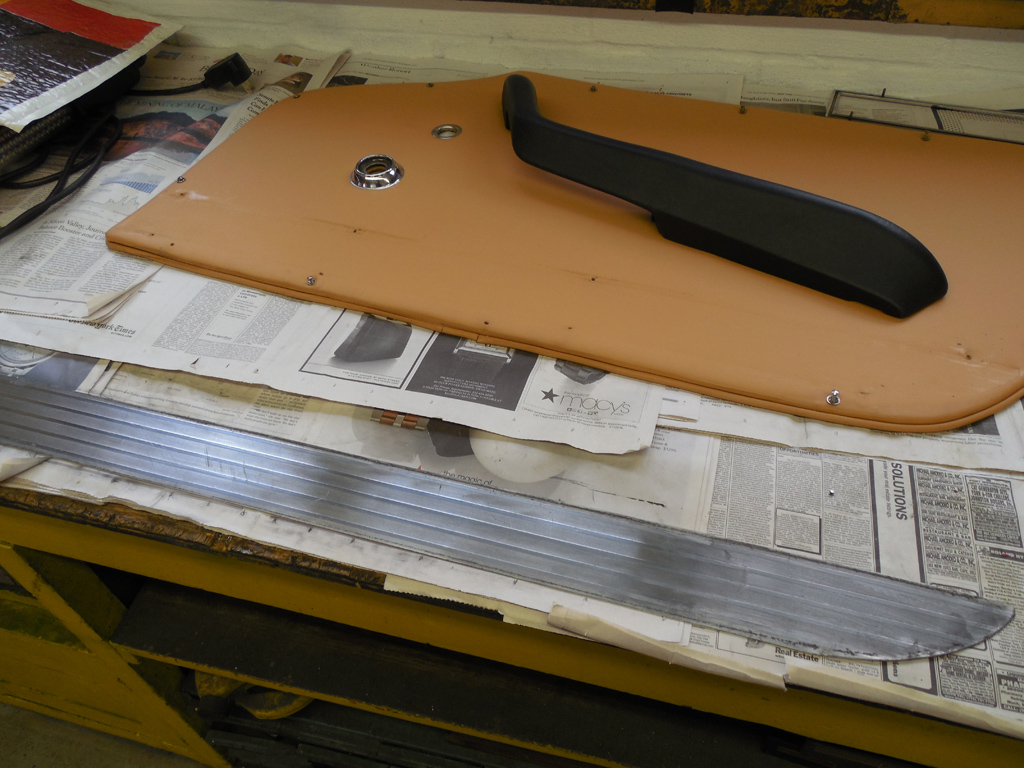
The shifter handle was greased and reassembled. My plater knows not to put too much plating on the two ball sockets at the bottom of the shifter because these clearances are crucial to snap back in the nylon bushing and the way it fits in the shifter pivot.

Even with all this attention, I still have to chase some of the threads on the plated pieces to make sure the screws go back in smoothly. With the tail light assemblies back from the plater, I could fit the new reproduction lenses to the tail lights. They too needed some filing to fit perfectly.

I also needed to install the light sockets on the tail light assemblies that were removed for plating.
I have a small arbor press that lives under my workbench at home that I take out just for this job. I use sockets to expand the tabs back into place and carefully press them the rest of the way with the press. I was thinking I should make a special tool for this preceedure on my lathe, but maybe next time!

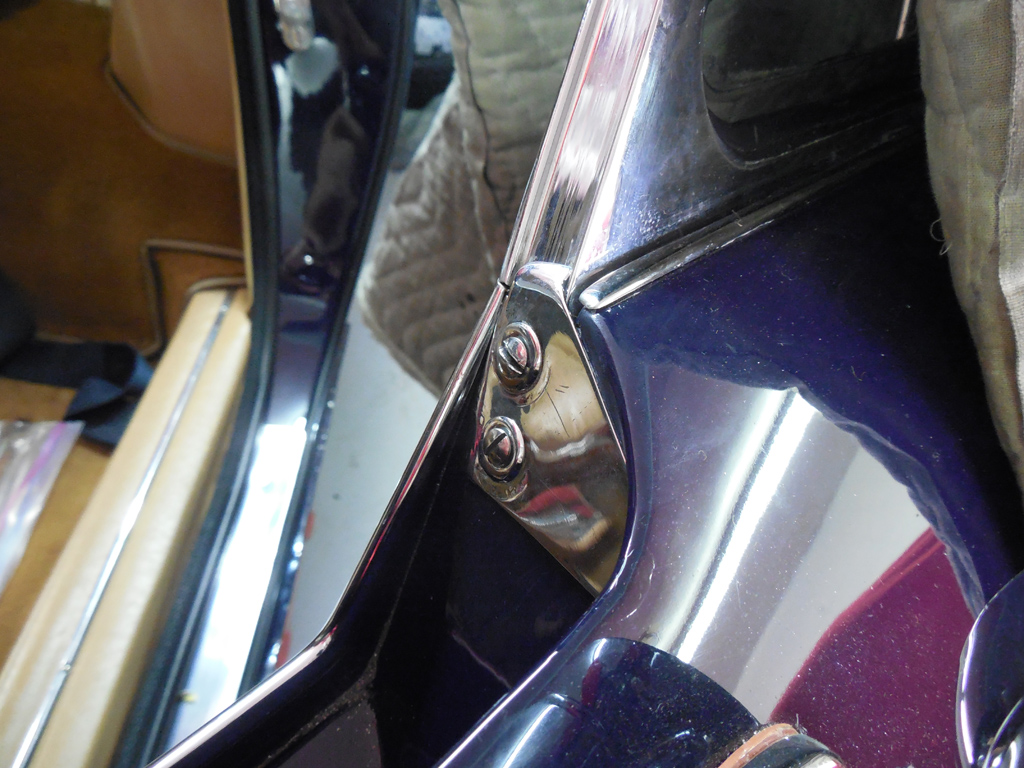
When I disassembled the 275GTB/4 I made a note that I would have to fix a broken fastener on the left door frame.

I tried to drill it out with a left handed drill bit, but ended up drilling out the bolt and retapping the hole.
All done, and onto the next project.
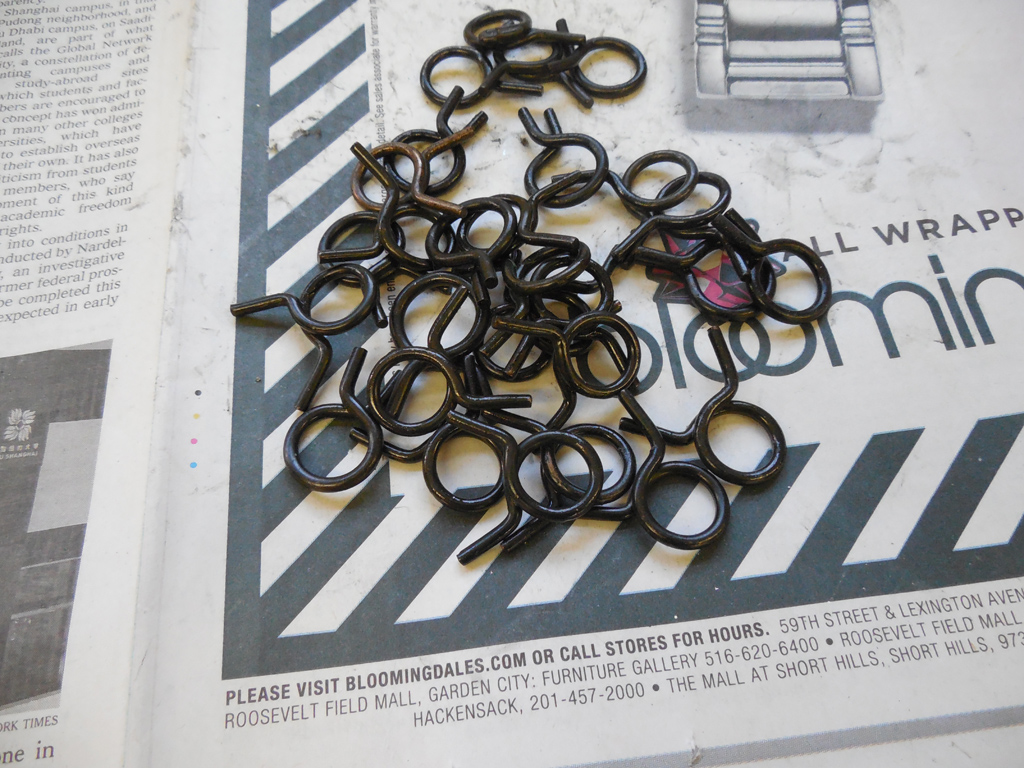
In the last push to get all the details correct, I found myself making last minute runs to the plater with miscellaneous parts. These spring clips go on various hoses in the engine compartment, and we had a box of them, but they were the wrong color. They needed to be finished in black oxide, and luckily my “black oxide guy” turned them around in one day.
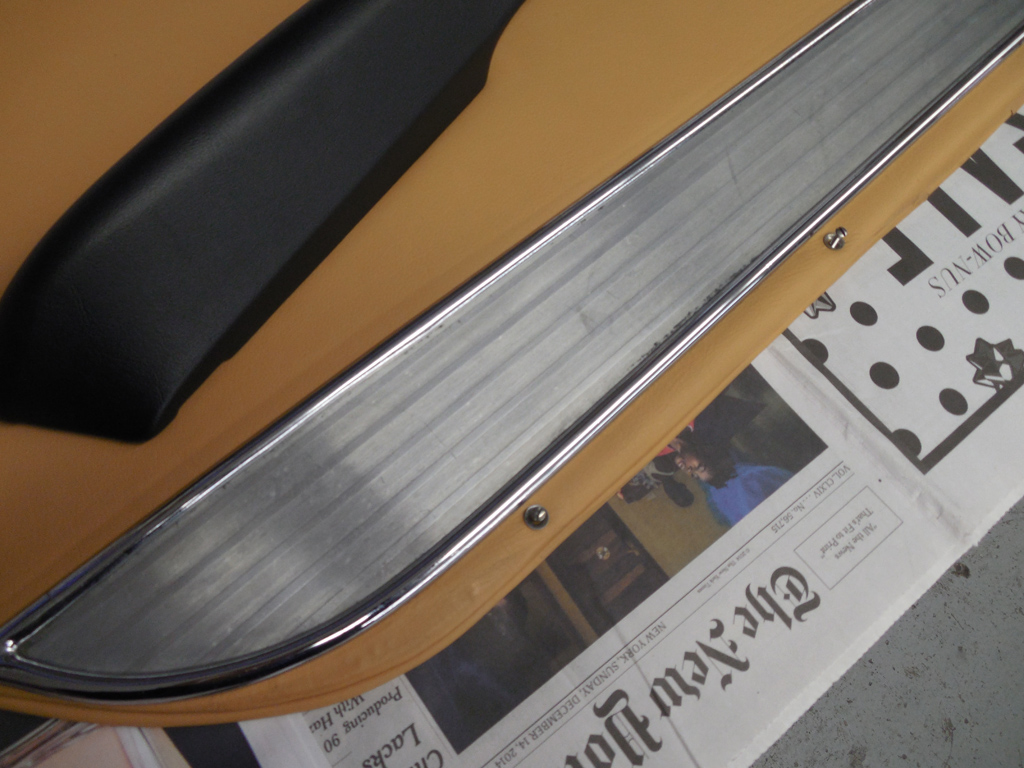
As the doors were going back together, I took a closer look at the door panels. The bottom strip of aluminum trim was looking a little shabby.
Before installing the door panels, I had to take the aluminum trim put to clean and polish them, I took out some of the scratches, and used a combination of a buffing wheel and hand polishing to bring some life back to these panels.

The right door was now complete, and the left door is next!
With a litte more than a week to go on my Annual Pledge Drive, it’s almost over! Your contribution is greatly appreciated. The biggest expense this year was having the website updated and brought into the modern world, capable of serving multiple platforms like mobile devices and tablets. So far the response has been positive and I hope you have all gotten used to the new format. Another change in the website was the sizing of the photos. You should be able to see much more detail of the restorations, and they will scale up or down depending on which device you use to look at this site. There is one photo in this post that was the old size, and you really can see the change to the larger size! The larger images will take more space on my server, and will cost more as you can imagine storing the thousands of pictures this site has. Your donations off set some of the costs to keep the site up to date and growing.
Thanks to everyone who contributed so far. It’s nice to know you appreciate what this site gives to you.
For those who prefer to send a check through the mail, my mailing address is:
Tomyang.net LLC
P.O. Box 36
Hollowville, NY 12530
Blog

Forum

Resource
