
Pushing for Cavallino
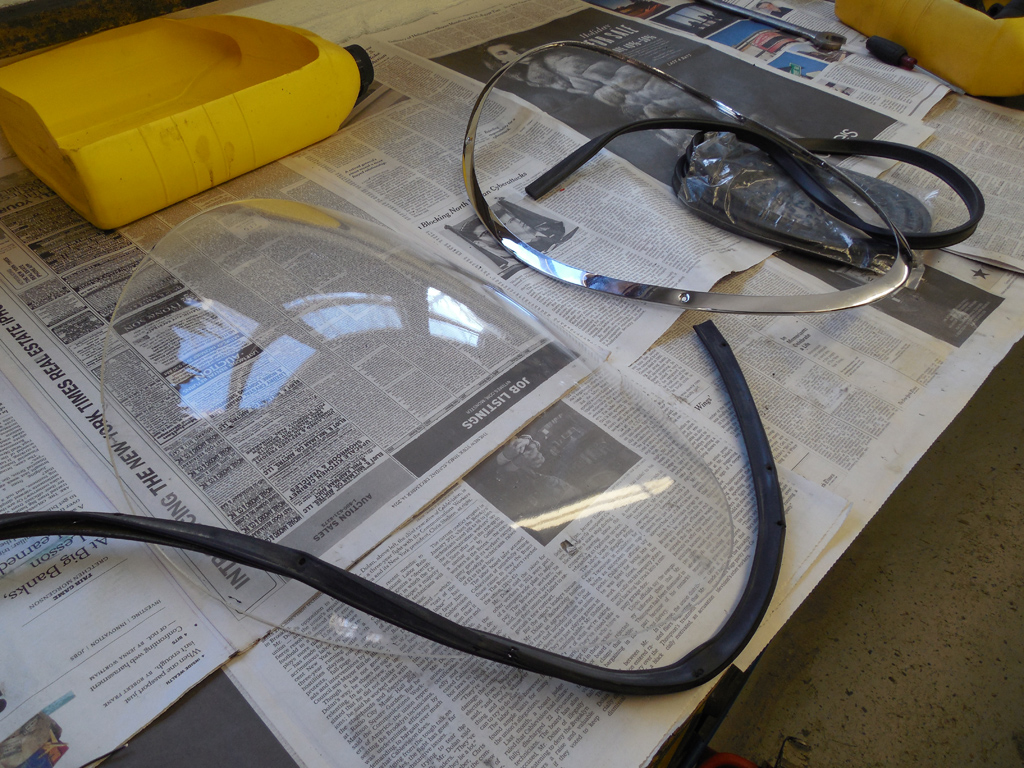
I’ve been loosing a lot of sleep worrying about making it to Cavallino with a couple of cars, but there was really nothing I could do but put my head down and get to work. I had a list of details that needed to be done, so I started with the plexiglass headlight covers for a 275GTB/4. These covers always look good until you see them against a freshly detailed car. When I took them off the car so the detailers could clean inside the headlight area, I could see why the rubber gasket wasnt’ fitting so well. The gasket was reused in the past as there were several holes that didn’t line up and the seam was a little sloppy. Since I had the covers off for cleaning and polishing, I ordered a new gasket and fitted them to the frames.
The front and rear glass on the 275GTB/4 was another headache. When I agreed to work on this car back in late September, I knew the schedule was tight considering how much work was needed. I spoke with my chrome plater and we agreed if everything went well, we would be able to make a late-December deadline to deliver the car to the detailers…Well after stripping the chrome from the windshield frames, my plater found very sloppy welds in the frames. Since he had just done one for me on a GTC, he was surprised with the difference in workmanship. The front frame had a filler section added to the frame instead of the normal butt weld, and it needed a lot of attention so it wouldn’t show up in the final plating. The filler piece was so bad, he ended up having to replace the piece, which was one reason for me to lose sleep. Windshield frames are very tricky on Vintage Ferraris. Slight dimensional changes can cause a whole host of problems. Normally, in a full restoration, the frames are checked for fit before they are polished and plated, but I had no choice but to have faith in the abilites of my plater. On one of my sleepless nights, I realized perhaps why there were differences between the GTC window frame and GTB; Pininfarina built the GTC and Scaglietti built the GTB. I see differences in quality between these two Italian coachbuilders all the time, and this may be another example to know when sending the windshield frames out to my plater.
We were running out of time, so I had no choice but to send the car without the windshields installed so the upholsterer could get a few days to fix some issues with the interior. When I received a call from my plater with the finished frames, I picked them up, and CAREFULLY loaded both pieces of glass into my truck and drove them over to the GTB.

I still needed to prep the windshield gaskets before installing the chrome. There is always a flour like release agent on the winshield gaskets, and I removed all of it so it wouldn’t interfere with the window installation.

Justin, the upholsterer agreed to lend me a hand with installing the glass, so we met at the Collector Car Garage to get the windows in. The detailers were not too happy to see us with the glass becasue they knew getting glass installed could take a lot of time if things went wrong. Luckily, as we worked on the back glass, they worked on the front and we swapped sides as the work was finished. I was very pleased and relieved to see the glass going back in without too much difficulty. We only had to install one piece twice as the gasket popped out of place as it went in. Thanks guys!
It was a flurry of activity this week trying to get this car up to show standards. This car started out as a very nice driving car, but many of the details were incorrect for what they expect to see at a Concours level show. After I did my mechanical detailing and Justin did his work on the interior, it was now time to hand it over to the paint guys. A few small dents were taken out and the chips were touched up. The detailers spent days compounding the paint to high shine.
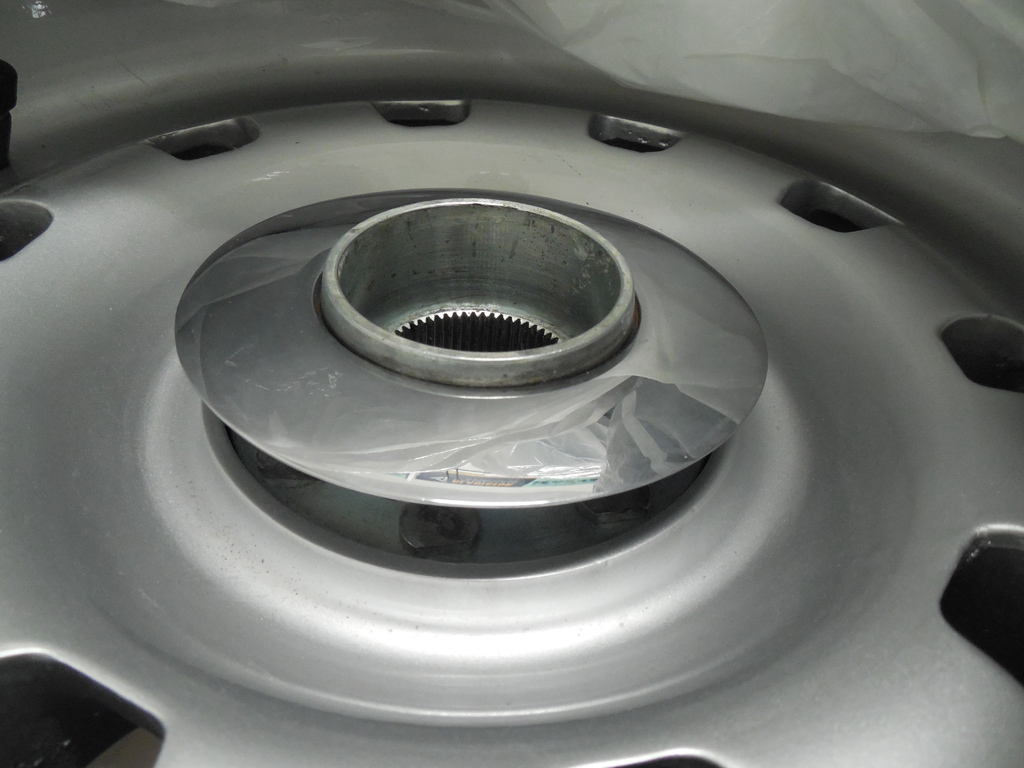
As the crew worked on the car, I still had to fit the chrome trim rings on the wheels.
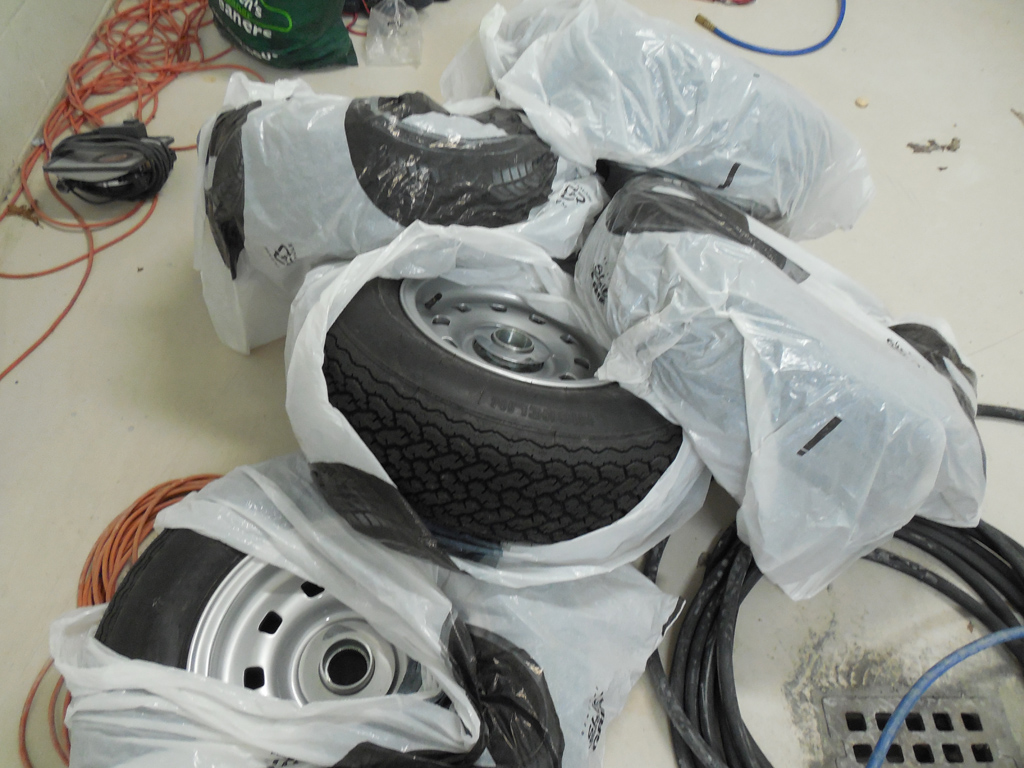
The slight bit of copper, nickel, and chrome almost always make these rings fit tightly on the hubs. Carefully removing enough material to they fit just right without being too tight, or too loose takes some time with a small drum sander mounted on an angle grinder.
Blog

Forum

Resource
