
Fuel Pump Tester and 330GTC
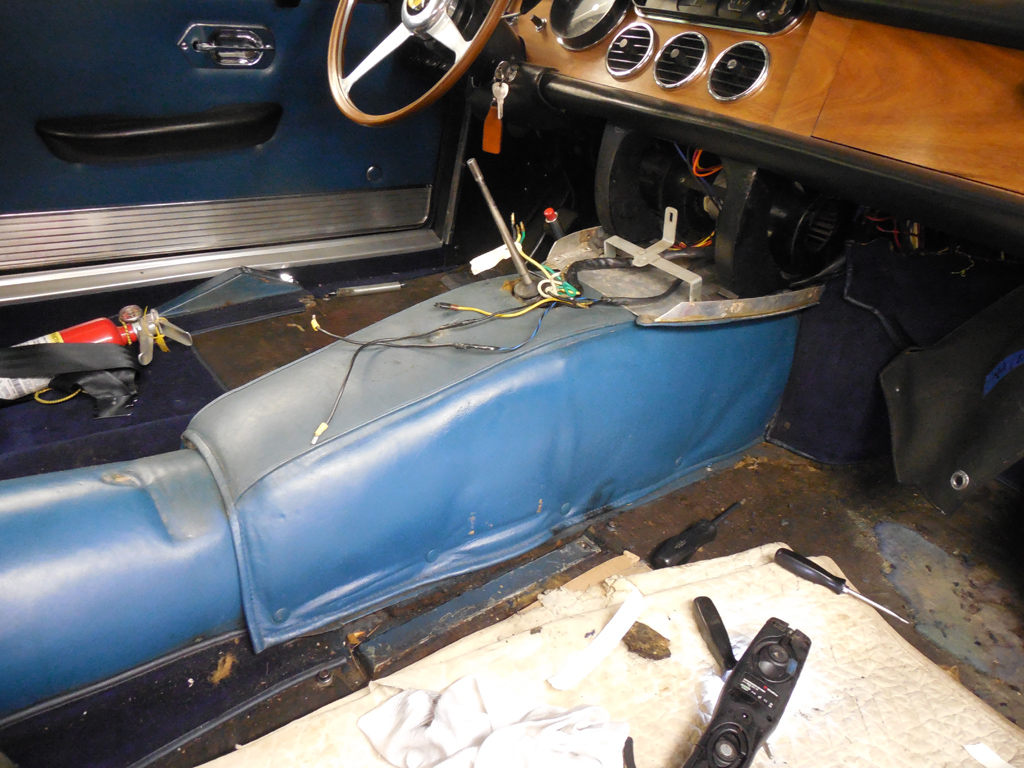
With the arrival of the transmission bushing and synthetic gear oil I was able to button up the transmission by putting the cover back in place.
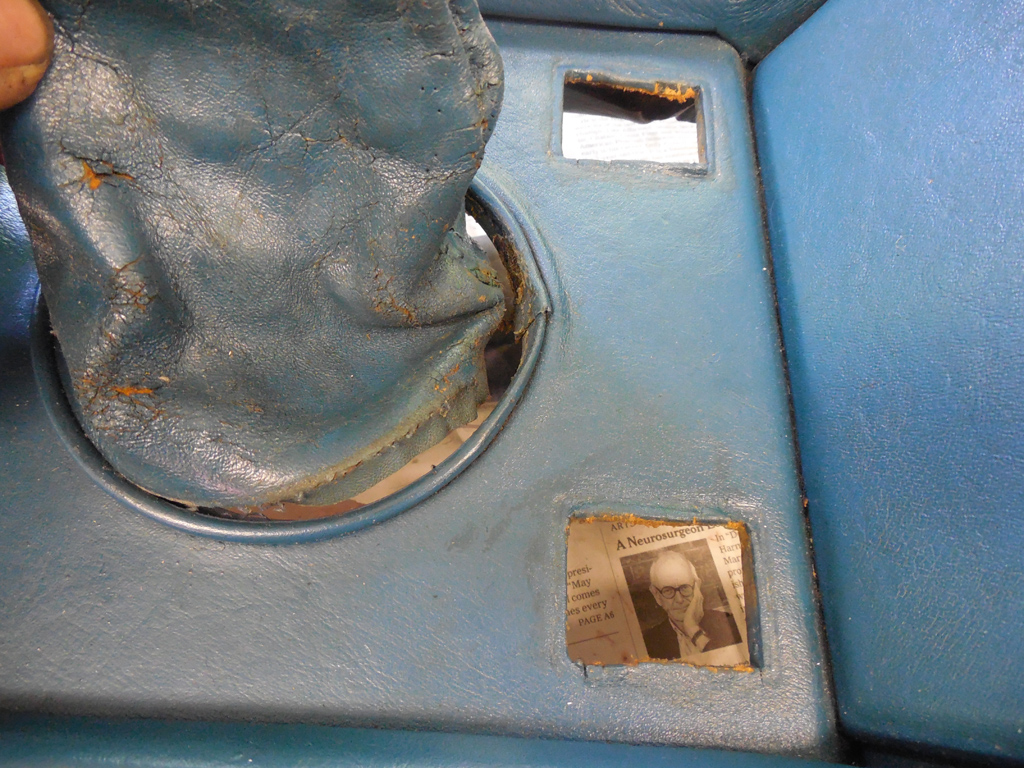
Unfortunately, as I was putting the center console on, I noticed the seam at the shifter boot was coming apart. This seam was originally sewn in place, but a previous repair had glued the pieces together.
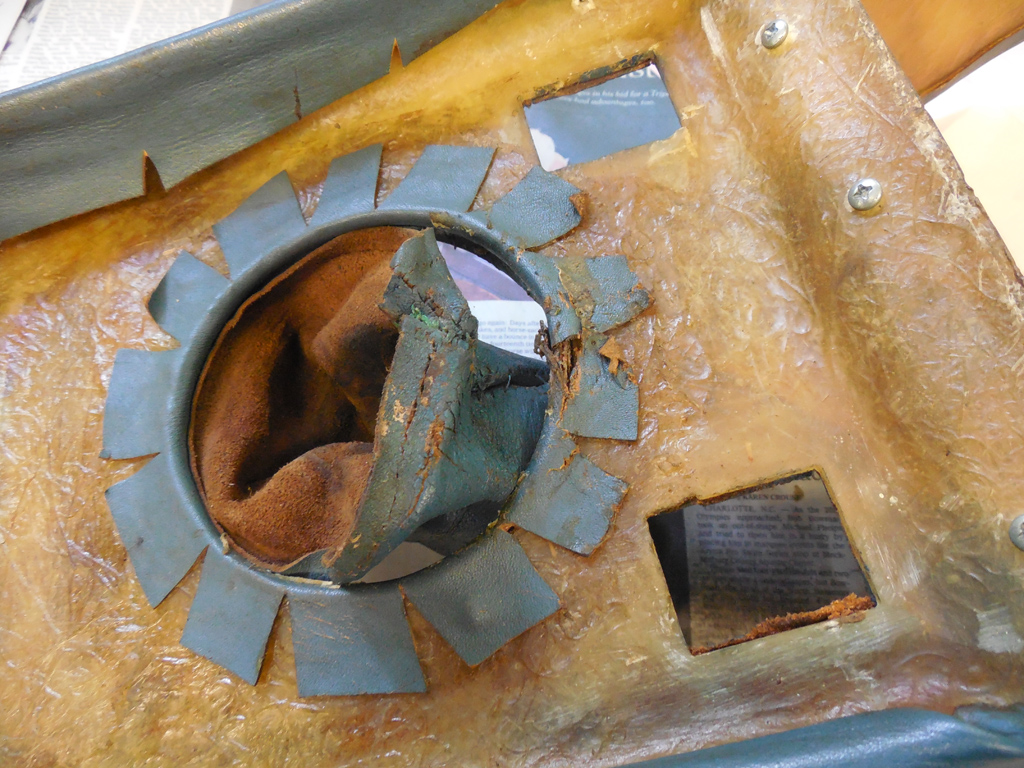
The old glue was failing, and would have to be done again. Now was the time to do it, so I stopped work to get some contact cement!
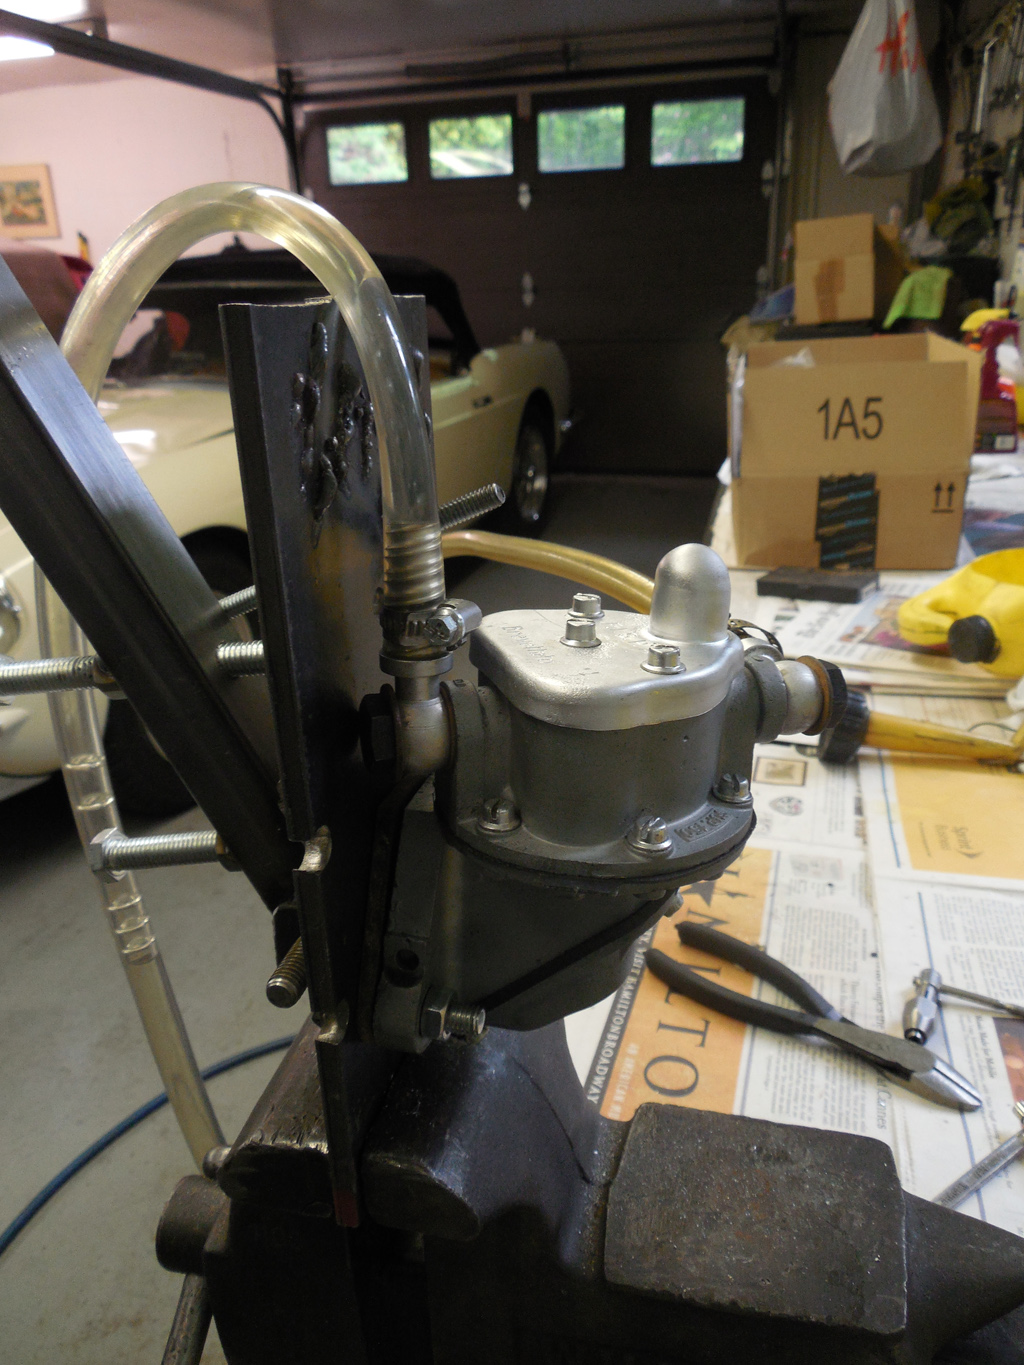
We rebuild several mechanical fuel pumps a year, and will occasionally get one sent to us from a car that is not at our shop. Rebuilding these pumps is just like anything else on an old Ferrari: It’s not that complicated, but if you don’t know the pitfalls and details to check, failure to rebuild it correctly can be a common result. I decided to build a test rig so I could check the operation of the mechanical fuel pump before installing it on a car. Normally, we check the pump installed on the car, but with the pumps sent to us for rebuilding, I wanted to confirm operation before sending it out.
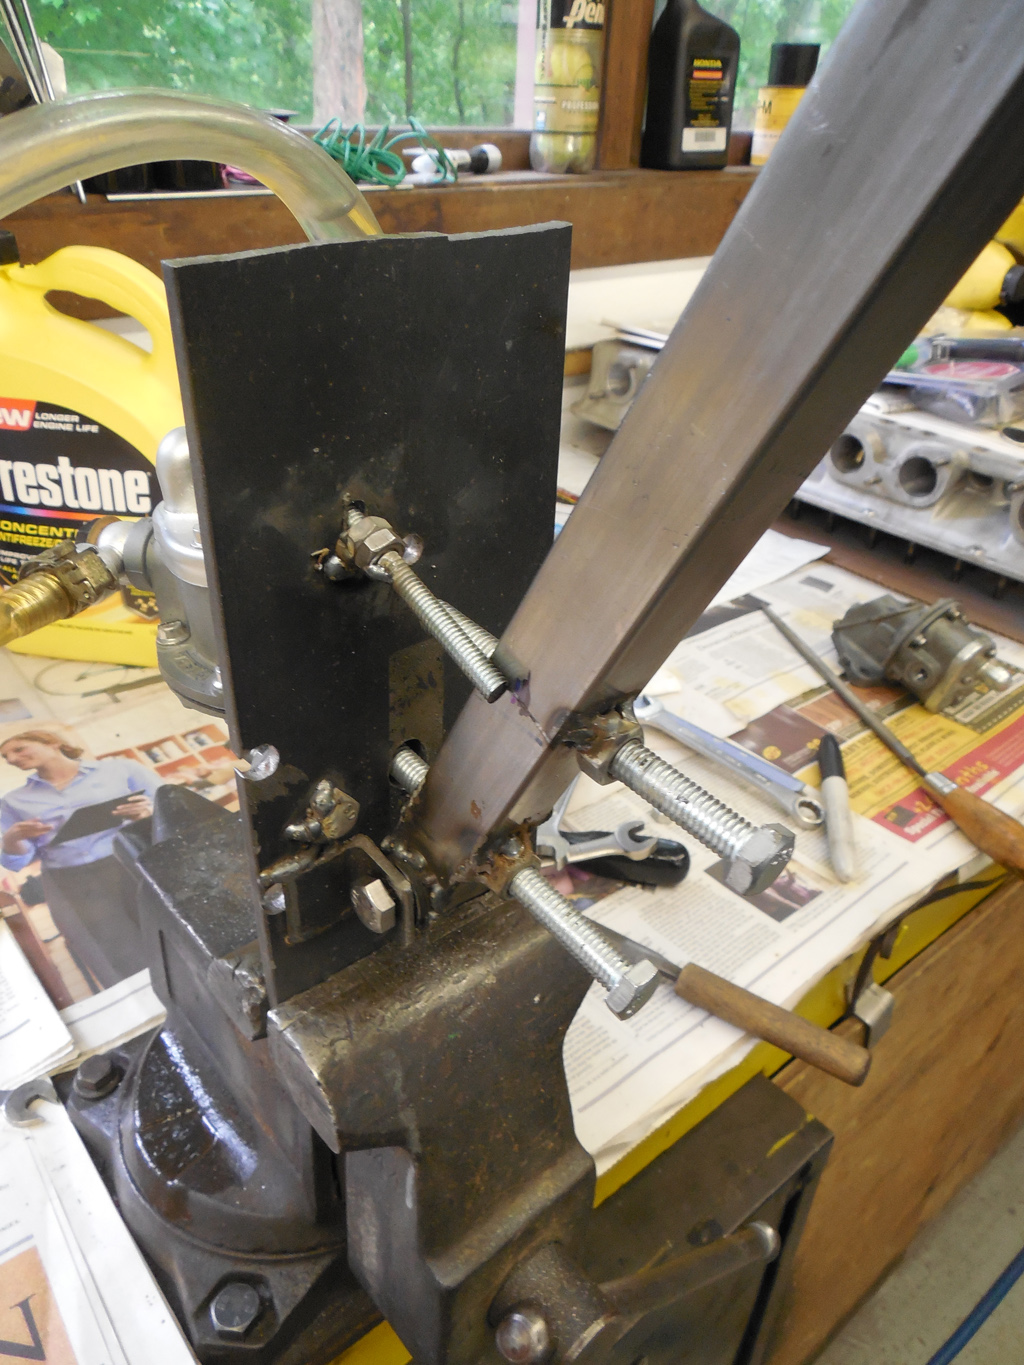
My prototype is a little crude because I grabbed some scrap steel laying around the shop, but it seems to get the job done. I used bolts to actuate the pump, and to give me a positive stop so I could measure the distance of the stroke of the pump lever. The mechanical pumps have a very short 2-3mm throw, so every little bit of efficiency is needed to work properly. Now that I have a working test stand, I will have to consider making another one that looks better!
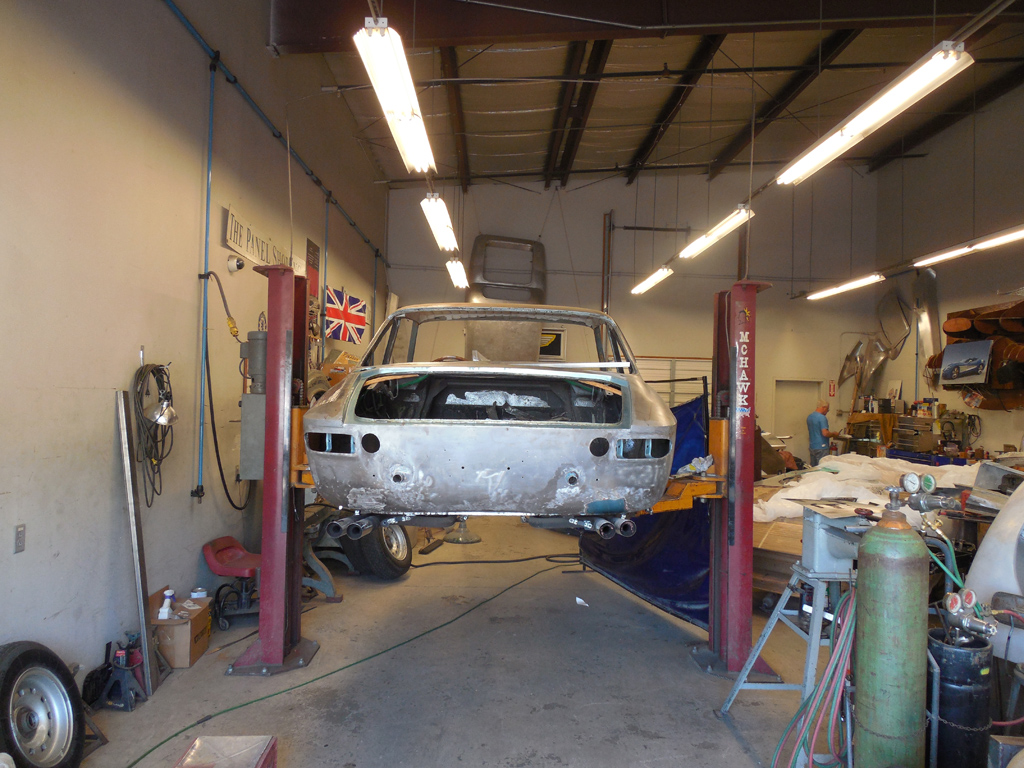
I went to Stratford CT this week to check on a GTC that’s heading to paint. You may remember this car from a while back, but she
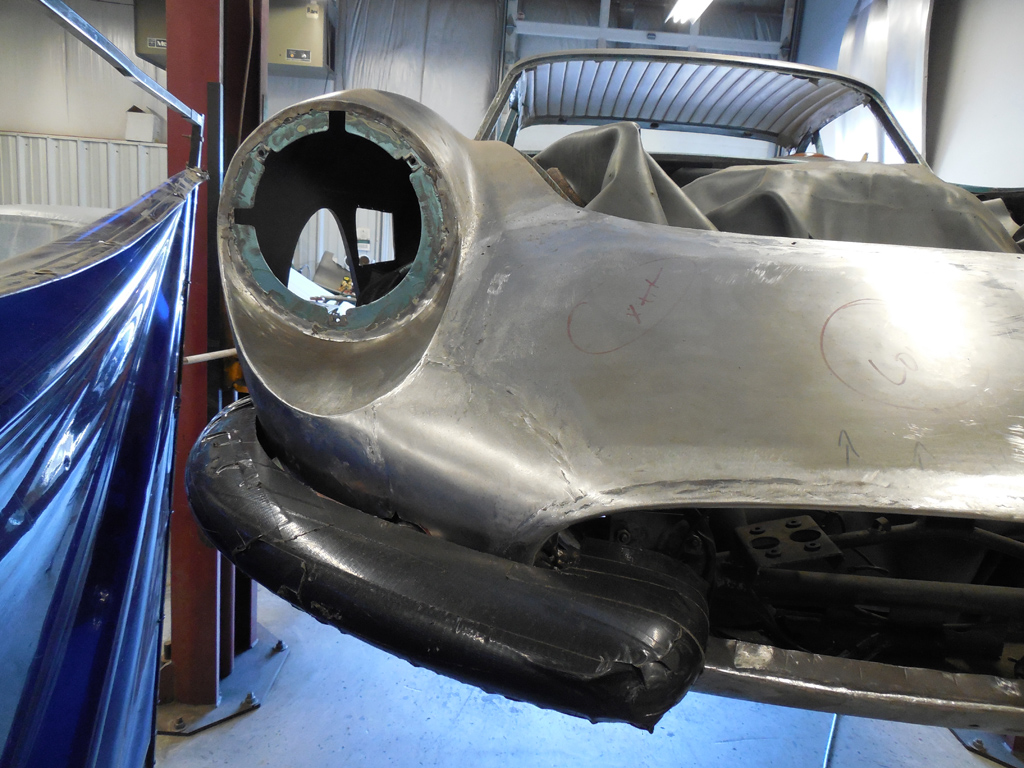
The nose section is just about finished. A new piece was shaped and grafted into place to fix some old accident damage. A previous repair was banged out, filed, and filled with bondo, but now was the time to do this repair right.
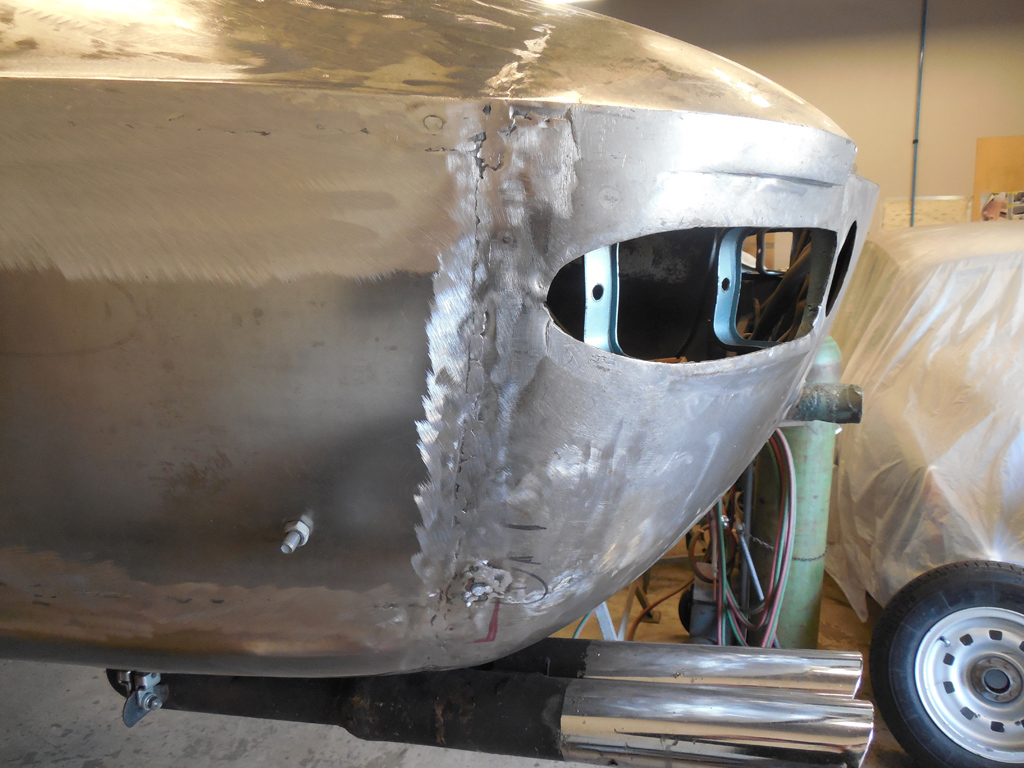
The same could be said about another old repair done in a similar manner on the left rear quarter. New steel was shaped and grafted to the original steel.

Here’s an old picture of the old damage and subsequent repair.
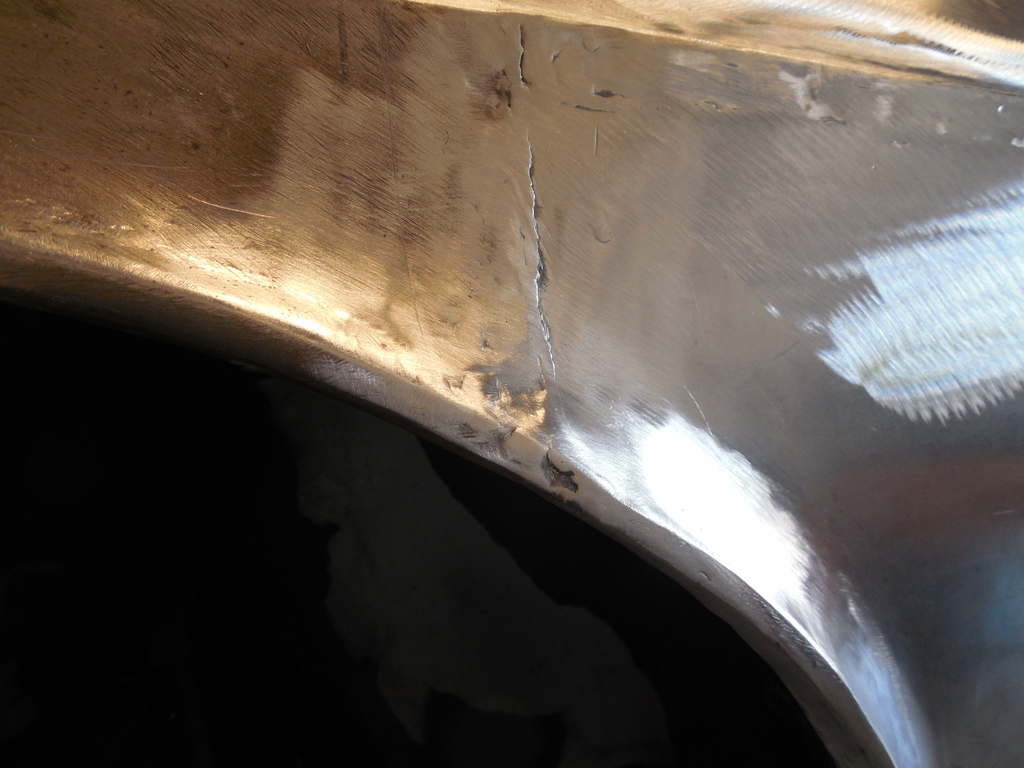
There are small imperfections that we asked our body guys to correct with weld like this fender lip. A short cut would be to leave this repair for the paint shop where they would apply polyester filler and sand things smooth, but a repair in metal will last longer and will not come off in chunks if this area is ever tapped!
Looking over this car and discussing a plan for the repair reminds me of questions I am often asked by customers and prospective clients. Why does it take so long, and why is it so expensive to restore a car? This question is often from people who watch automotive restorations on TV that seem to take a few episodes to magically transform a car from a “barn find” to “Concours Show Car” in a matter of months! It grates me to no end when I actually watch these shows, knowing what they present is nothing close to reality for the quality they claim. Good metal work takes time, so does good paint, and anything else that is involved with making a high quality restoration. There are many ways to cut corners to save time and money, and it’s very easy to spot when watching these shows. I used to work in TV, and know exactly how many imperfections you can hide on camera! The viewers at home will never see the cold hard reality of a poorly restored “TV car!” That doesn’t mean all the shops that are showcased on TV are bad, but don’t get fooled by the two week “full restoration!”
Blog

Forum

Resource
