
275GTS Little Details
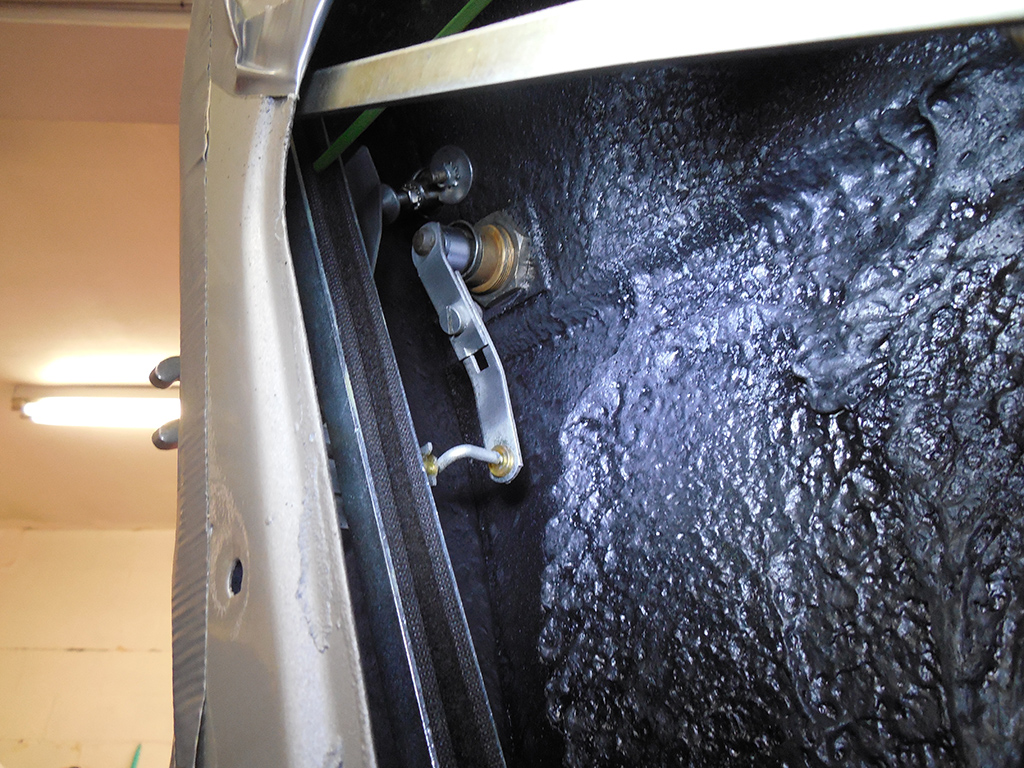
Progress is being made on the 275GTS Restoration, but there are a lot of little things that needed to be worked out on the car. One of them being the door lock mechanism. When everything gets taken apart for a full restoration, it never goes back exactly the same. Tolerances change, and things like this door lock needed some careful fitting to get the lock, key, and release mechanism to work perfectly. Sometimes these parts are simply worn out and need to adjusted because they stopped working years ago, other times it’s just in the plating, painting, or assembly that changes. Either way, it takes some time to get things working properly.
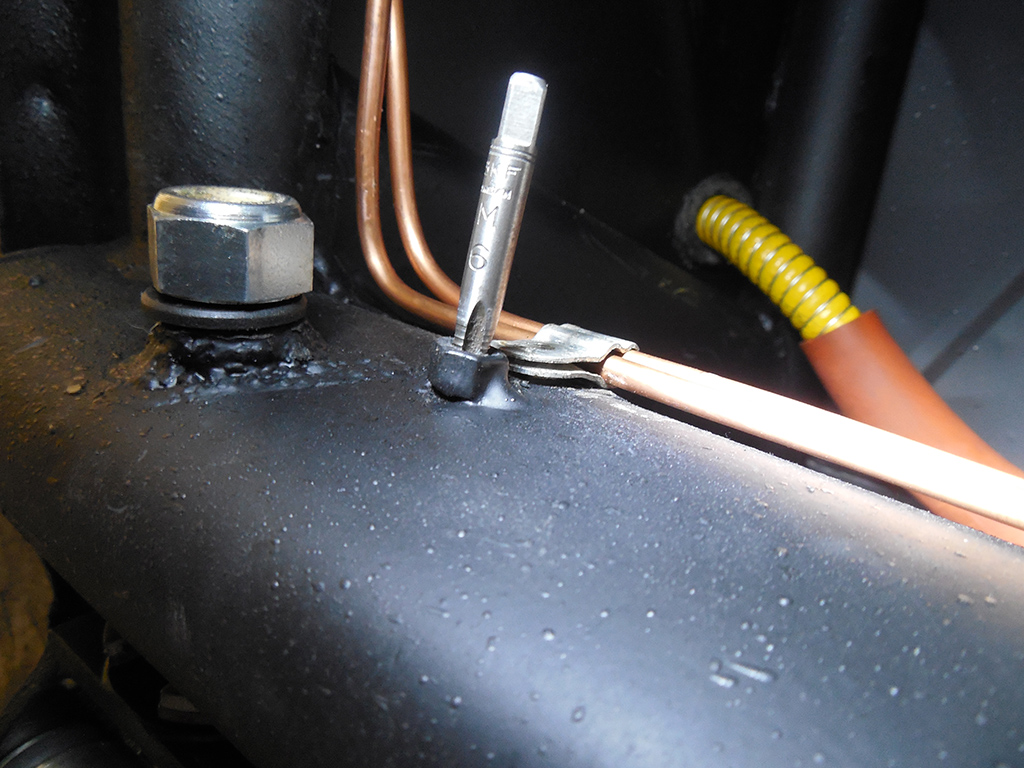
Simple things like these nuts that were welded to the chassis tubes to hold brake line clips needed a little attention. When the chassis was cleaned and painted, dirt and paint will fill the threads in the nuts. These have to be chased with a bottoming tap to clean the threads, otherwise the bolt will cross thread. A little time to chase these threads now will save a lot more time fixing bunged up threads from rushing!

Old wiring has to be fixed and soldered in place. I have to remember to order the rubber boot that goes on the back of this light socket!
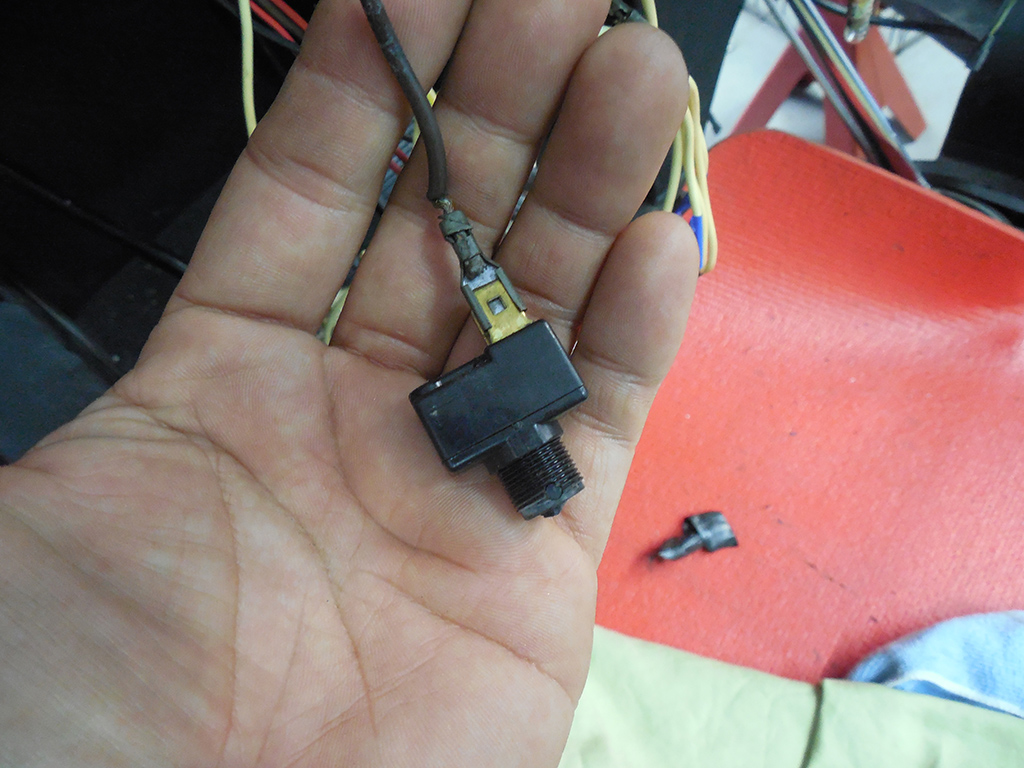
While checking the electrical system, we couldn’t find the wire for the defroster motor, but eventually found it terminated in this broken aftermarket toggle switch hidden in the wiring loom.
I checked the original switch mounted in the dash, and it was not working, hence the replacement switch!
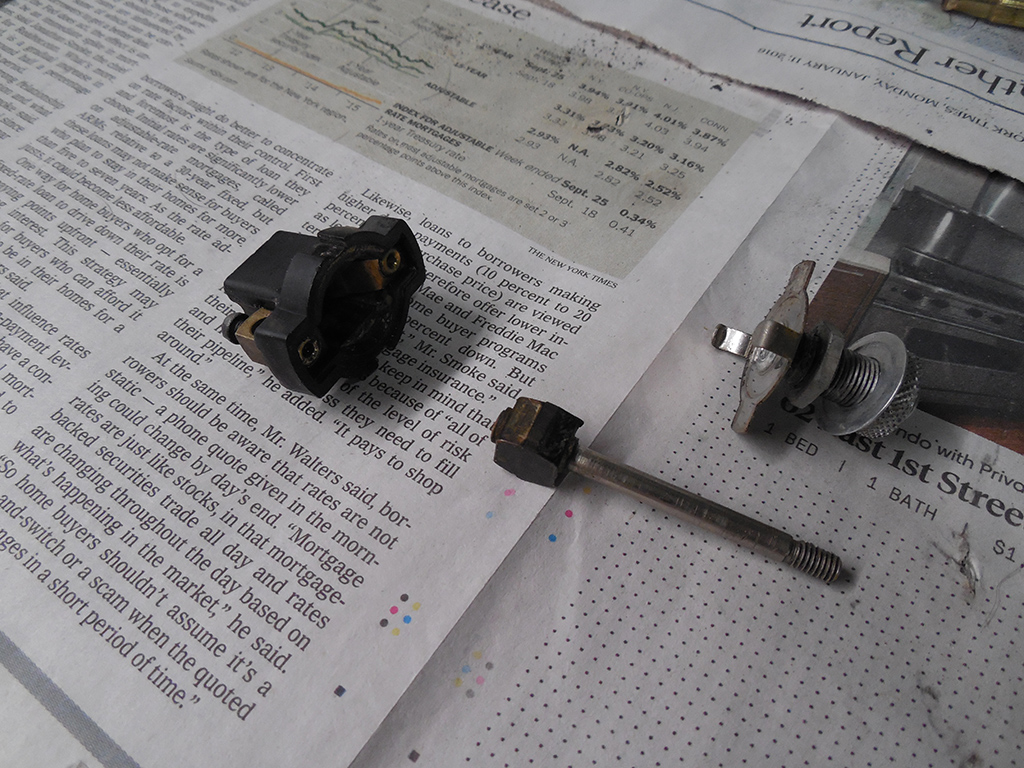
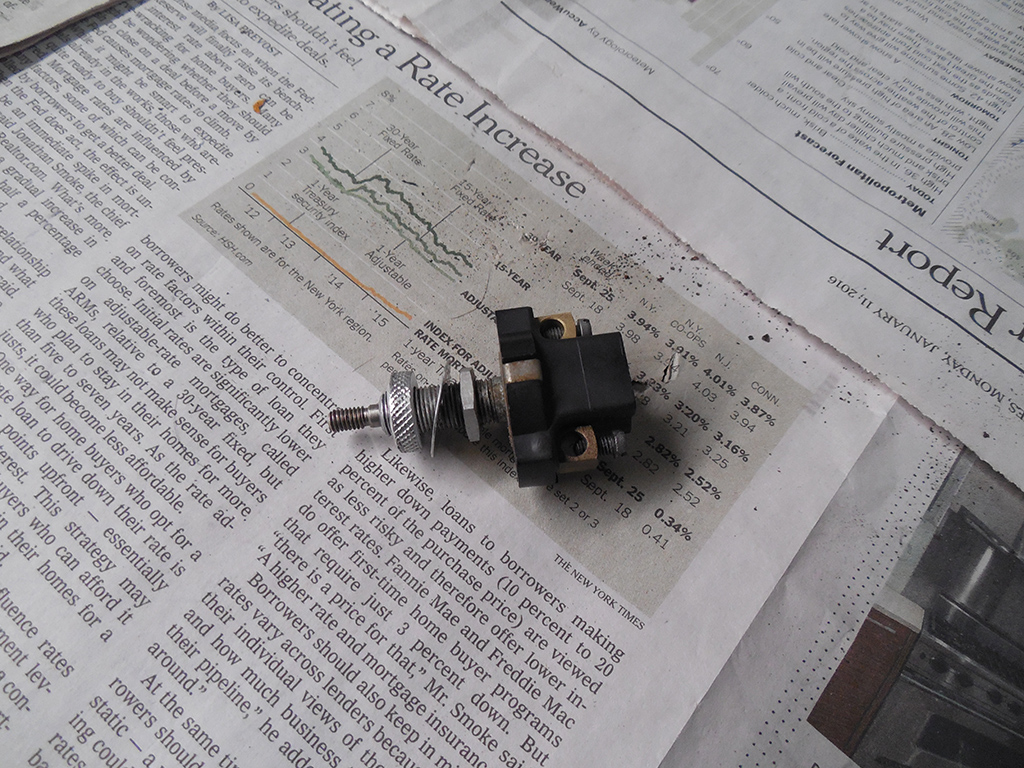
One of the neat things about older Ferraris is many of their components can be disassembled and often times repaired. Many modern switches are made of parts that cannot be repaired and were designed to be thrown away, but old Ferrari stuff, just like a lot of old car stuff can be put back into service with some careful inspection and repair.

This switch was a simple push/pull switch with push being off and pull being on. With a continuity tester, I could see the on position was intermittent. I checked if it was simply a matter of bending the contacts closer to the plunger switch, but found one of the rivets was loose holding the the brass blade. If you look even closer, you can see the color of the tabs different than the other. The loose rivet caused the connection to get hot when voltage was passed through it. As it got hotter, the rivet got looser, as it got looser, the brass got hotter. Eventually, the whole switch failed. I hammered the rivet connection tighter with a punch, and bent the blades back into shape, and hopefully, this switch will be back in service for another 30 years!
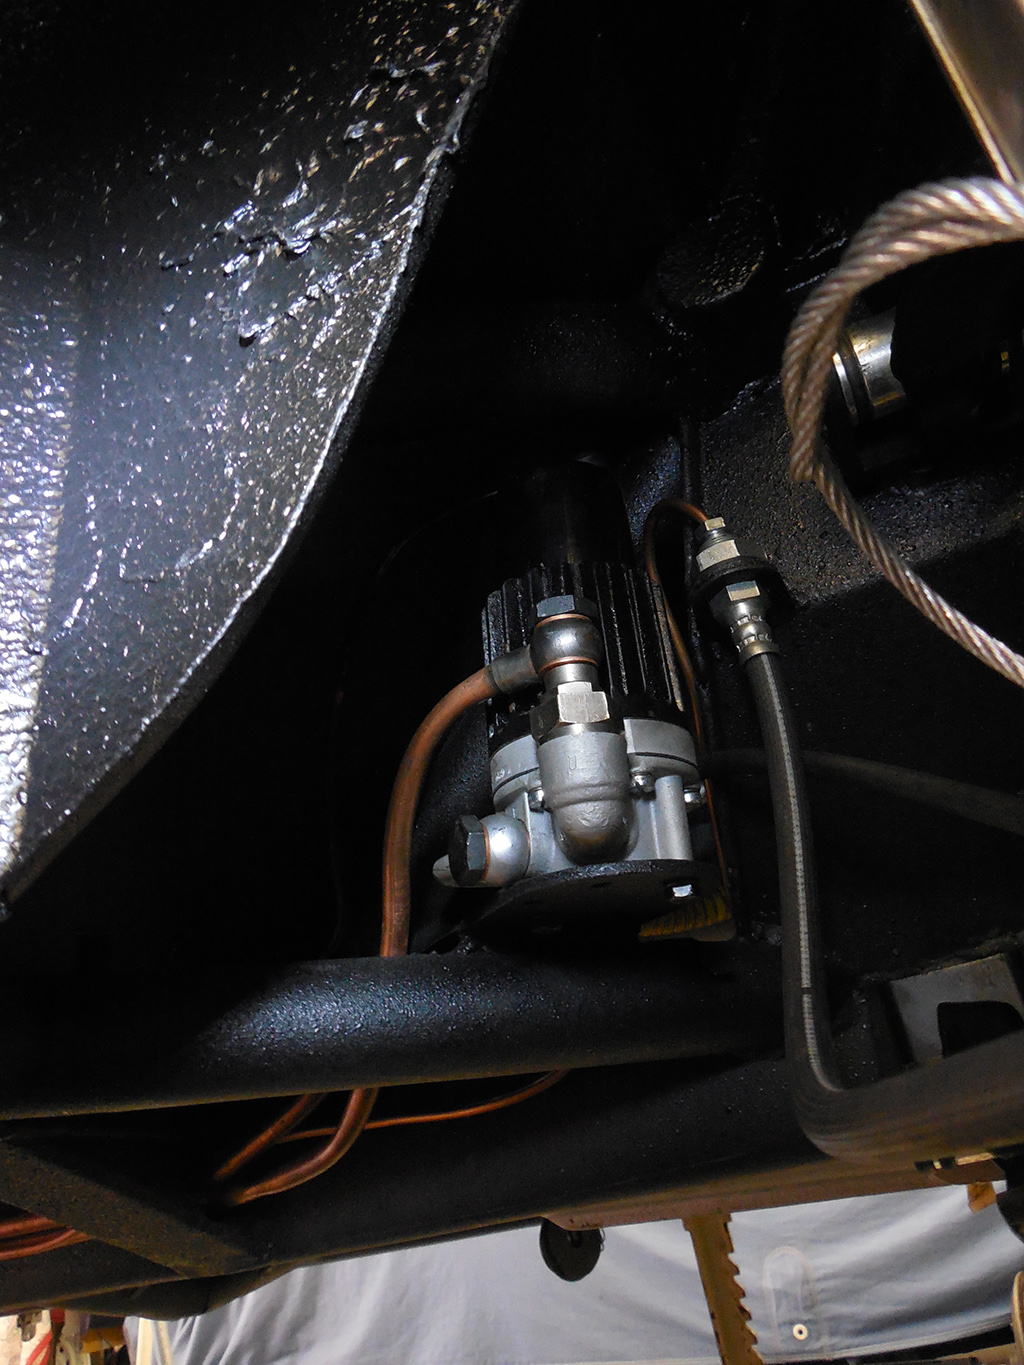
Even simple tasks like installing the rebuilt fuel pump takes time collecting a bunch of little parts. There’s a rubber boot that goes over the electrical connection. The correct copper washers have to be installed and centered on the banjo fittings to insure against leaks. Two short M6 LOBO bolts and split lock washers with a black oxide finish are needed to mount the pump to the chassis. The details are endless!
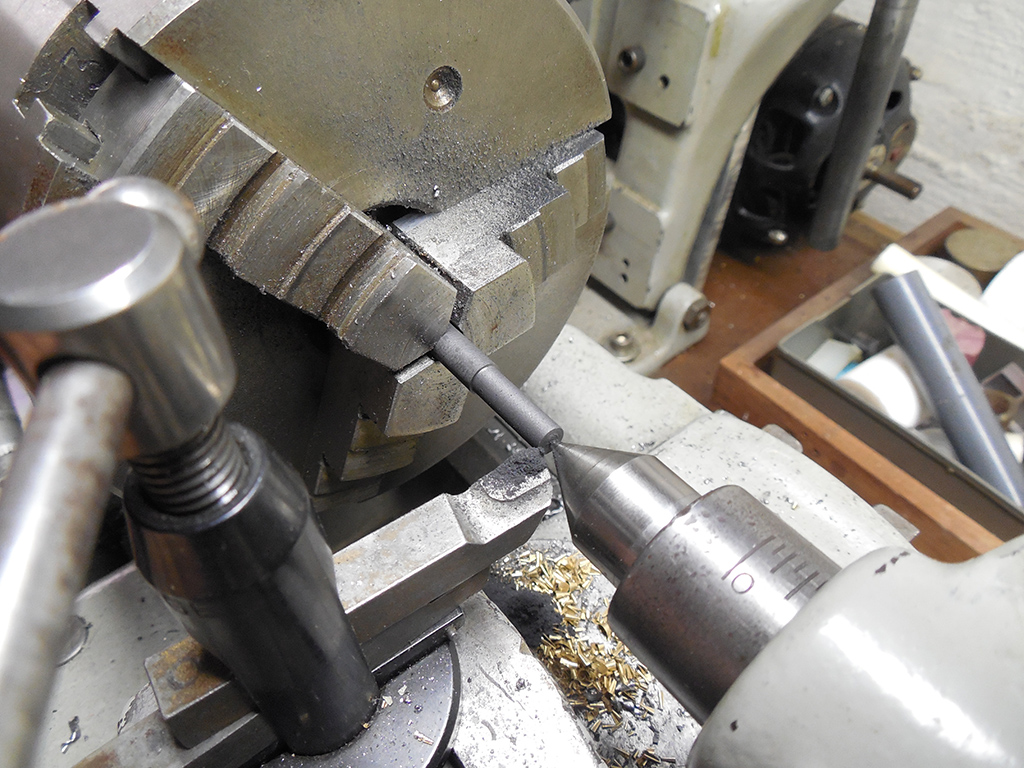
The carbon brush on the steering column broke, and I don’t think anyone is making this part. That was O.K., because by the time I found one, ordered it, and have it shipped, I could have just as easily made one. I saved doing this project on my home lathe because I have a dead center on my lathe that works great making this piece. I bought the thinnest piece of carbon rod from McMaster Carr, but still had to take 2 mm off on my lathe. This stuff is very brittle, so it needs the support of my dead center.
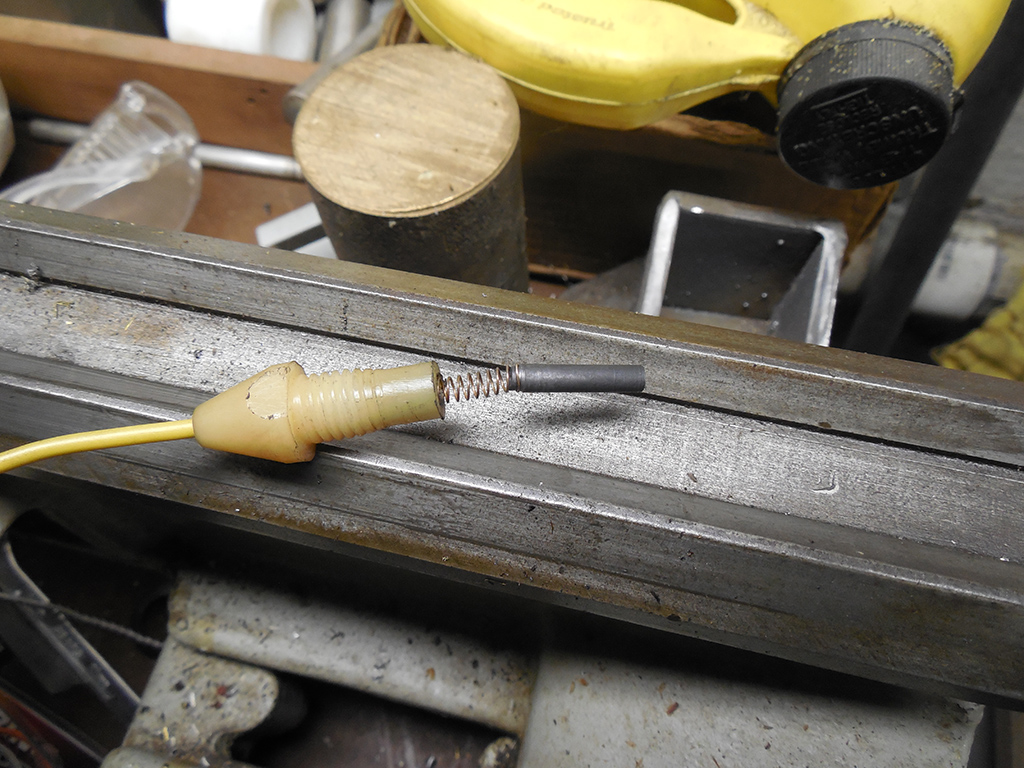
I cut a little shoulder in the carbon rod so the spring could attach to it and it was all ready to go into the car.
Blog

Forum

Resource
