
330GTC Fuel Issues, and Electric Windows
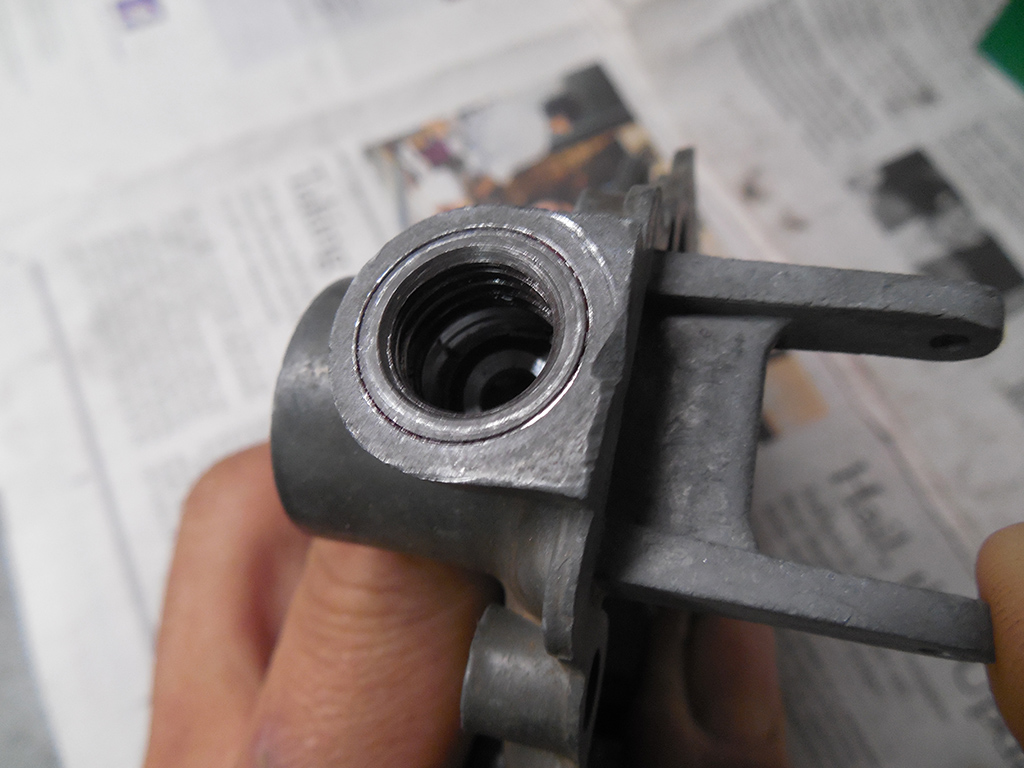
Last week we had a catastrophe when a banjo fitting stripped from a carburetor. This is unfortunately a common occurrence on old carburetors that are made of a weak alloy. Later webers reinforced this area with a brass insert, but not this one. I had a machinist install a “timesert” thread repair insert to repair the bad threads. The other common choice would have been a “Helicoil,” but I like the solid insert of the”Timesert.” Every mechanic and machinist has their favorite, but use whatever works for you. Unfortunately, the “Timesert” is not a simple plug-and-play install. The carburetor thread depth was shallower than the insert, so the insert had to be machined down, and the face of the insert had to be seated flush with the carburetor body. On top of getting the hole tapped dead nuts square, I decided to have a machinst with far more experience do this for me. The results were perfect, and I spent the time working on other parts of the car!
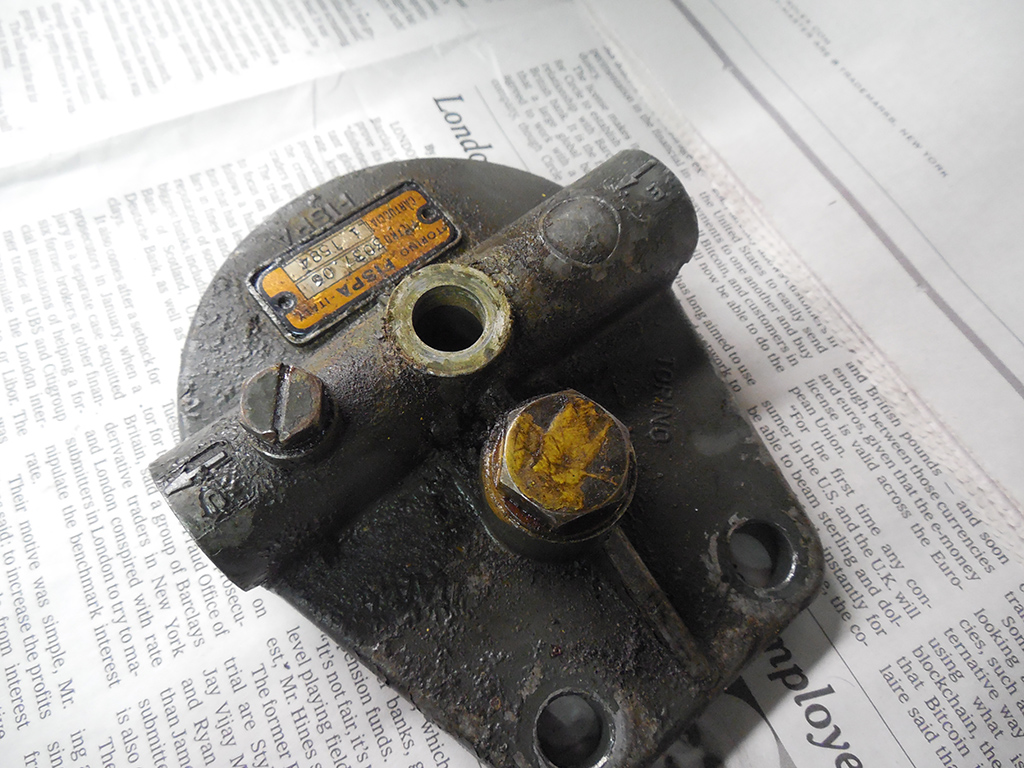
I found a fuel leak on this GTC that was coming from the rear fuel filter assembly, specifically the securing bolt on the top of the fuel filter.
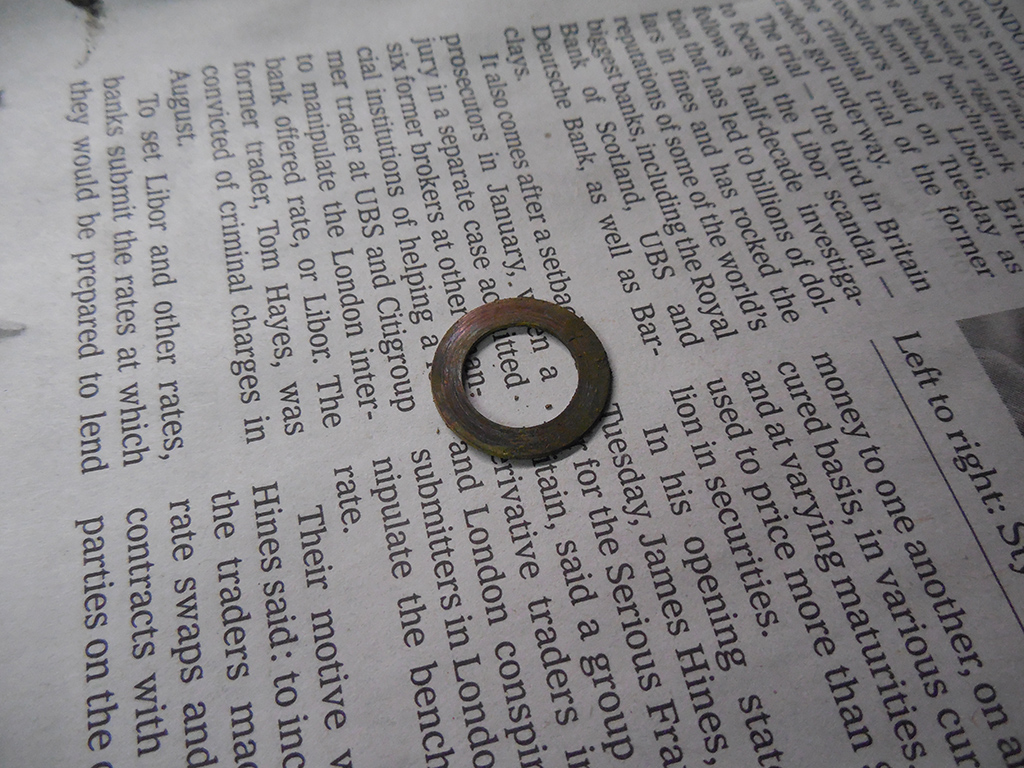
This little washer does not come out unless you completely remove the fuel filter assembly, so it’s often times not replaced when the fuel filter is changed. Eventually, the temper of the washer hardens, and it stops sealing. Looking closely at the washer, you can see it wasn’t making contact to the filter housing. Fuel was weeping past this washer for a while, and dripping down housing

Here was the clue. Although there is a rubber gasket holding the bowl in place, looking closely, I could see fuel stains higher up by the offending washer.
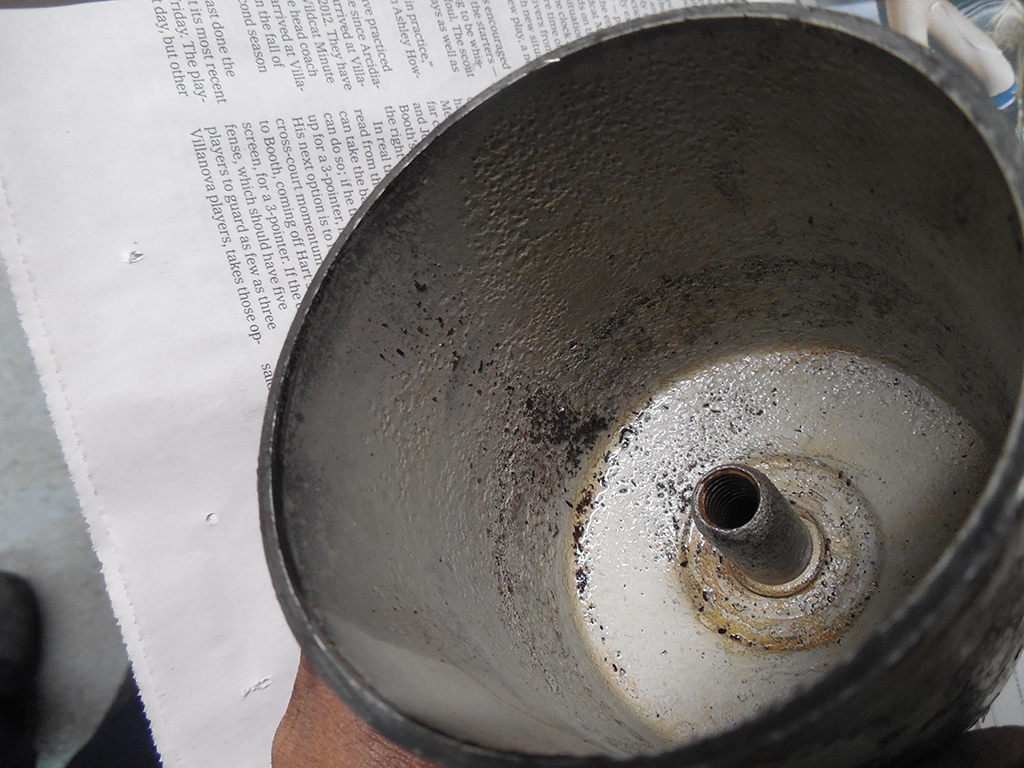
With the fuel filter bowl removed, I changed out the filter, removed the sediment and put the fuel filter assembly back together.
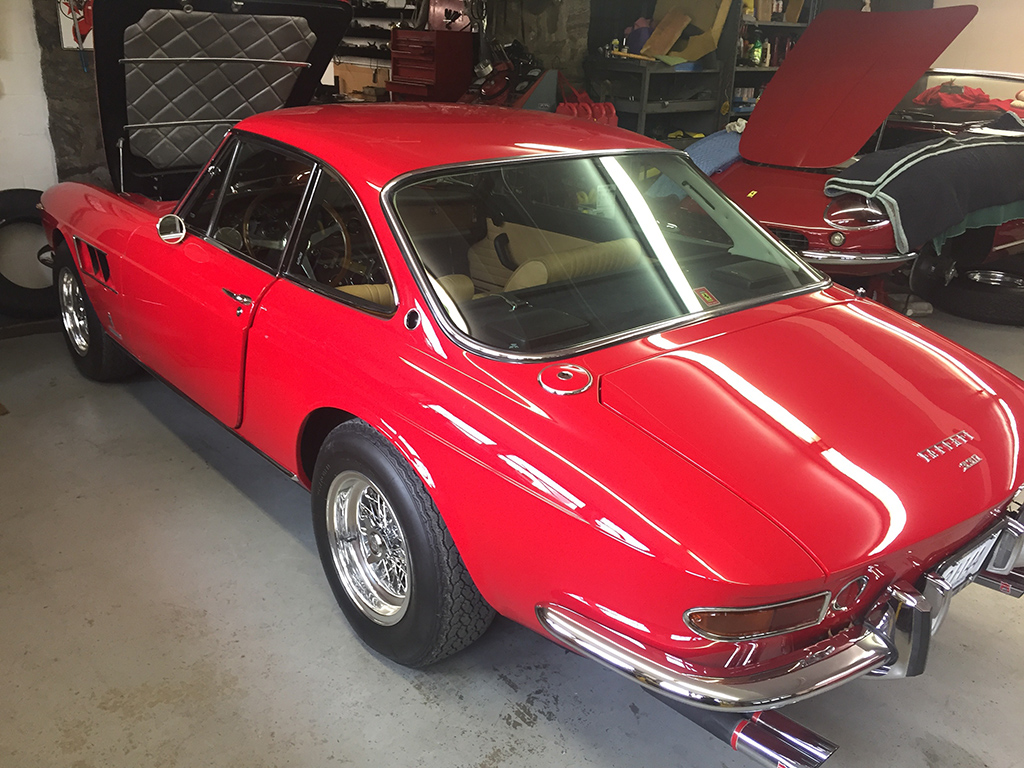
With the carb fixed, the filter leak addressed, valve adjusted, fluids changed, and carbs balanced, it was time to take the GTC out for a drive. It was nice sunny day, but when I tried to put the electric window down…nothing!

I took out all the various emergency electric window cranks to check to see if the window motor was free.
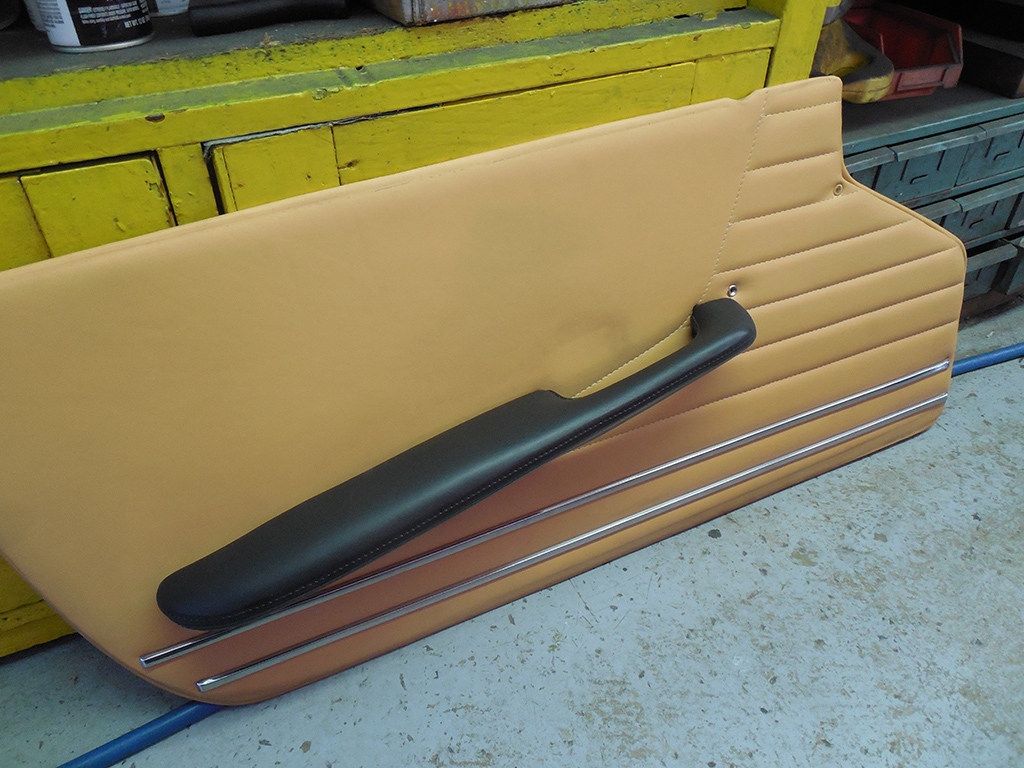
Unfortunately, the last upholsterer decided to omit the hole for the emergency access to the motor, so I had to remove the door panel to get to the motor.
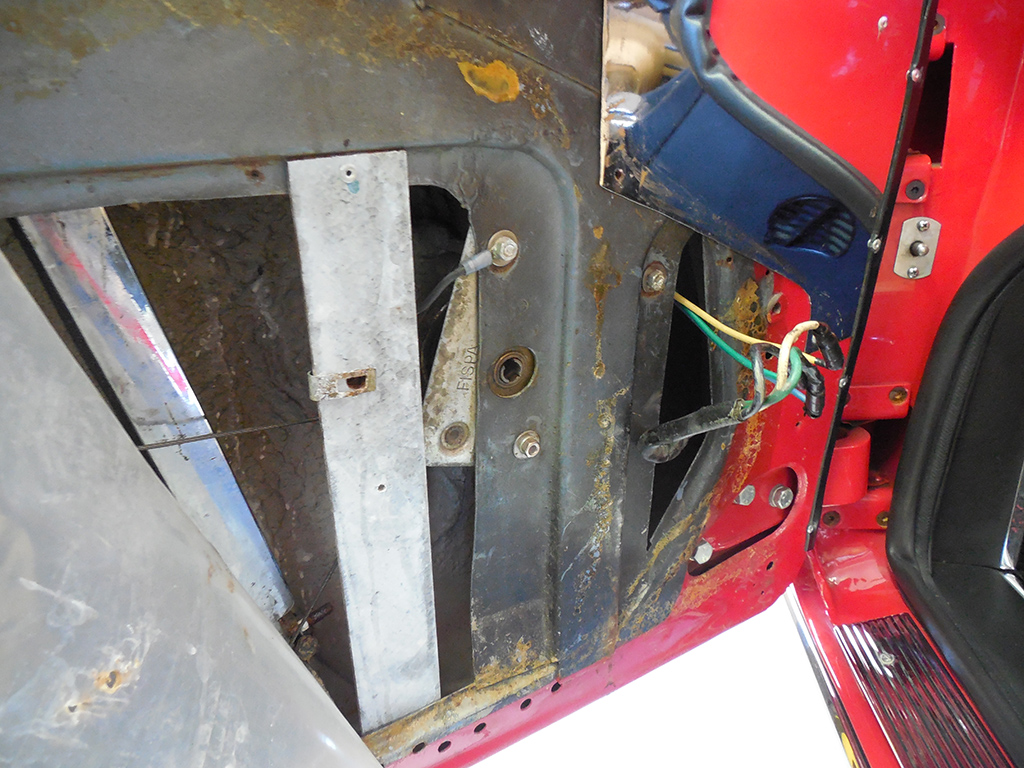
The motor was free, so I checked the wiring with a test light when I operated the switch.
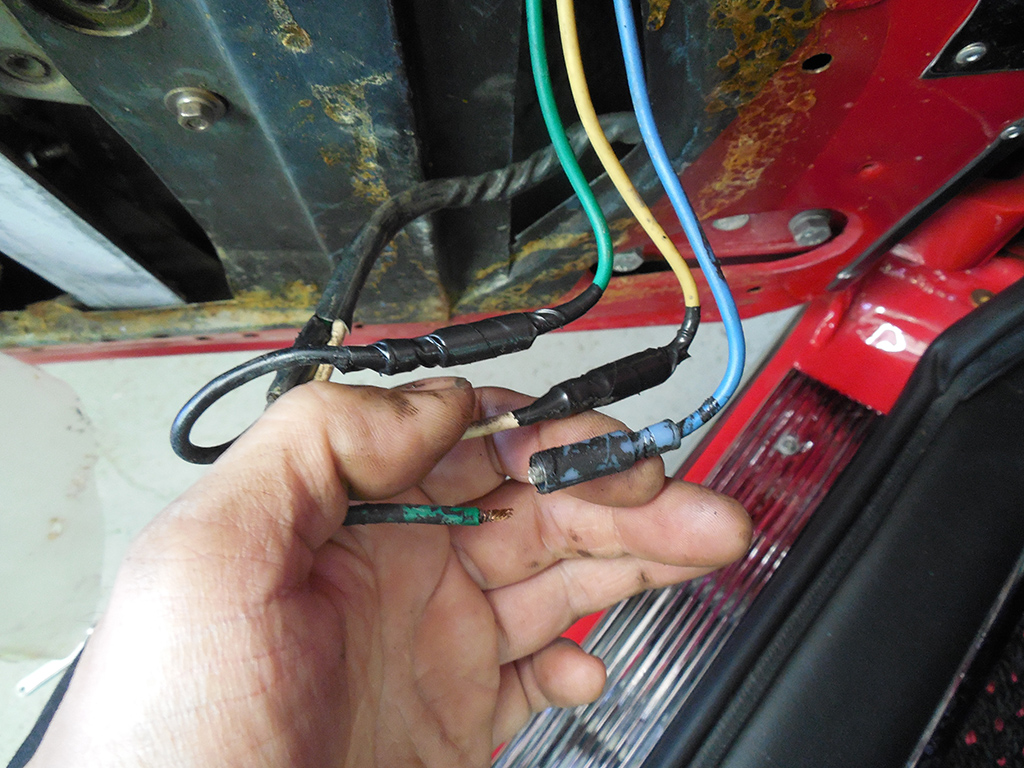
One wire was hanging on by a thread of copper, but I wasn’t ready to rule out the motor.
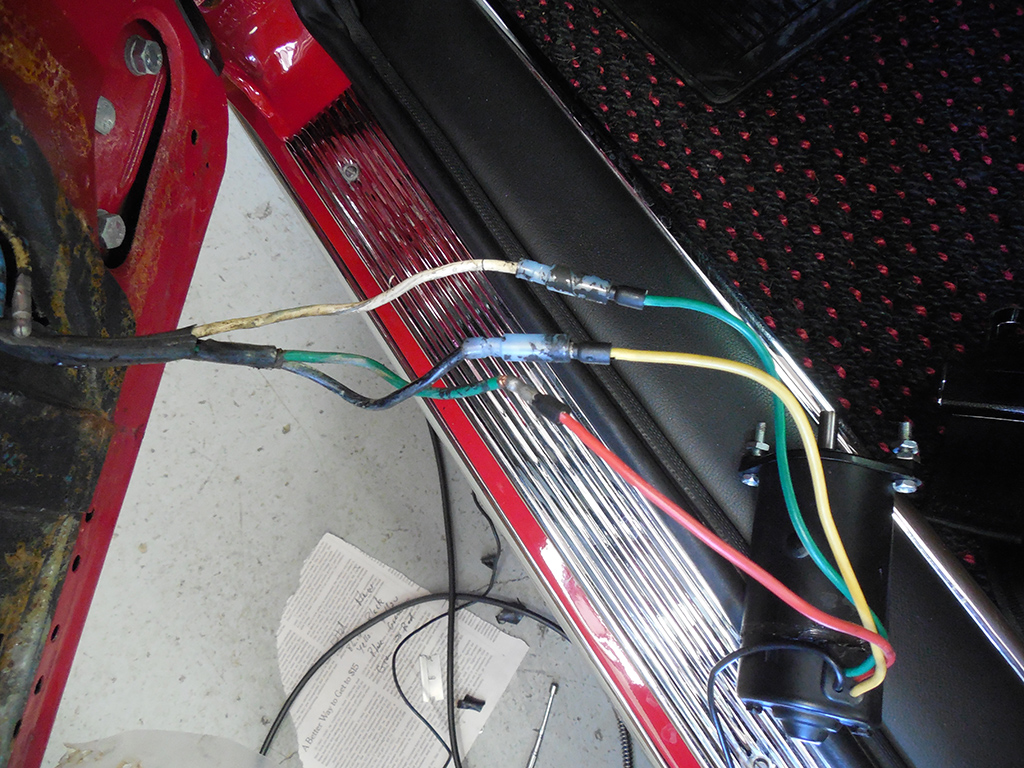
Luckily, I had a spare motor at the shop, so I hooked it up to the wiring. The colors are different, so you have to be careful to get it connected correctly.
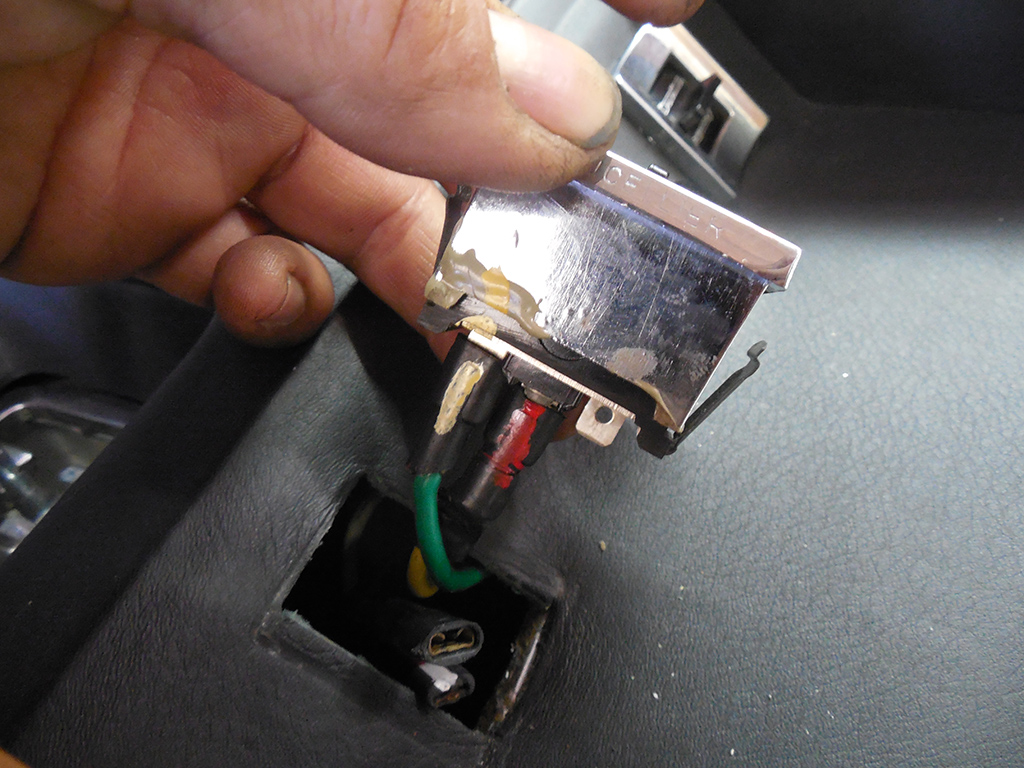
After fiddling around with the set up, I found two issues that were working against each other. The bad connection at the window motor was causing high resistance at the window switch, this would cause arcing and eventually, the contacts would stop passing voltage. I disassembled the switch, cleaned the contacts, and we were back in business!
The Radcliffe/Tomyang.net Car Show!
May 7th 2016
I’m very excited to do this again, and look forward to see old and new friends at this annual event. Richard Garre and I have hosted this car show to celebrate all types of machinery, focusing on Italian Cars. There’s parking for about 100 cars and we will always try to accommodate late comers, but if you want a guaranteed spot call Richard to preregister!
Radcliffe Motorcars
12340 Owings Mills Boulevard
Reisterstown, Maryland 21136
Phone: 410-517-1681
Blog

Forum

Resource
