Daytona Booster
A friend of mine called to ask me about rebuilding a Daytona brake booster. He told me his customer has a nice Daytona that he wants to get to Platinum and the gold cadmium plating on the brake booster was looking pretty bad. Many people use a fake gold cad plate that you can tell from across the show field, so the only way to do it right is to send the can out for plating. Unfortunately, the right way also entails disassembling the brake booster and rebuilding it too. I’ve been learning how to do this procedure the last couple of years, and have successfully completed a couple, but wasn’t sure if I wanted to start doing this as a service. My friend assured me the brakes were working on the car, and rebuild would be straight forward, so I accepted the job.
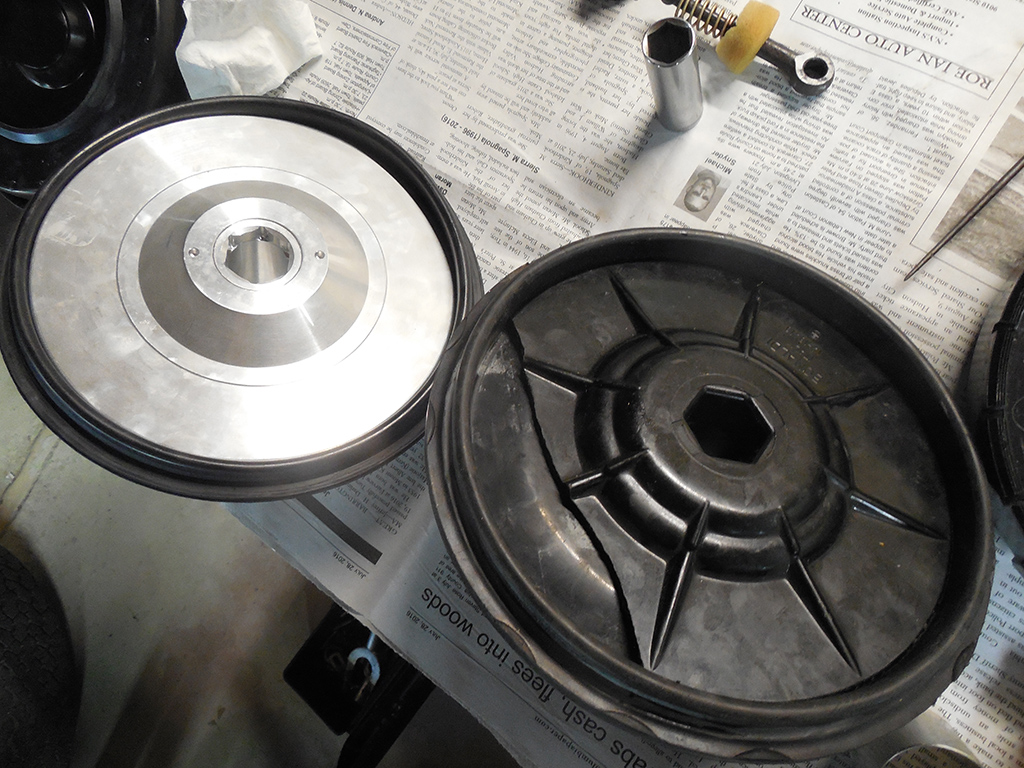
It didn’t take long to find a broken piece inside the booster that had the potential to stop this rebuild in its tracks. I sent pictures to my friend of the broken pieces, and he got to work locating a replacement.
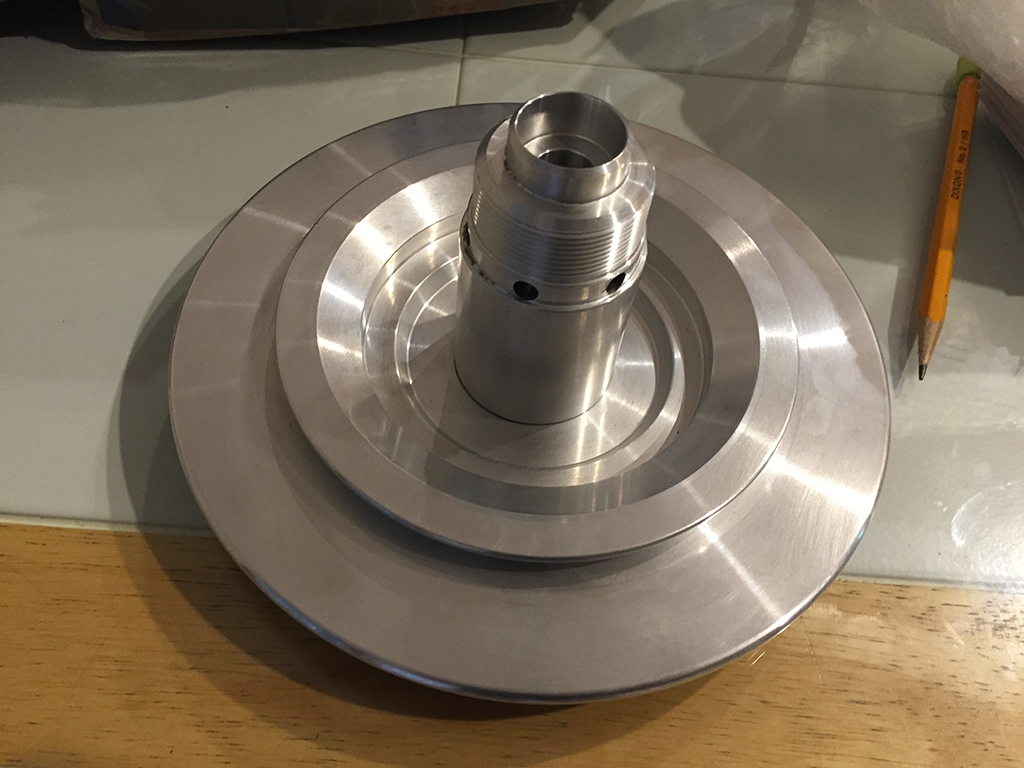
I was pleasantly surprised when two weeks later, I received this beautifully machined piece of aluminum with all the correct dimensions of the broken part!
The only thing left to do was install the new seals, and see if everything worked!
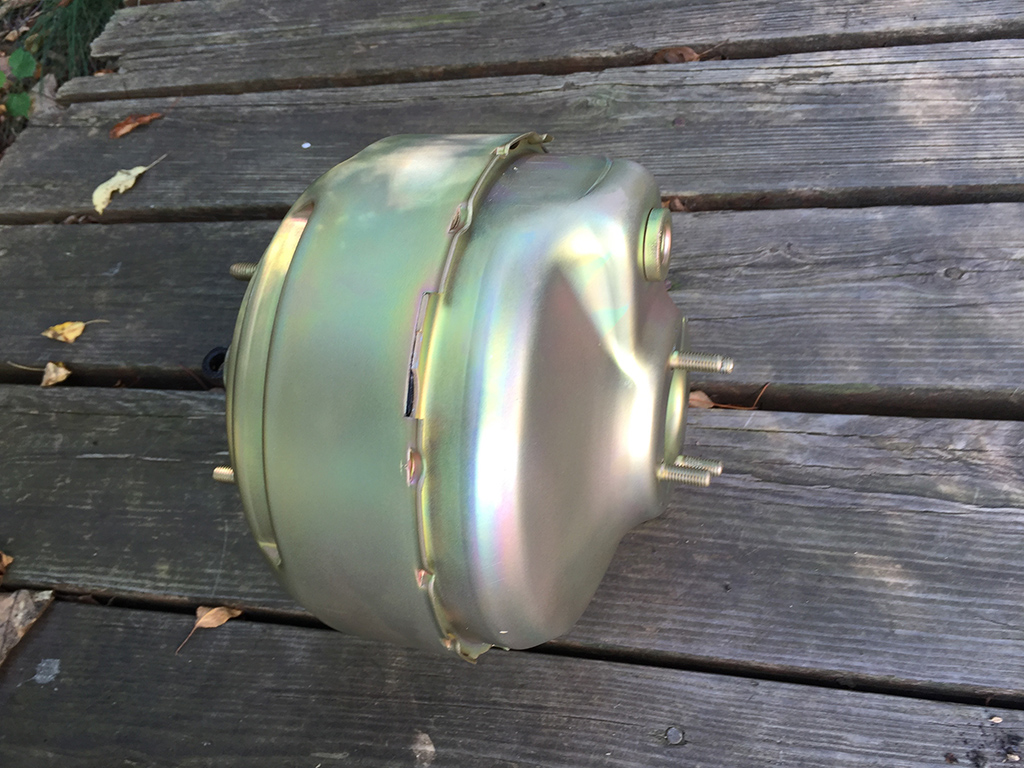
With a new seal kit, the replacement internal part, and the outer can freshly cad plated, I assembled the rebuilt booster. I asked them to send me the master cylinder that was mated to the booster so I could test it.
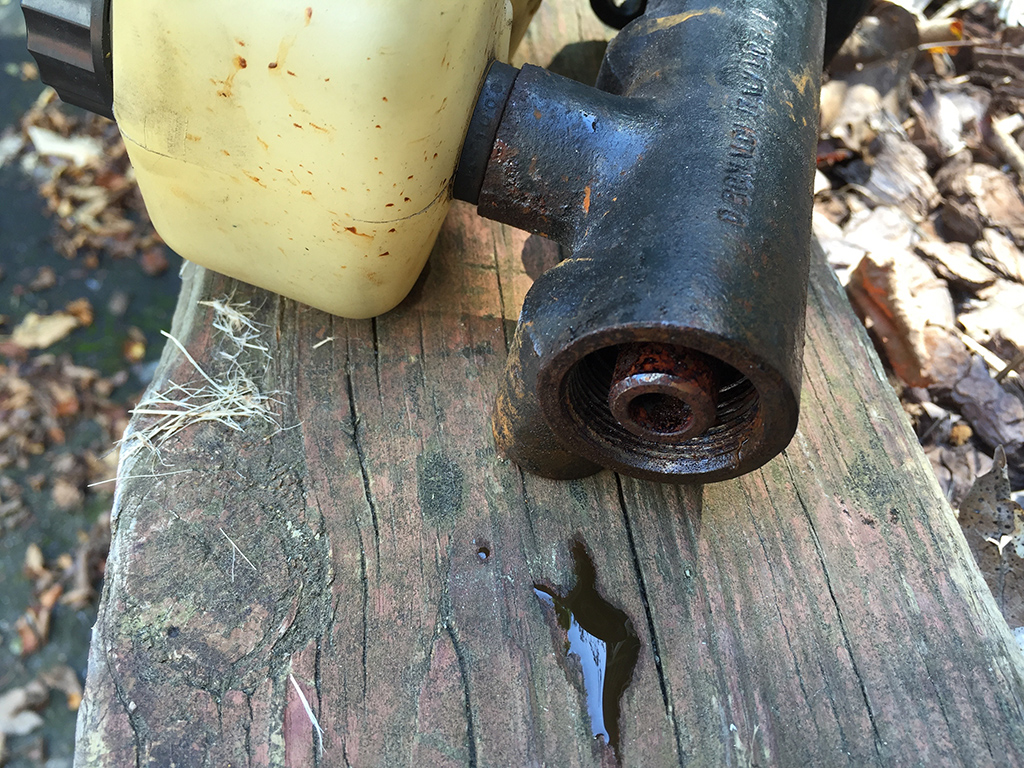
When the master cylinder arrived, I was shocked at the condition. I couldn’t believe this m/c actually worked! I’ll need to send this out for sleeving and rebuilding before any brake testing can be done!
The end nut was sent out for plating, and the M/C will be sent out for rebuilding. So much for a straight forward job!


