
Chasing GTE Parts
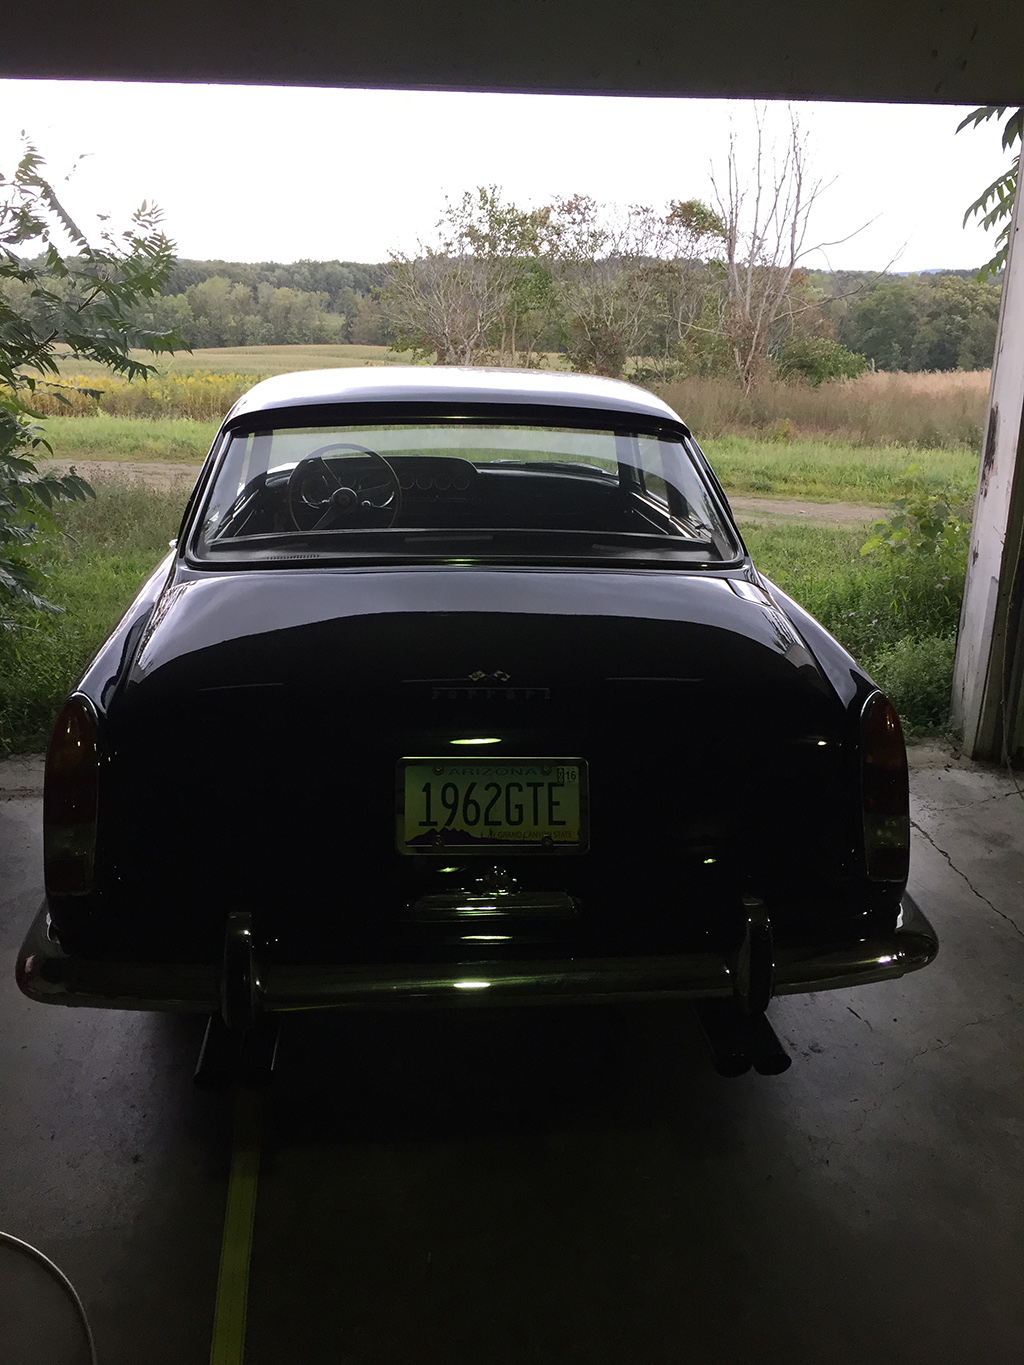
I have a GTE that is having its engine rebuilt. and while I’m waiting for the machine shop to finish their work, I’m address the details of the engine compartment.
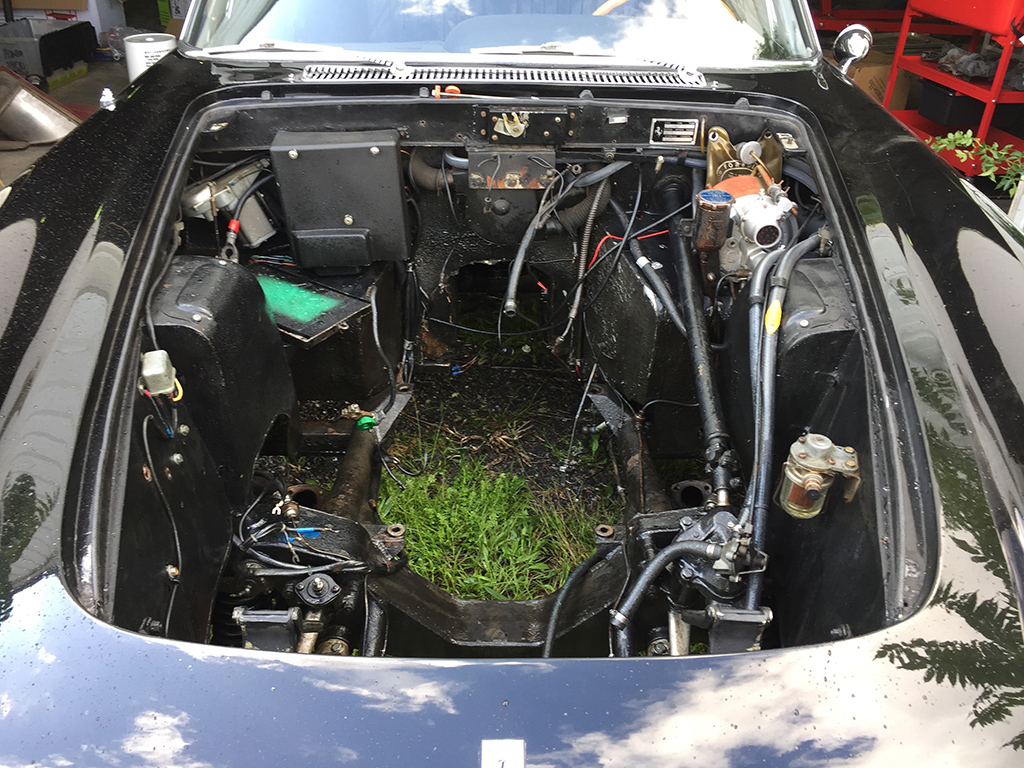
It all starts with a good cleaning and degreasing.
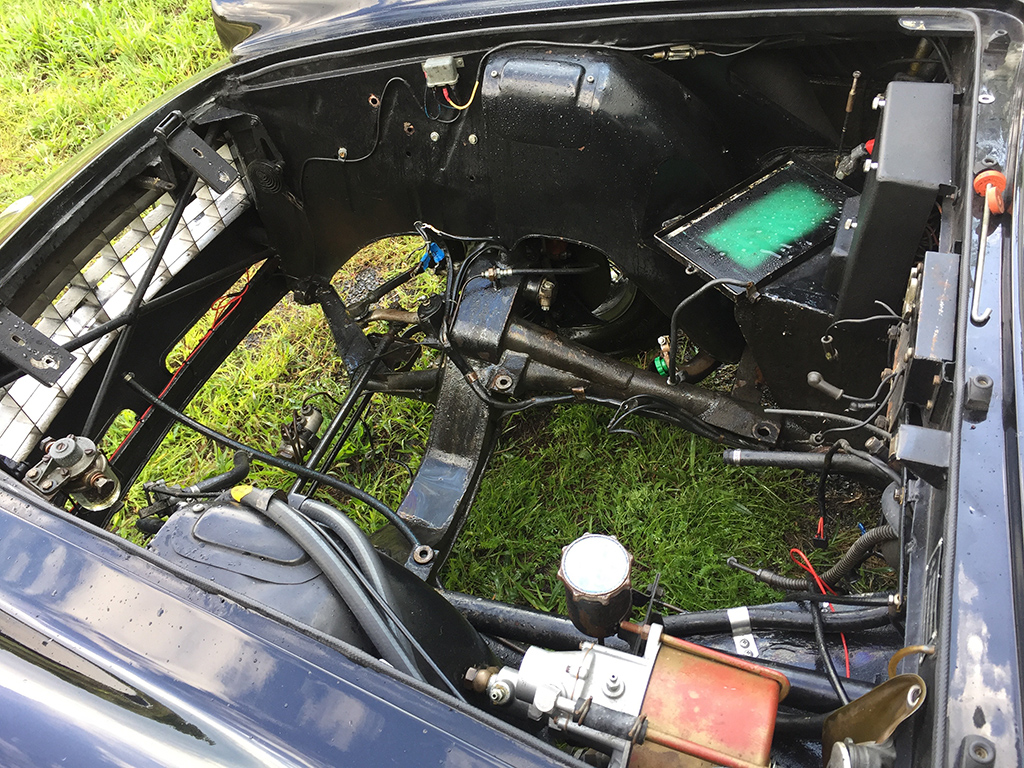
With all the grease and oil out of the way, I can better assess what parts need painting and plating.
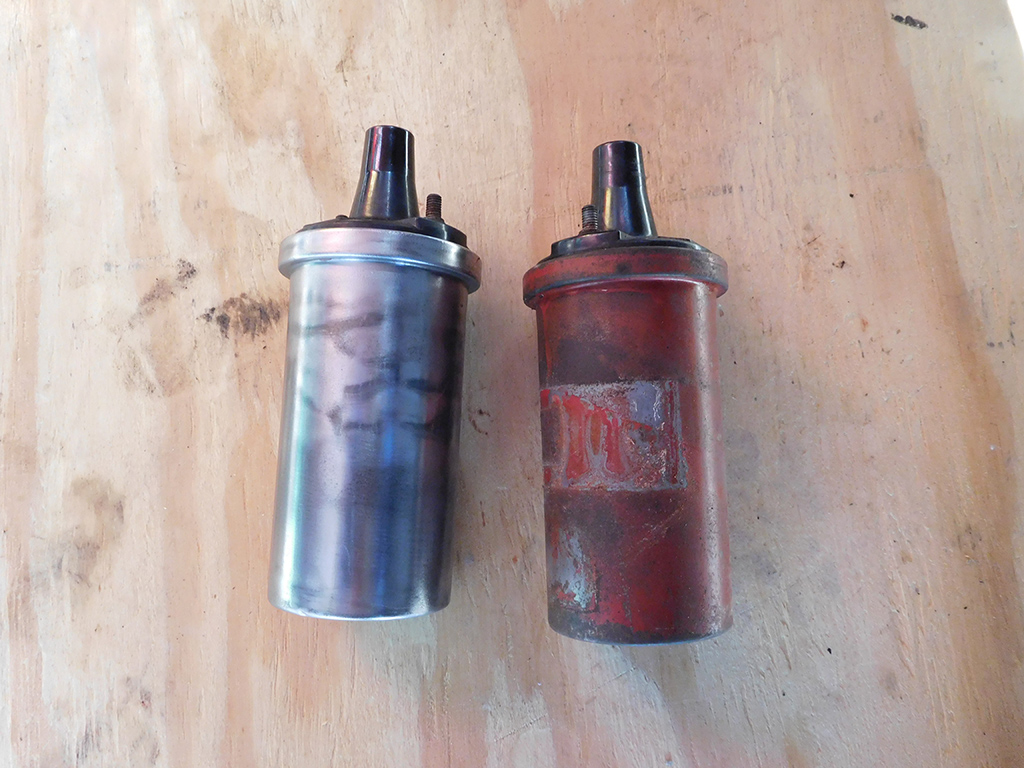
I removed the coils last week and started stripping the paint off for some fresh paint.

The coil brackets were bead blasted and prepped for fresh cadmium plating.
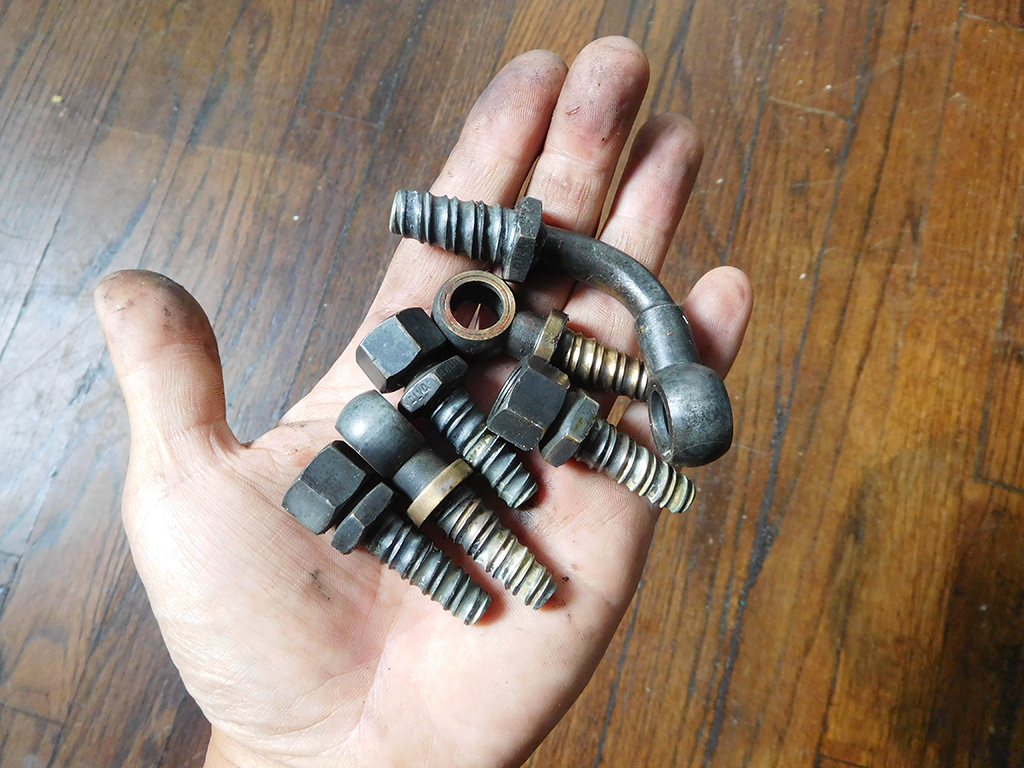
Since I have to send the coil brackets out for white cad plating, I cleaned the fuel fittings so I could put it in the same batch.
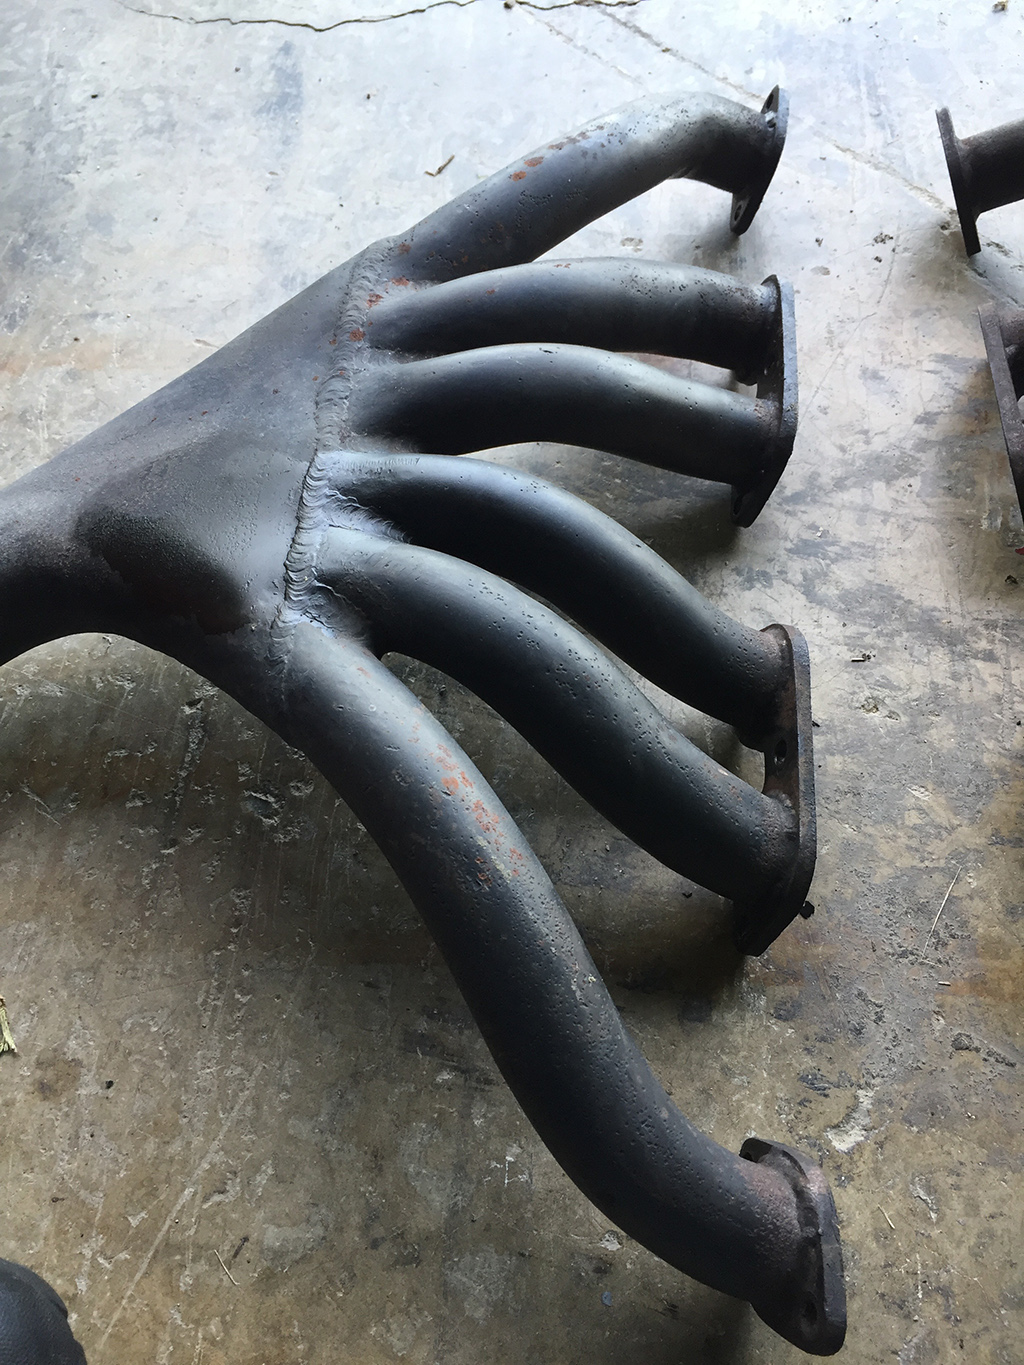
With the engine out, I had to address some issues with the headers.
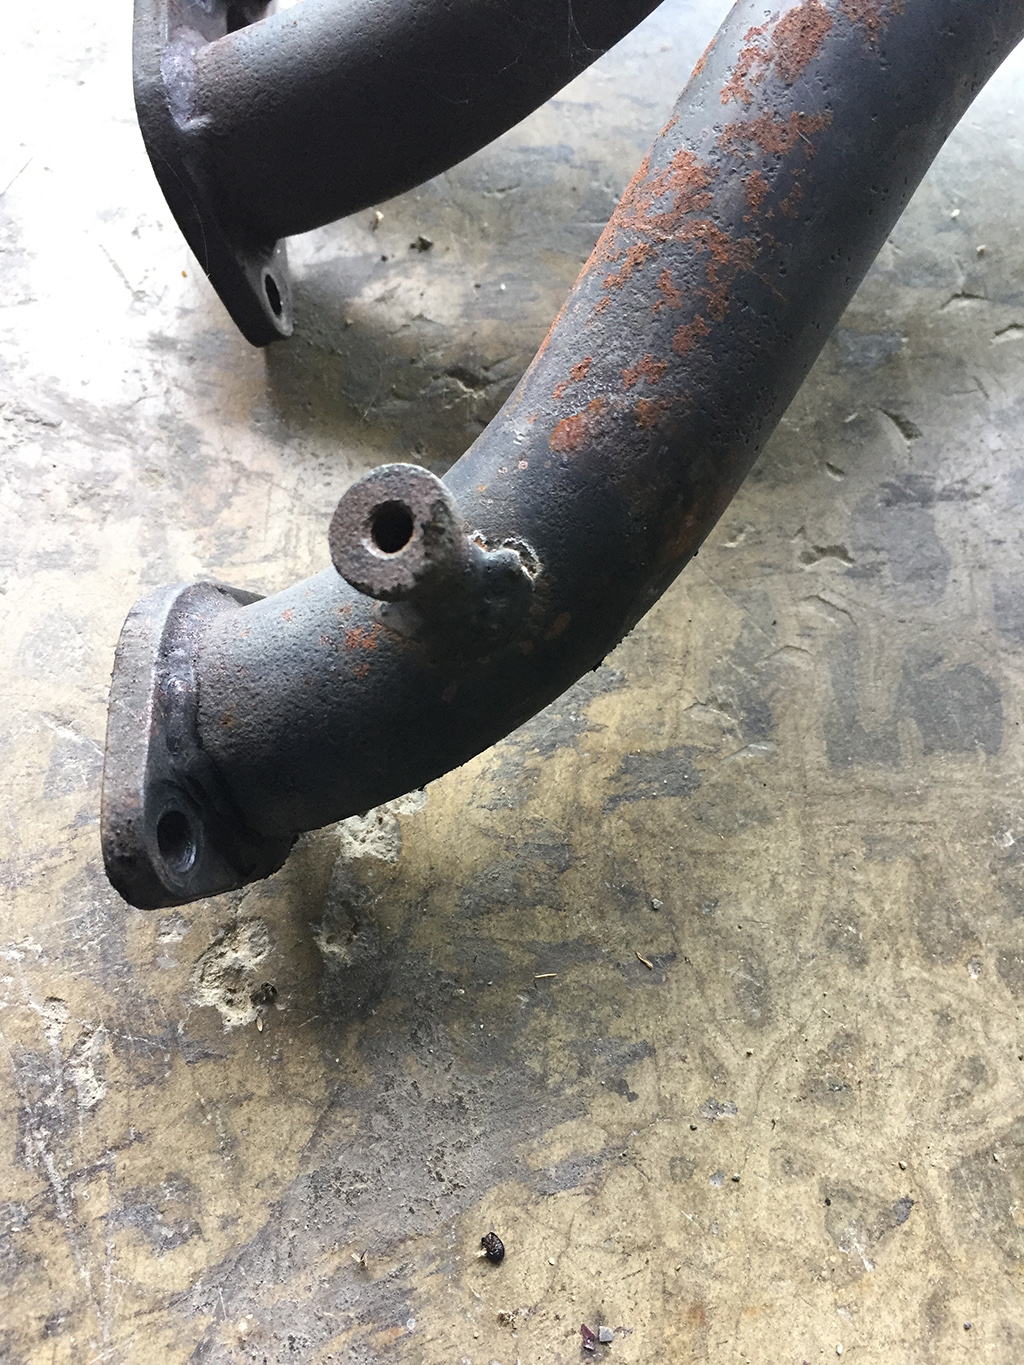
Ferrari headers have a fixture to hold the exhaust shields in place, and these headers were missing a few of them. I’ll have to fabricate new ones and weld them on to the header.
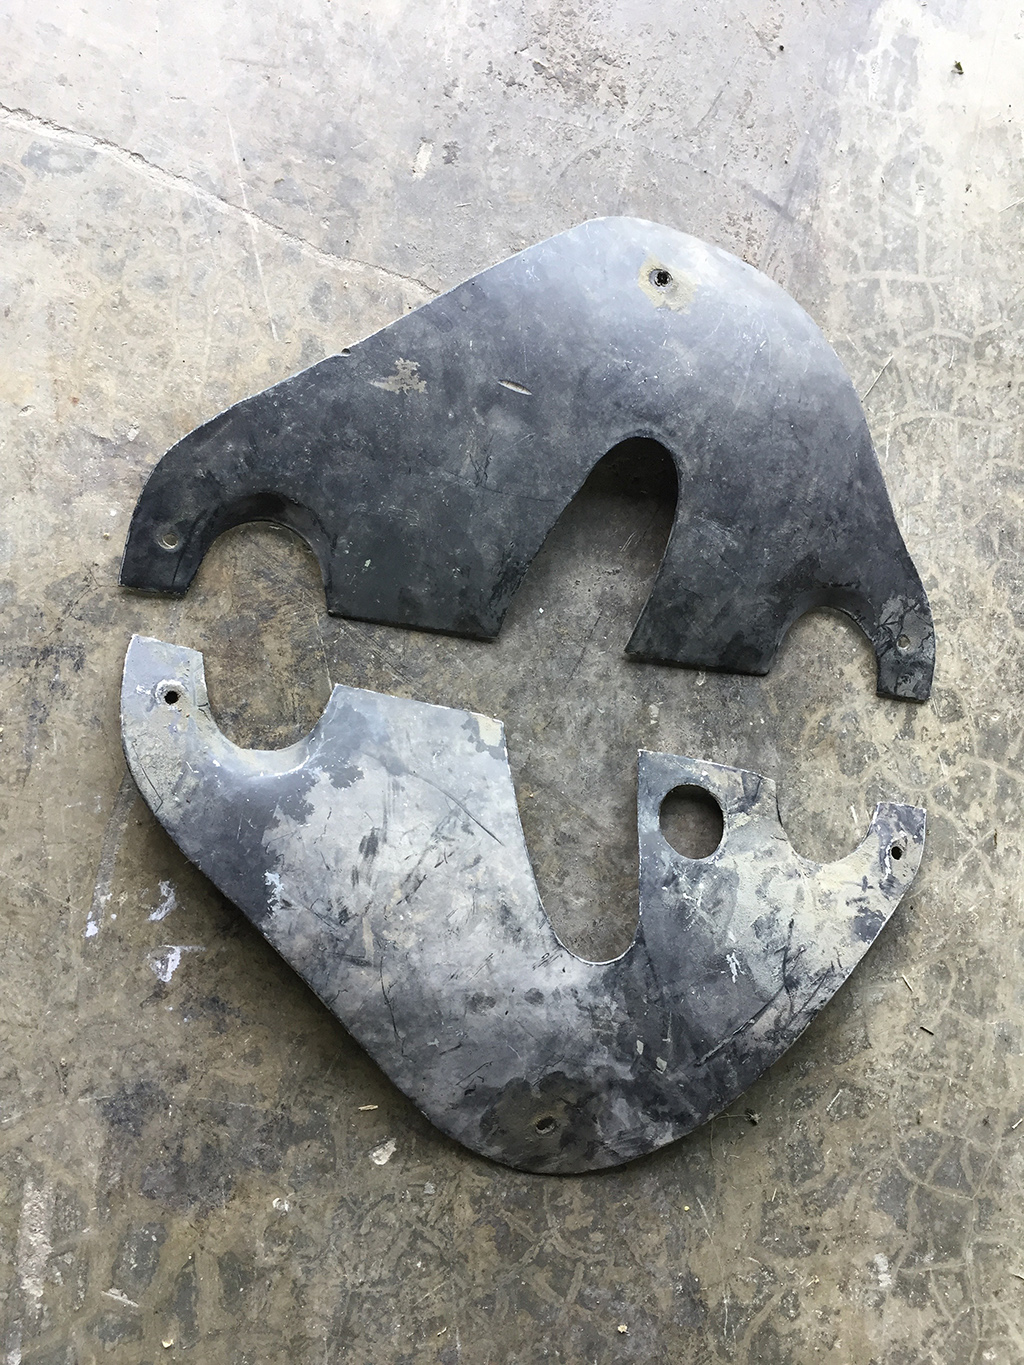
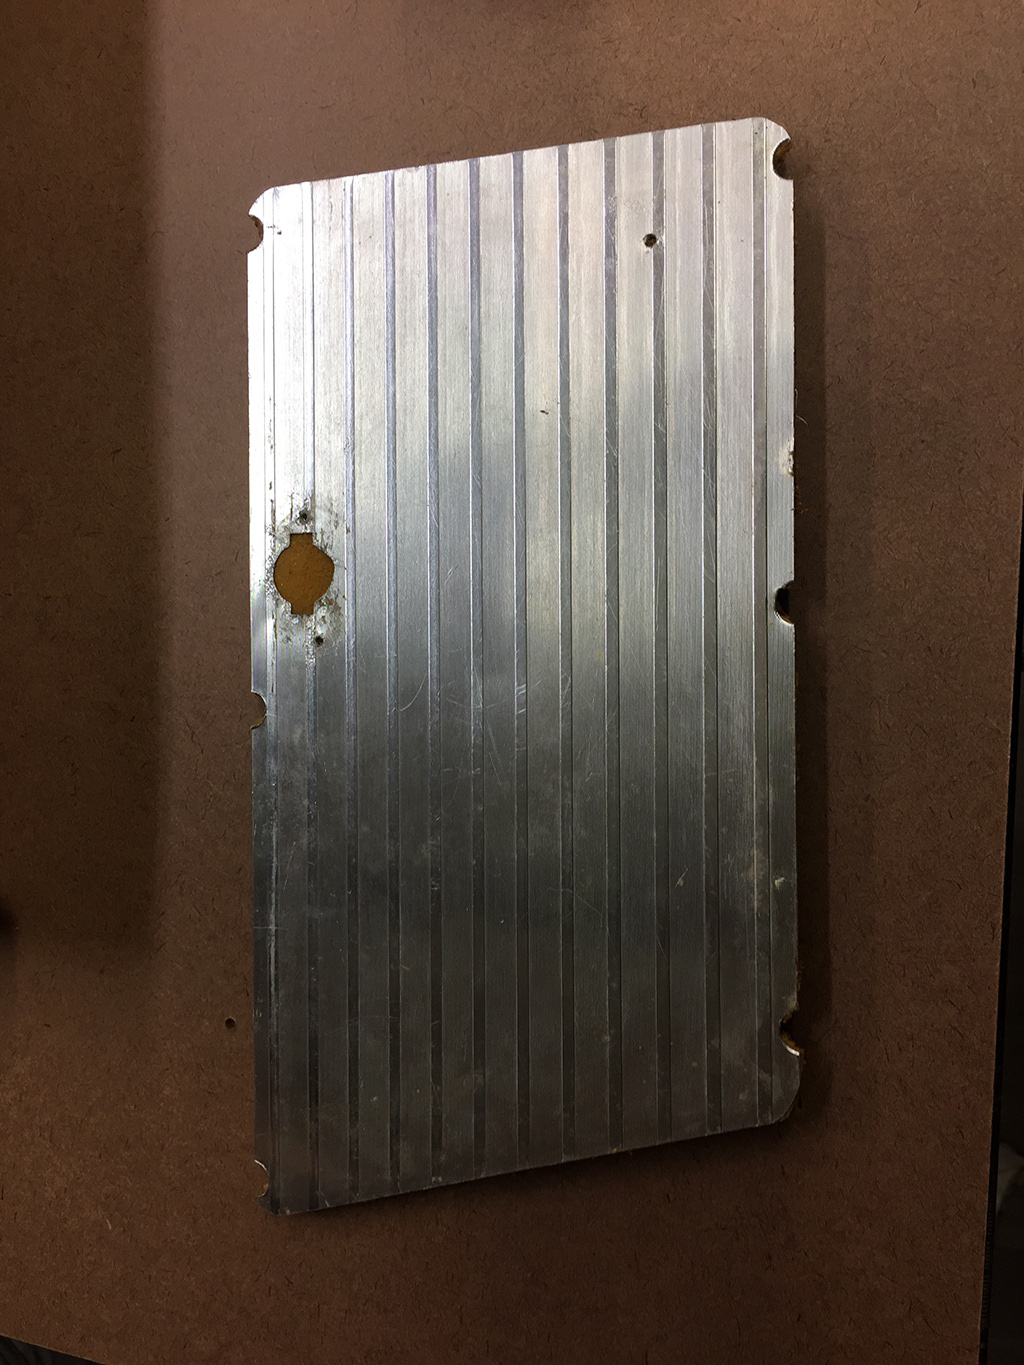
The exhaust shields that attach to the headers were missing on this car. There are different shapes that fit different engines and header shapes, and this is an example of what I need to find for this car.
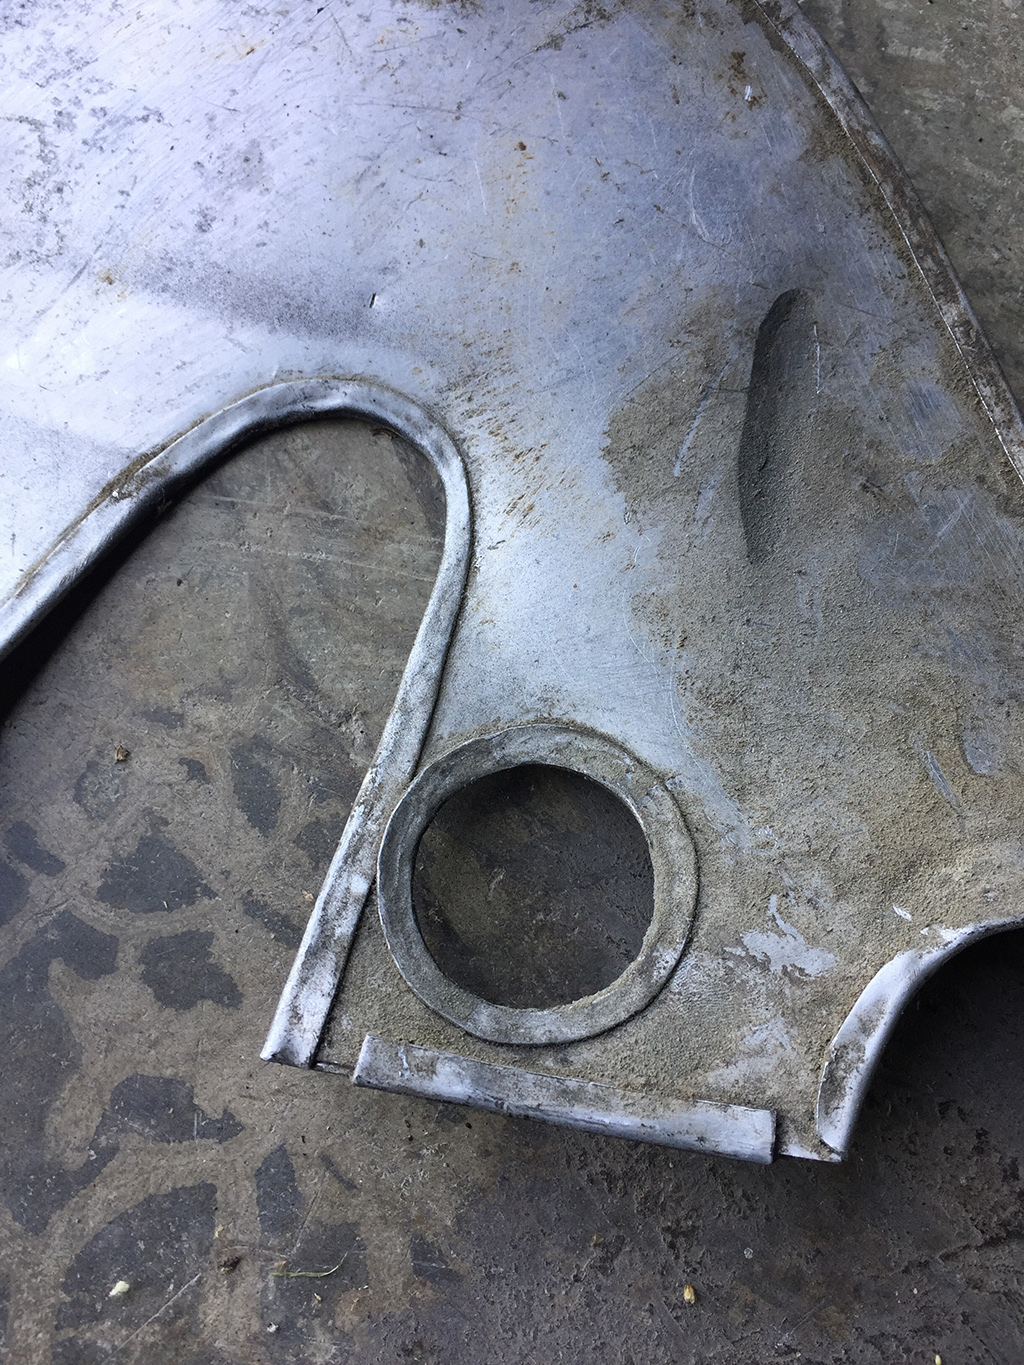
I’ve made a set of these for my car in the past, but there is a lot more detail to the original pieces than at first glance. They’re made of two layers of aluminum with a fiberglass sandwich. The edges are folded over to hold everything together. The hardest part is the care that needs to be taken to fold over this circle for the dipstick. I’m hoping I can find a used set instead of having to make a set!
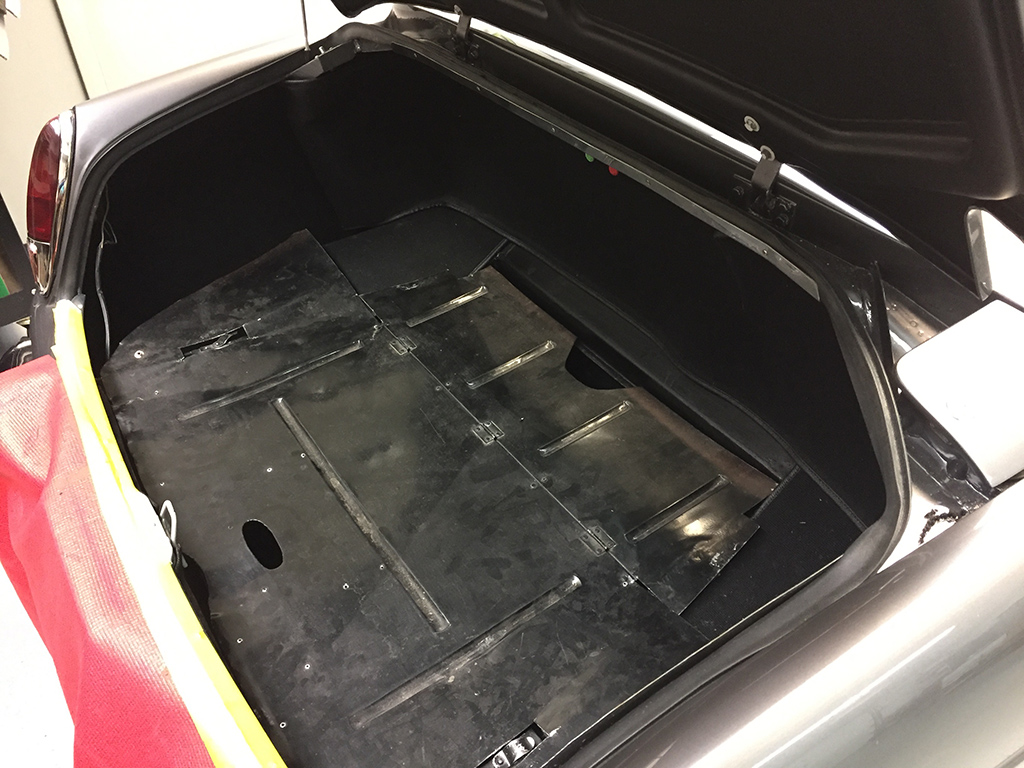
I stopped by the upholsterer’s shop with another GTE that is getting it’s interior done. We made sure he understood how the various panels fit in the trunk, and how the carpet laid in over the panels. A conversation at this point in the process will save him a lot of time later re-trimming and binding the carpets when the parts don’t go together as the original pieces.
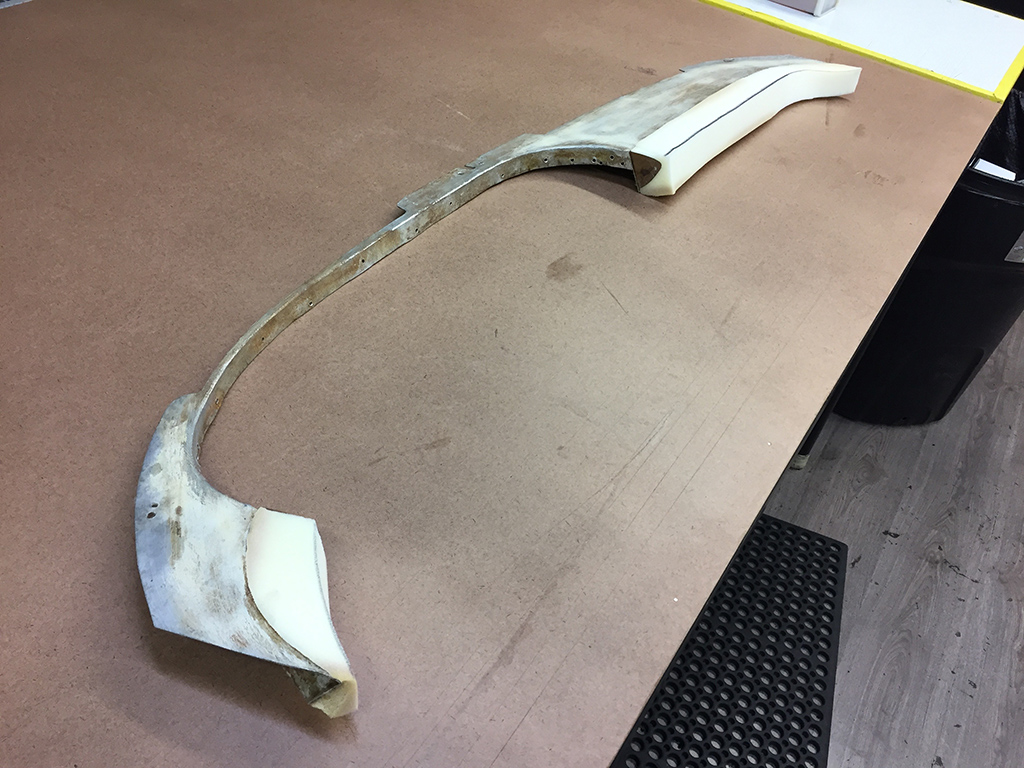
The top of the dash will need to reconstructed with new foam.
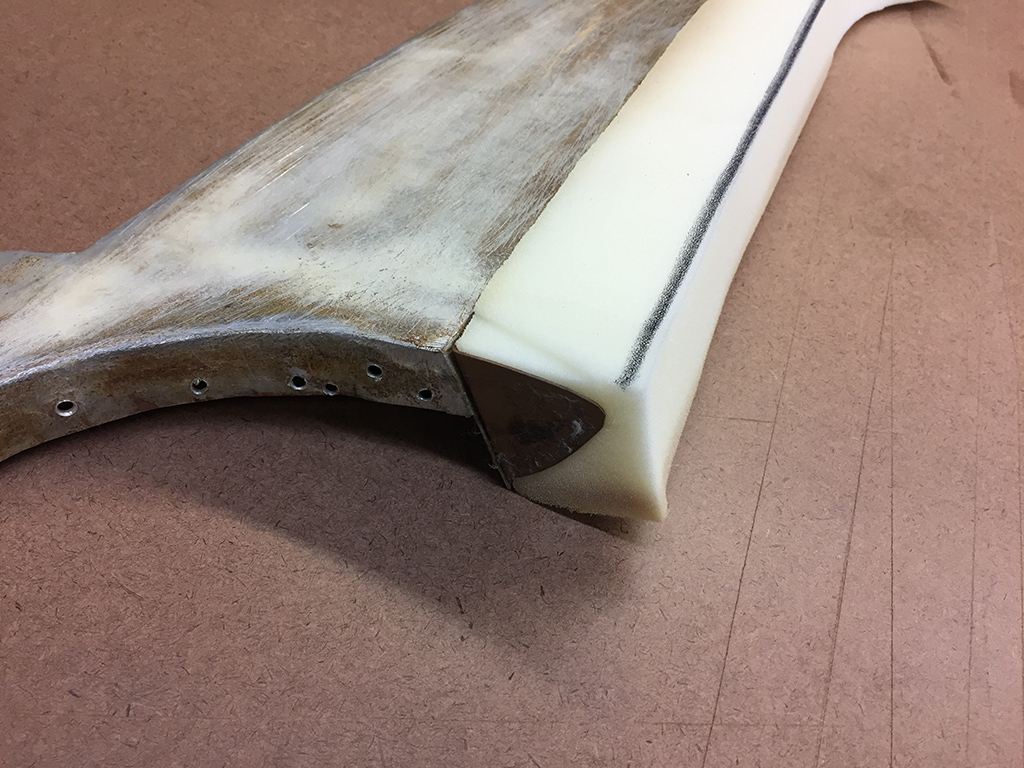
The front nose of the dash often hardens and deteriorates beyond repair, so new foam has to be attached and shaped. Luckily, the profile of the foam is seen from the side piece in the dash for the sander to follow.
We went over the interior pieces to figure out what I needed to repair or replaced. One problem I found was the kick panel pieces in the door panel.
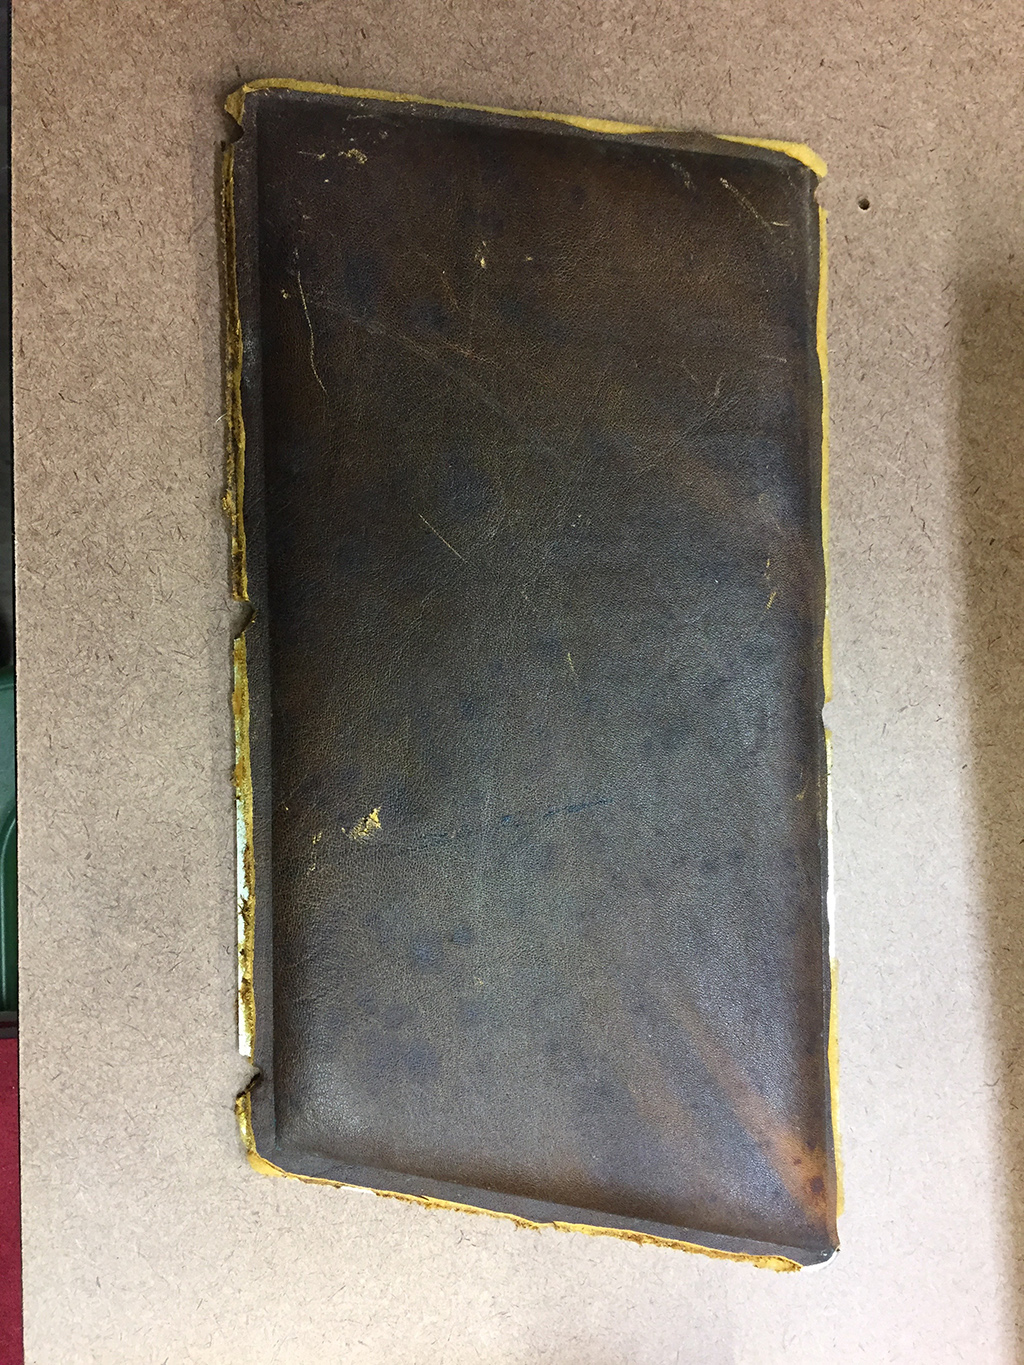
These panels were covered in that horrible brown leather like the rest of the old interior. Since these panels were mirrored from left to right, they covered the back side of the original panels to fit to the opposite door panel.
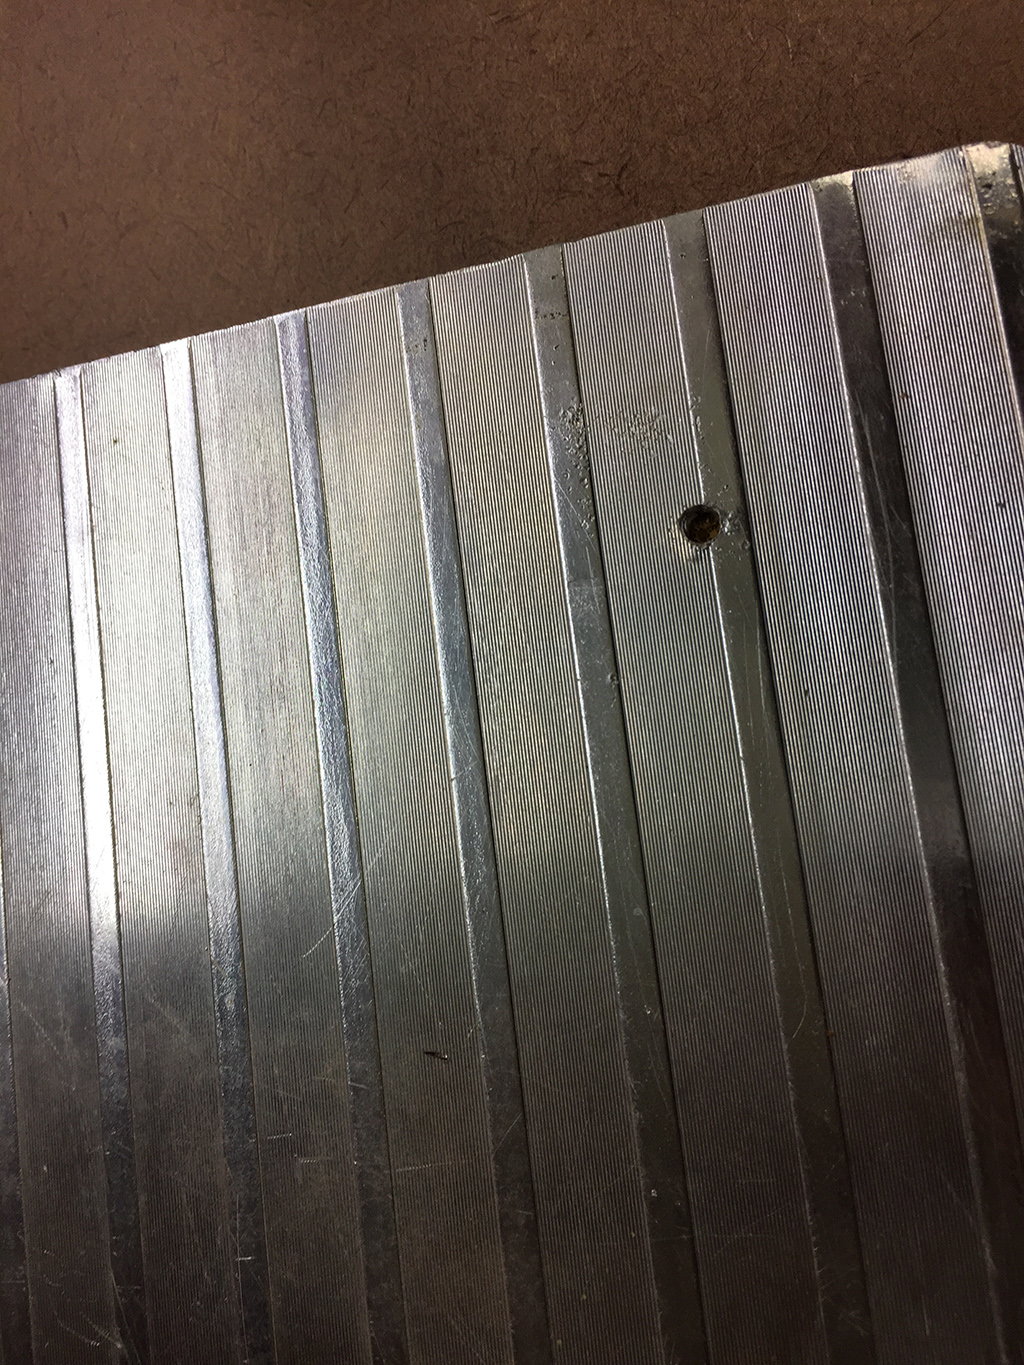
Unfortunately, the original surface of the panels were not in great shape, and one of them had a hole drilled into it. I’d like this interior to be a perfect as we can make it, and I’ll have to find a replacement for these panels. There are a couple of choices, and I’ll figure out the best solution!
Blog

Forum

Resource
