
250GTE Engine Assembly

The assembly begins to #3805 for a GTE I’m restoring. The first step was to install the crank shaft with new bearings.

With the crankshaft installed, I moved onto the pistons.
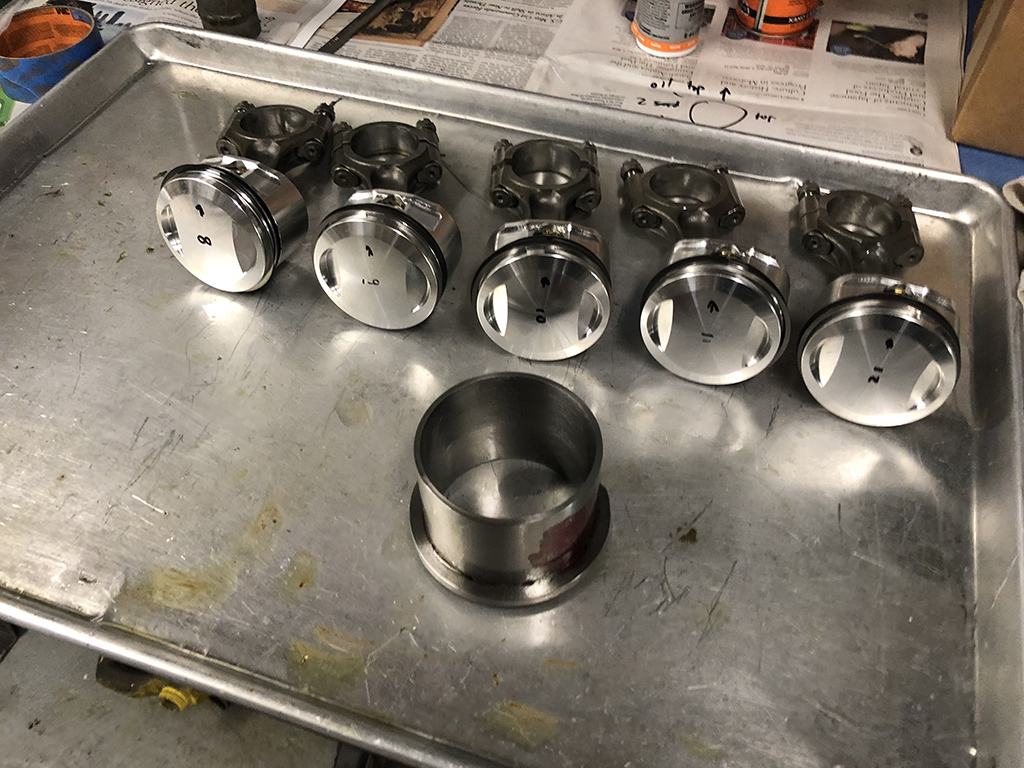
I double checked the ring gap positions and installed each piston with the special tool our machinist made for us. This saves us so much time compare to the old universal ring compression tool we used to use. I may never want to go back. Thanks Charlie!
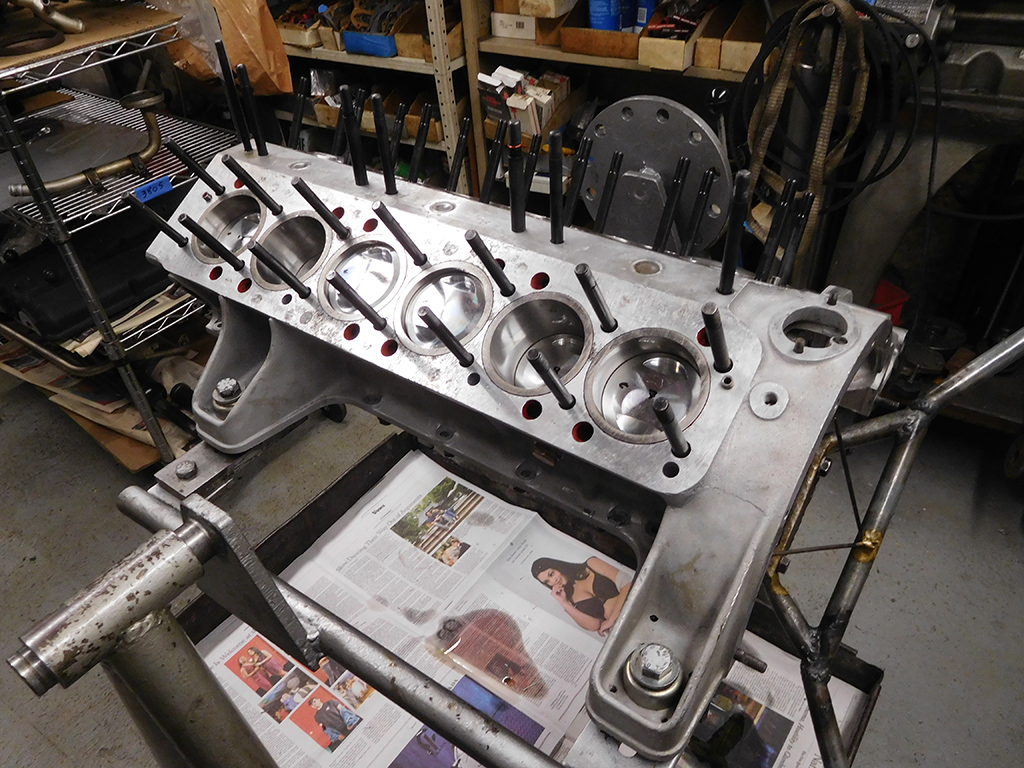
With the pistons installed, I moved onto installing the various coolant and oil plugs on the block.
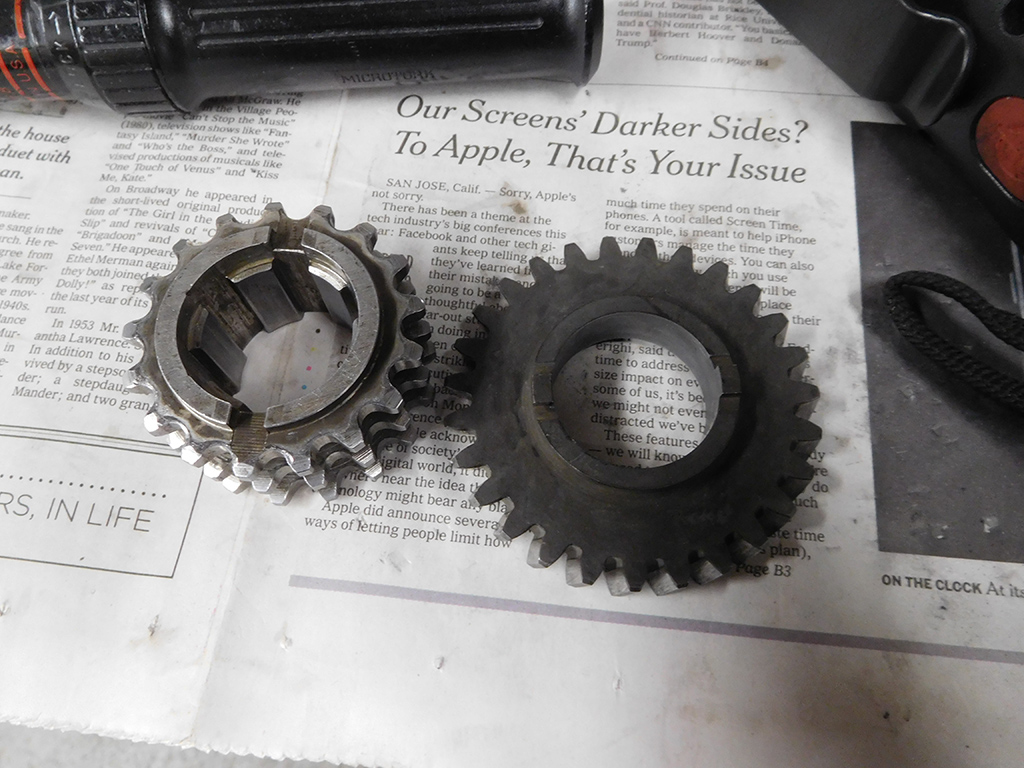
This engine came to us disassembled in many pieces. Most of the parts were accounted for, but it was missing couple of crucial pieces, two of them being the oil pump gear and chain drive sprocket that attaches to the crankshaft snout. Luckily, Francois had a couple of spare parts in his parts stash to donate to the rebuild, but they didn’t fit very well to the crankshaft on 3805.
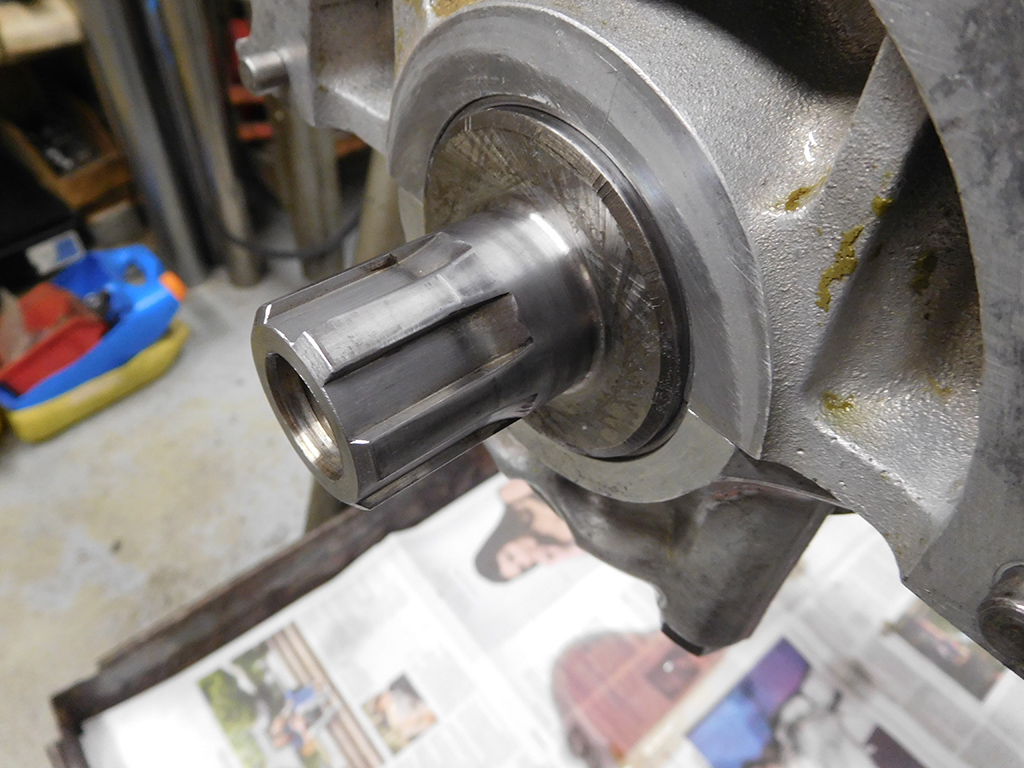
The parts were correct, but along with a couple of burrs and a thousandth or two difference in diameter, the parts wouldn’t go together. I carefully sanded away material, and filed away the imperfections to get the parts to fit. After I got them to slide together, I hand lapped the parts together so they would slide together nice and smoothly.

We could have forced these parts together, but that’s not the way they were made to go together, not to mention the difficulty of taking it apart again someday well in the future. It may have taken some time, but no one will ever fault us, or curse us, for crappy trade craft!
Blog

Forum

Resource
