
330GT 2+2 Radiator Area
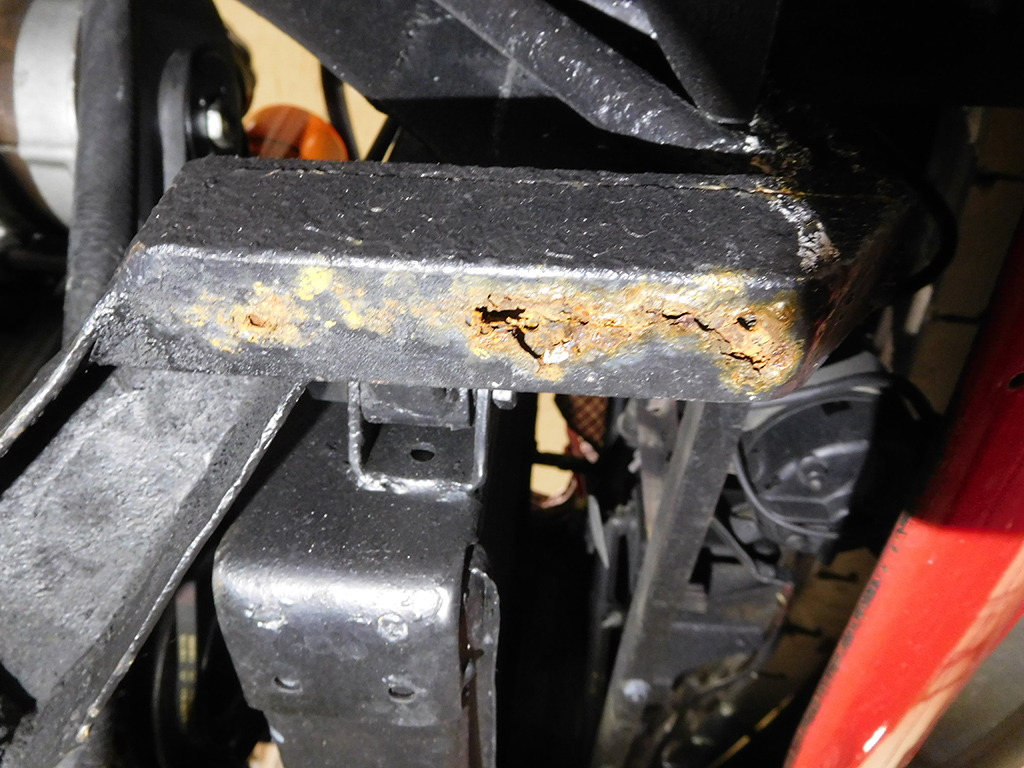
When I removed the radiator from the 330GT I have at my shop, I noticed some rust forming on the lower support bracket. The rest of the structure is pretty solid, but this area should be repaired to keep the rust from spreading.

As usual, the blistering was worse when I started poking around to remove the rust, but it looks like the rot was limited to the lower section. I’ll cut this section out and weld in some new steel.
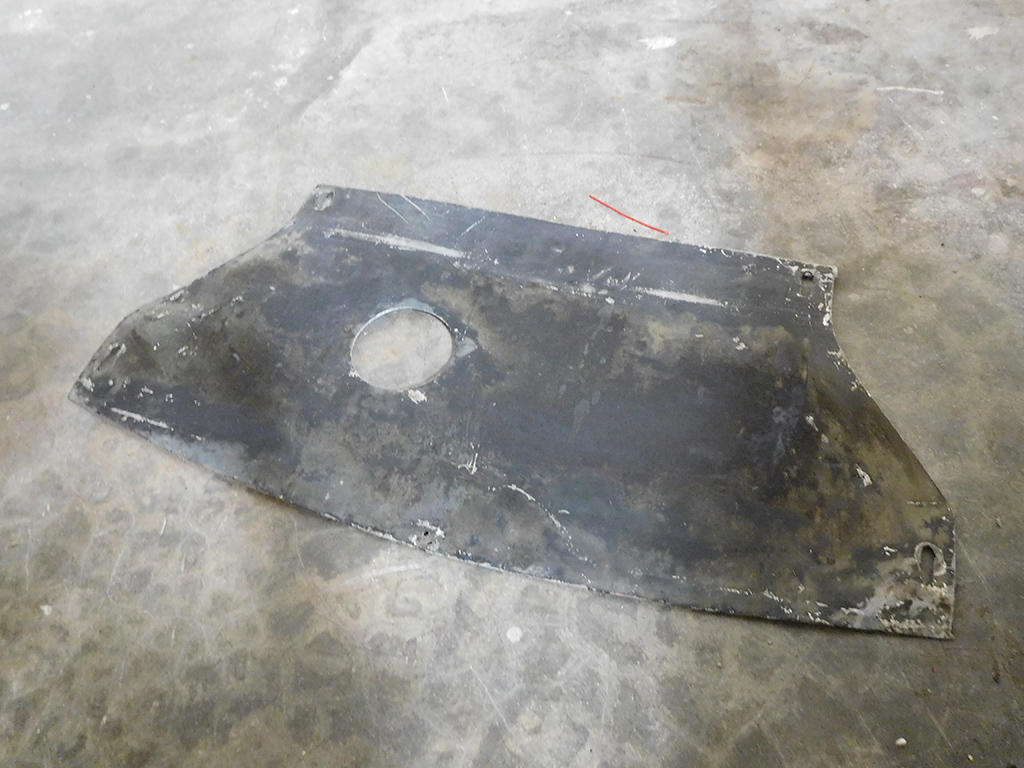
When the radiator came out, I noticed it was missing the lower radiator cover. I had a cover laying in my parts stash that I didn’t know exactly which car it came from, so I decided to see if it would fit.
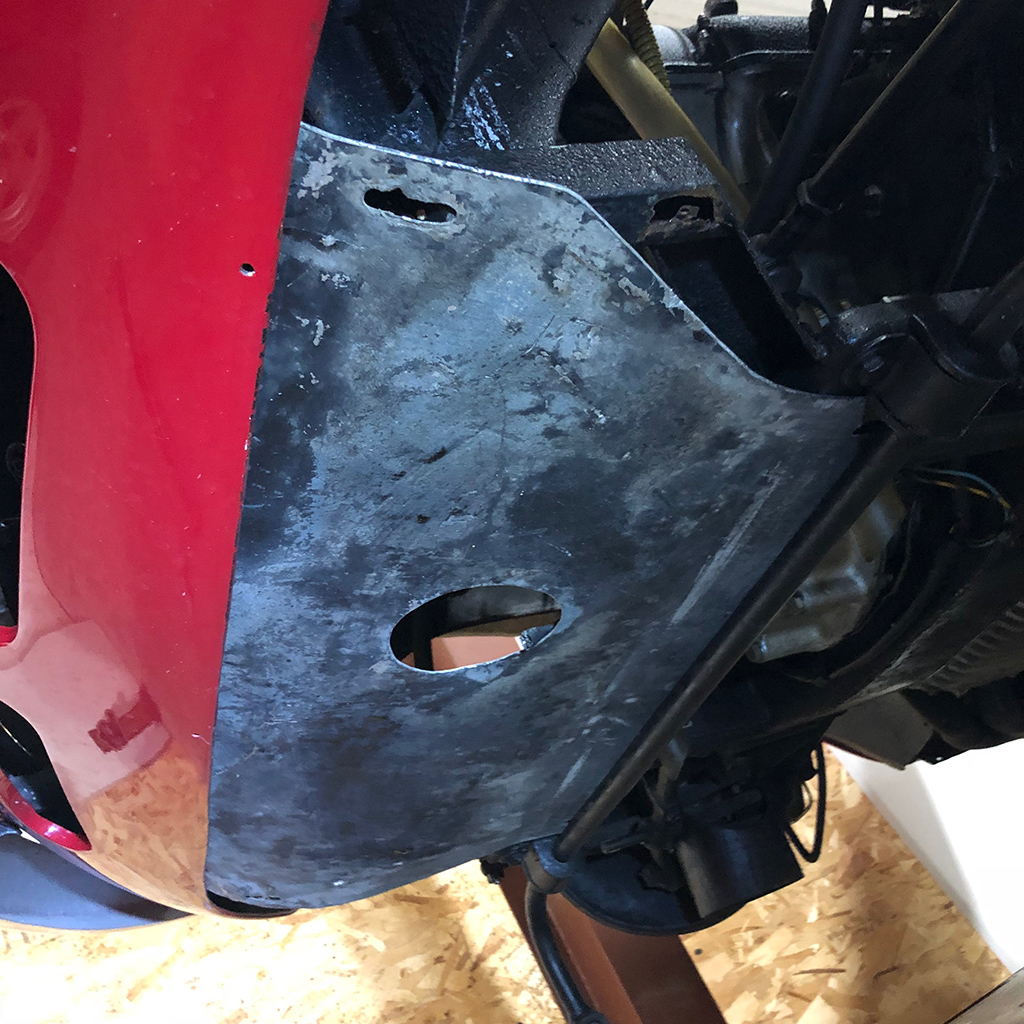
Everything lined up perfectly, so the mystery was solved. GTE radiator covers have more of a bowl shape to them, but now I know the 330 lower radiator cover is essentially flat with a curve to clear the radiator. I’ll wait until the radiator comes back to do the final bending, but I found a home for my mystery radiator shield!

Another anomaly was this fan assembly for the 330. There was a pretty crude steel piece installed on the fan motor. SI 330s have two cooling fans, one driven off the engine, and a second driven by an electric motor, but I don’t think this stamped steel fan was correct. After conferring with Kerry Chesbro, the keeper of the 330GT Registry, I confirmed this was not stock. Luckily, I had a spare fan assembly in my parts stash as well!
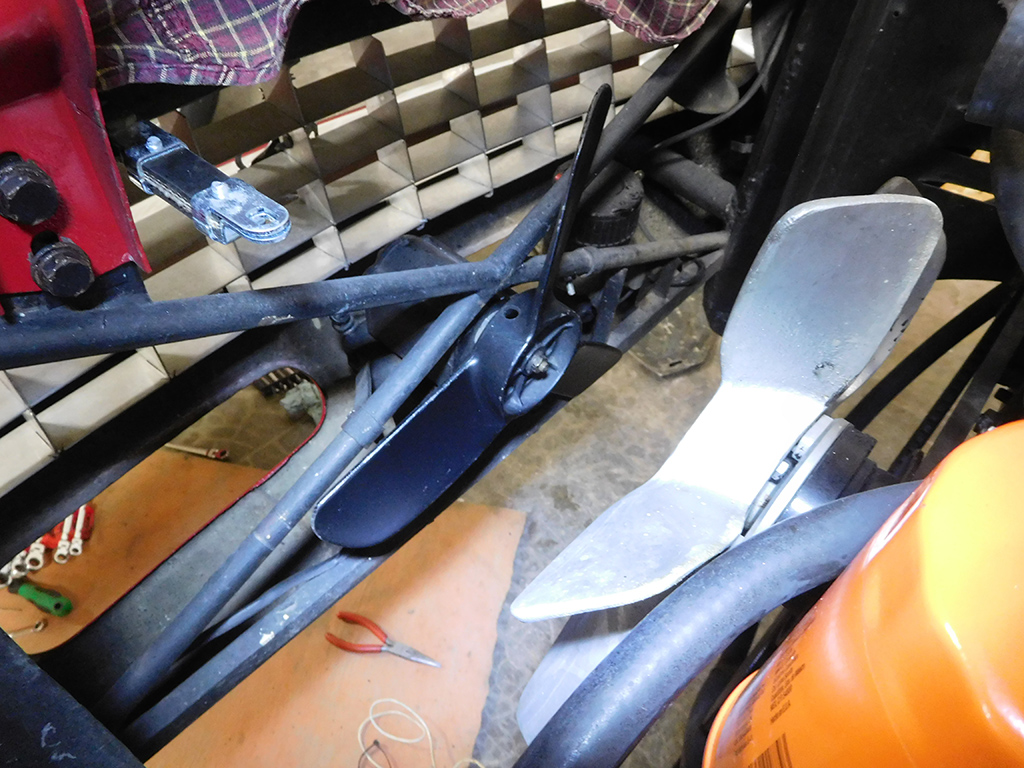
The cast aluminum fan is what is normally found on Vintage Ferraris, and I painted it black. I’ve found these in silver and black, but the consensus is if it’s in front of the radiator, they’re painted black so it’s not so obvious when looking into the front grille. Behind the radiator, they’re silver.
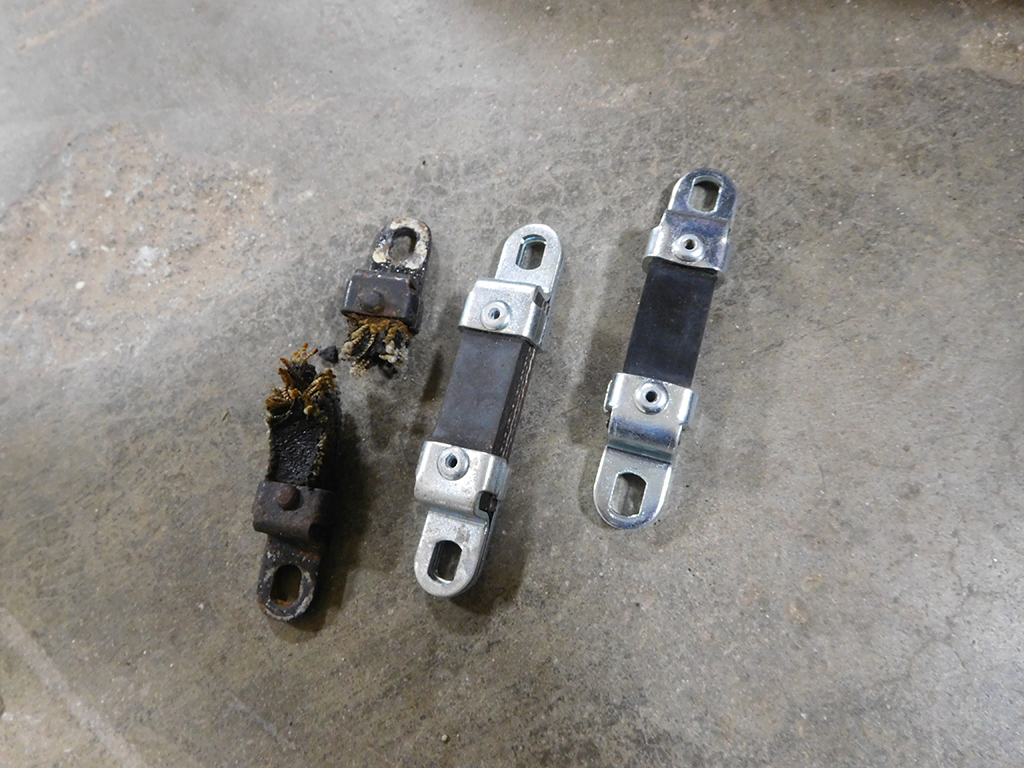
The top mounts for the radiator were pretty rotted, so I replaced them with new ones. If you want to be pedantic, the absolutely correct hangers have solid rivets securing the ends to the rubber straps, but most reproductions have hollow pop rivets. I’m pretty sure someone is making hangers with solid rivets, but I digress.
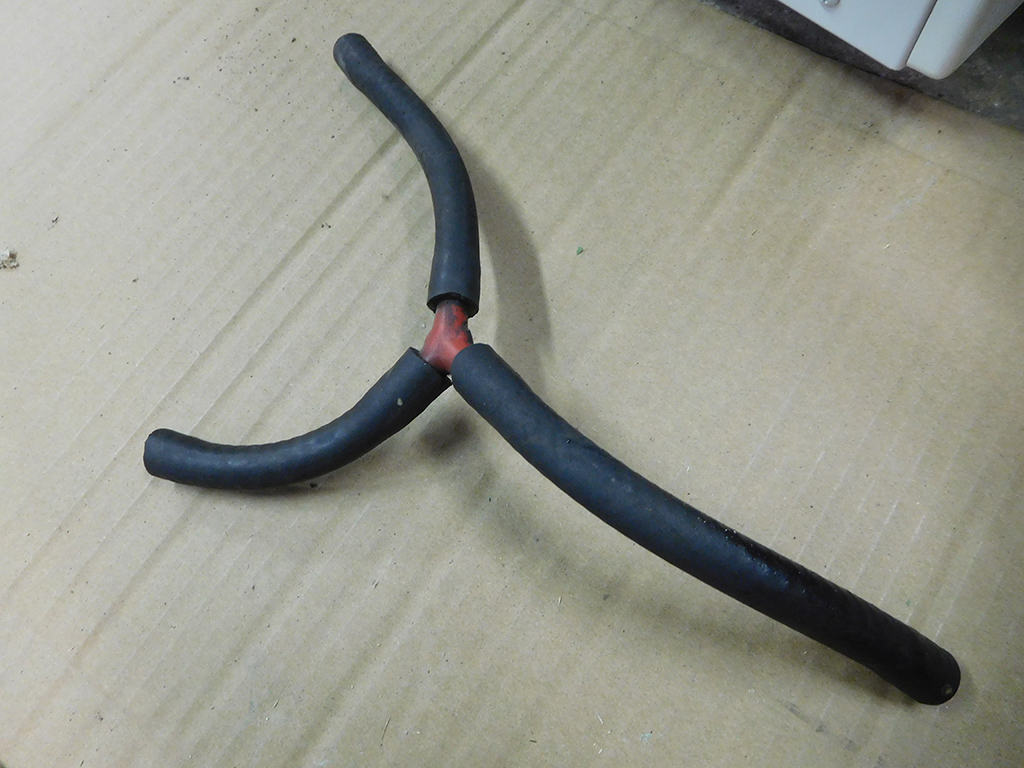
The horn hose was wrong, and since I had everything apart, now was the time to replace this with the correct red PVC hose.

Moving on to the suspension pieces, the sway bar end link bushing were pretty worn and collapsed, so I pressed out the old ones for replacement. These end links will have to be plated to restore their original finish.

I started addressing some of the issues with the interior, and the first step was to remove the window winder to remove the door panel. Unfortunately, the chrome on this window winder was pretty chipped up. I’ll have this rechromed.
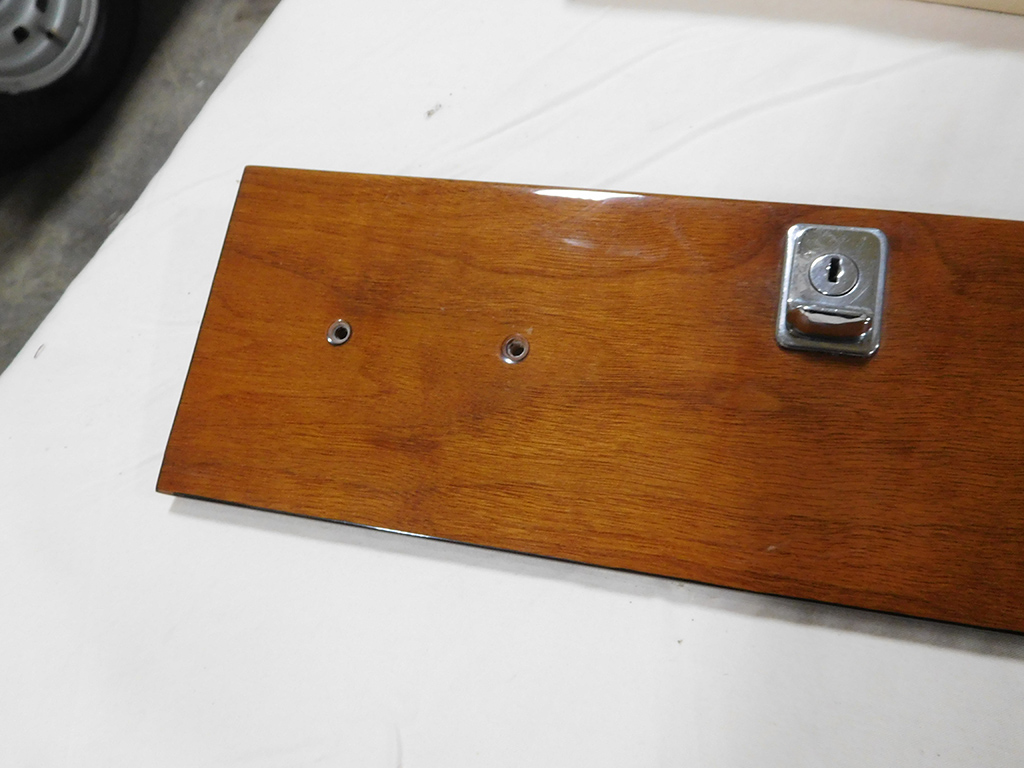
Several posts ago, I showed a plaque that was glued to the glove box door. After removing the plaque, I unfortunately found two through holes drilled through the panel. Although the finish on this panel is too shiny, I would love to fix just these two holes and match the varnish on the glove box door to avoid having to refinish the whole dash. I know there are some talented wood workers that can patch these holes and match the finish, but the trick will be to find that person! I’m open to referrals!
Blog

Forum

Resource
