
GTC Disassembly
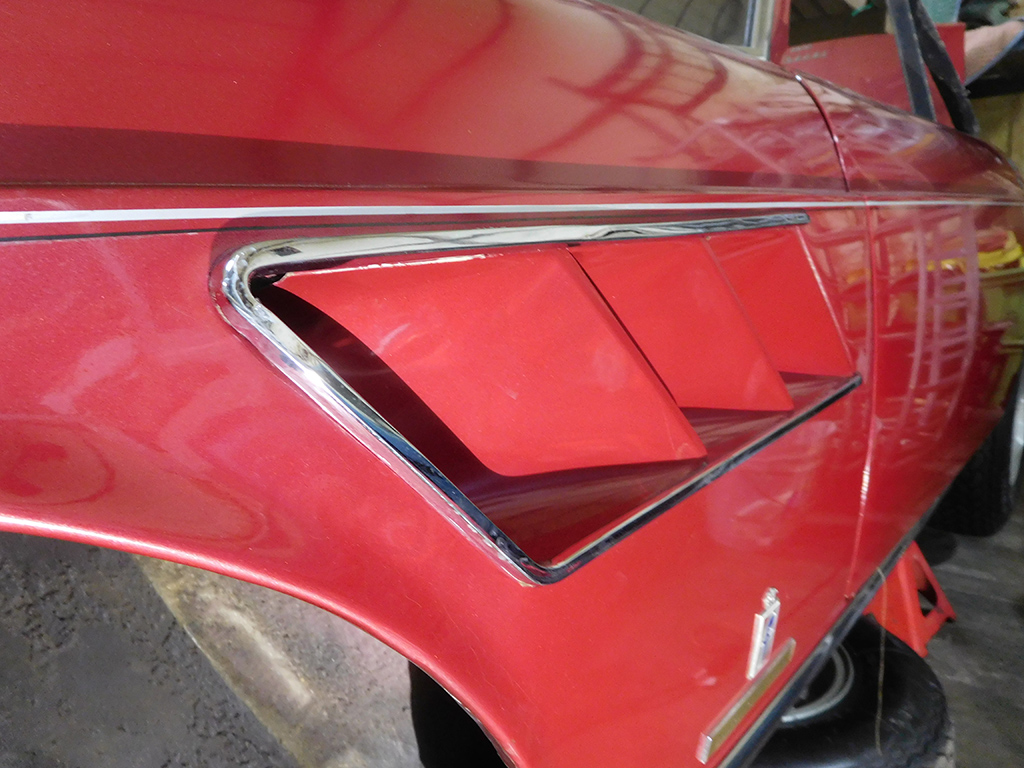
The disassembly of the 330 GTC continued. After the doors were disassembled, I worked my way towards the extractor vents on the front fenders of the car. There are a bunch of fiddly little parts that hold these pieces together, and since they were painted before, I had to see if any original parts were missing.

The first problem I found was someone used speed clips to reassemble these grille pieces when they did a color change on this car. Speed clips are stamped steel clips that press onto a threaded bolt so you don’t have to use a nut. As their name implies, they speed assembly up, but since the clearance behind the grille wouldn’t allow these clips to spin nor would the studs the speed clips were attached to. I cursed the previous restorer or painter that took this short cut only to make my job that much harder!
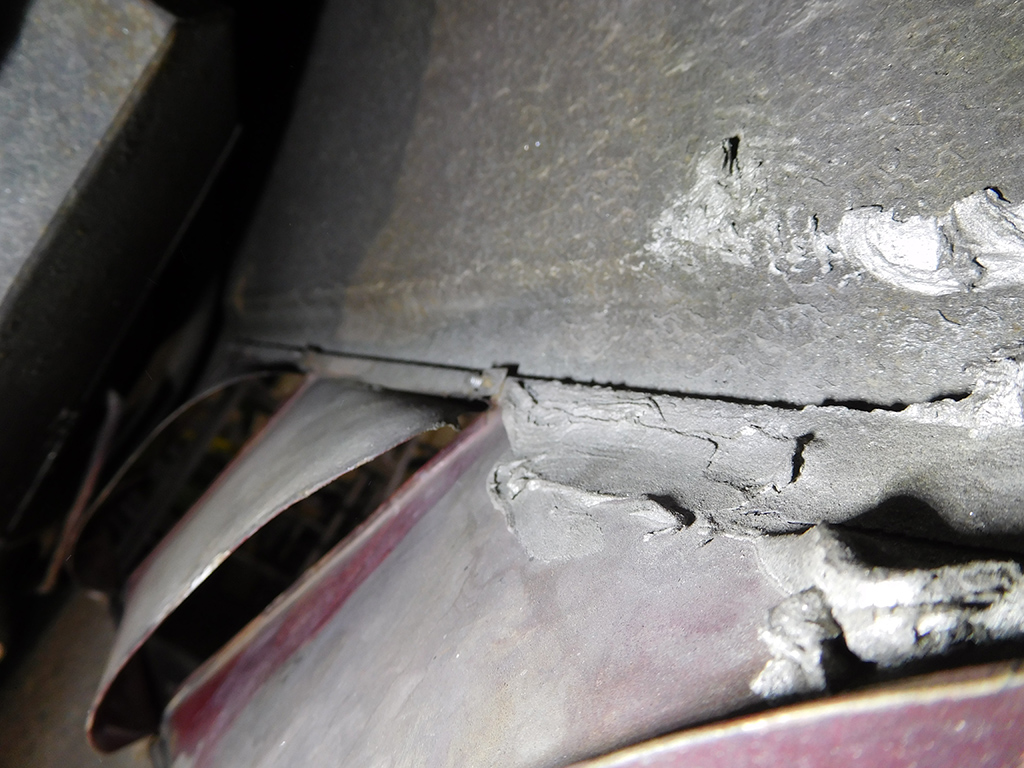
Another short cut the previous body guy took was he or she used plastic filler to glue the grille pieces in place. Shame on you!

After seeing this kind of work, I’m beginning to wonder what kind of surprises I’ll find next!

The good news was since this car was “masked and sprayed,” the sloppy body work didn’t affect the way the side windows were installed since they were not apart since it left the factory.

Having disassembled a few GTCs in the last several years, I knew exactly where to find the screws hidden under the old gaskets and sealant.
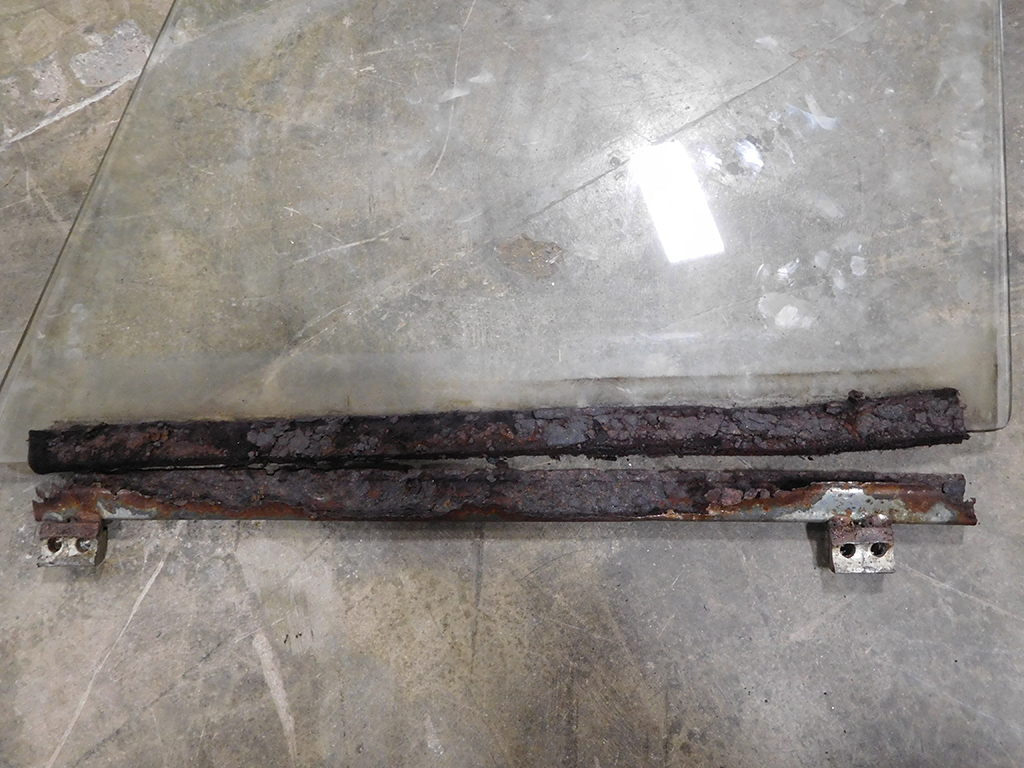
I started making a list of “to-dos” that would need to be addressed when this car goes back together. One of them was to fabricate new side window brackets.

These brackets secure the windows to the cable system that raises and lowers the side glass, but the felt that insulated the metal bracket absorbed moisture through the years and caused the brackets to rust pretty badly.
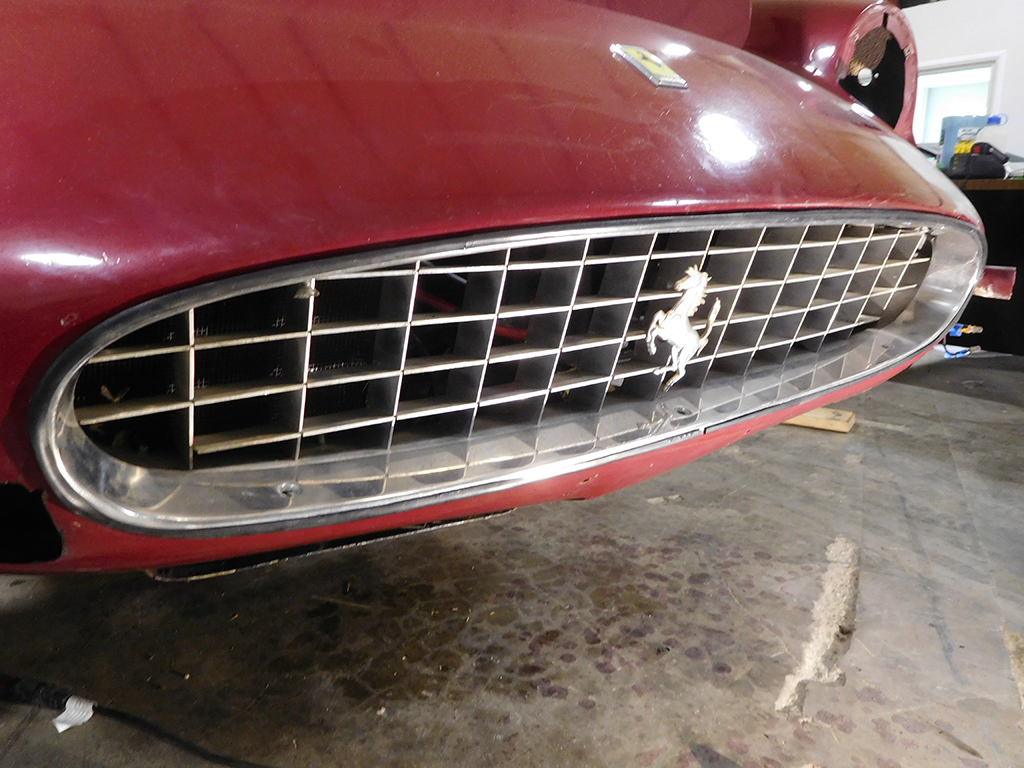
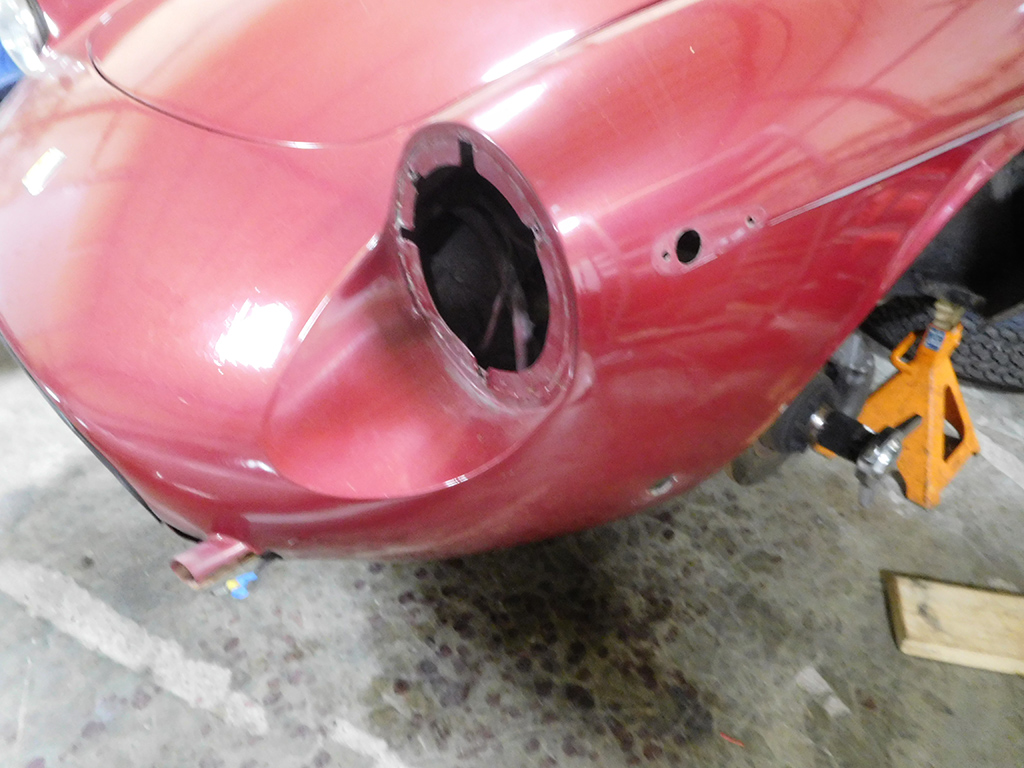
Removing the grille was next after I pulled the front bumpers off the car.
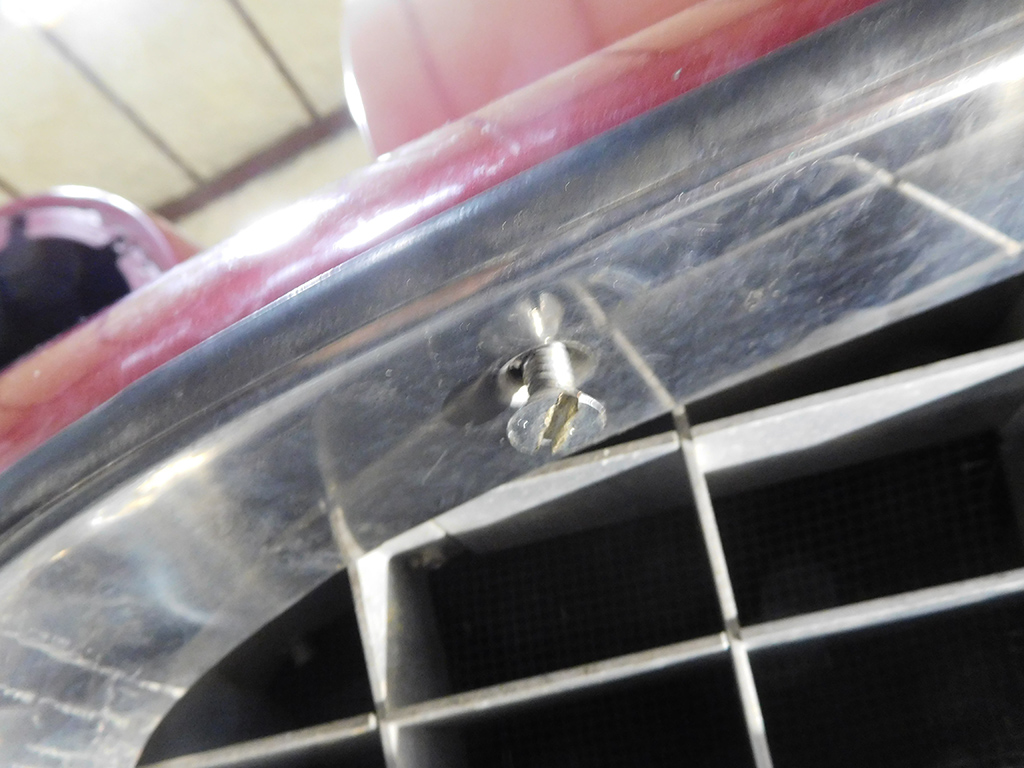
The next short cut taken my the last person who took this grille off the car was they stripped a capture nut, so instead of repairing the problem, they replaced the original oval head phillips head screw with a flat head, and held it in place with a regular nut. Without a capture nut securing this screw the only way to hold the backing nut on this set up was to contort my arm through the turn signal lamp hole to reach behind the grille to hold the nut so I could unscrew the fastener. More cursing was directed to the previous person who worked on this car!

The front and rear glass was carefully removed. I cut the gasket out from inside the car, and carefully pushed and pried the glass loose from the window frame.
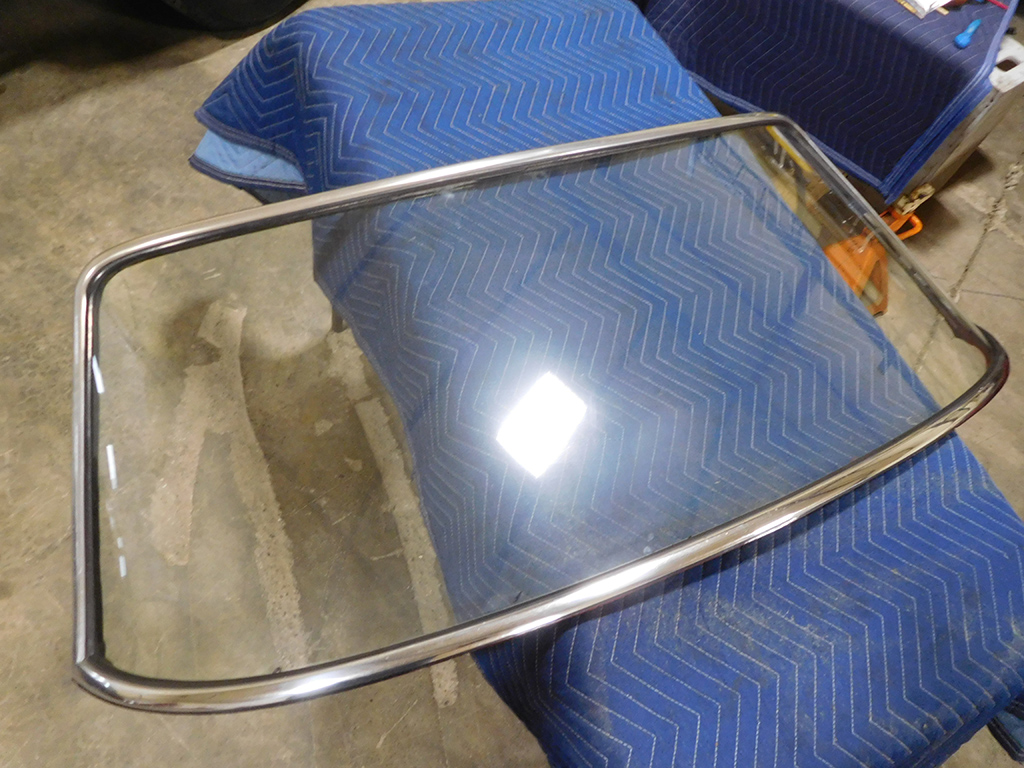
The chrome surround on this window will be sent out for rechroming after I remove the rest of the windshield gasket.
There was some signs of minor body work done to the nose and trunk area of the car, so I’ll be sending this car out for paint stripping to decide what kind of repairs will be needed next. Stay tuned!
Blog

Forum

Resource
