
Boxer Details

This green Boxer is really a nice car. I love the color combination and it really stands out among the usual red/tan Boxers.

There were a couple cosmetic repairs I needed to do on this car, and one of them was to repair some of the wool felt pieces in the trunk area. Someone replaced a section with the wrong material, and I got a piece of the correct wool felt material and glued it in place.

While I was in the front trunk area of the Boxer, the owner asked me to make sure the heating and air conditioning was working properly. Boxers are notoriously hot and I wanted to make sure the controls were working correctly.

Often times the heater valve on these cars are not working properly. If the control cable isn’t closing the valve all the way, a little bit of hot coolant will always be circulating in the heater cores, heating up the interior of the car. I checked this valve, and and it all looked like it was working the best to could. Sometimes, despite the best effort, these valves will still allow some heated fluid to pass.

I looked a little closer at the way the A/C, heat, and defroster plenum was designed on this car, and it’s no wonder these cars are warm! The blower motor for the A/C system mixes with the defroster vents and only blow out of the three vent out on the dash. Fresh air only comes into the cabin after passing through the heater cores and a blower motor housing, so fresh air has no direct path into the car.

The detailing on the engine compartment was very nice, but I noticed a couple things.

It seemed like there was an extra piece of insulation glued to the engine compartment tins. The aluminum panels were already insulated, so I wonder if this extra piece of insulation was actually doing any good.
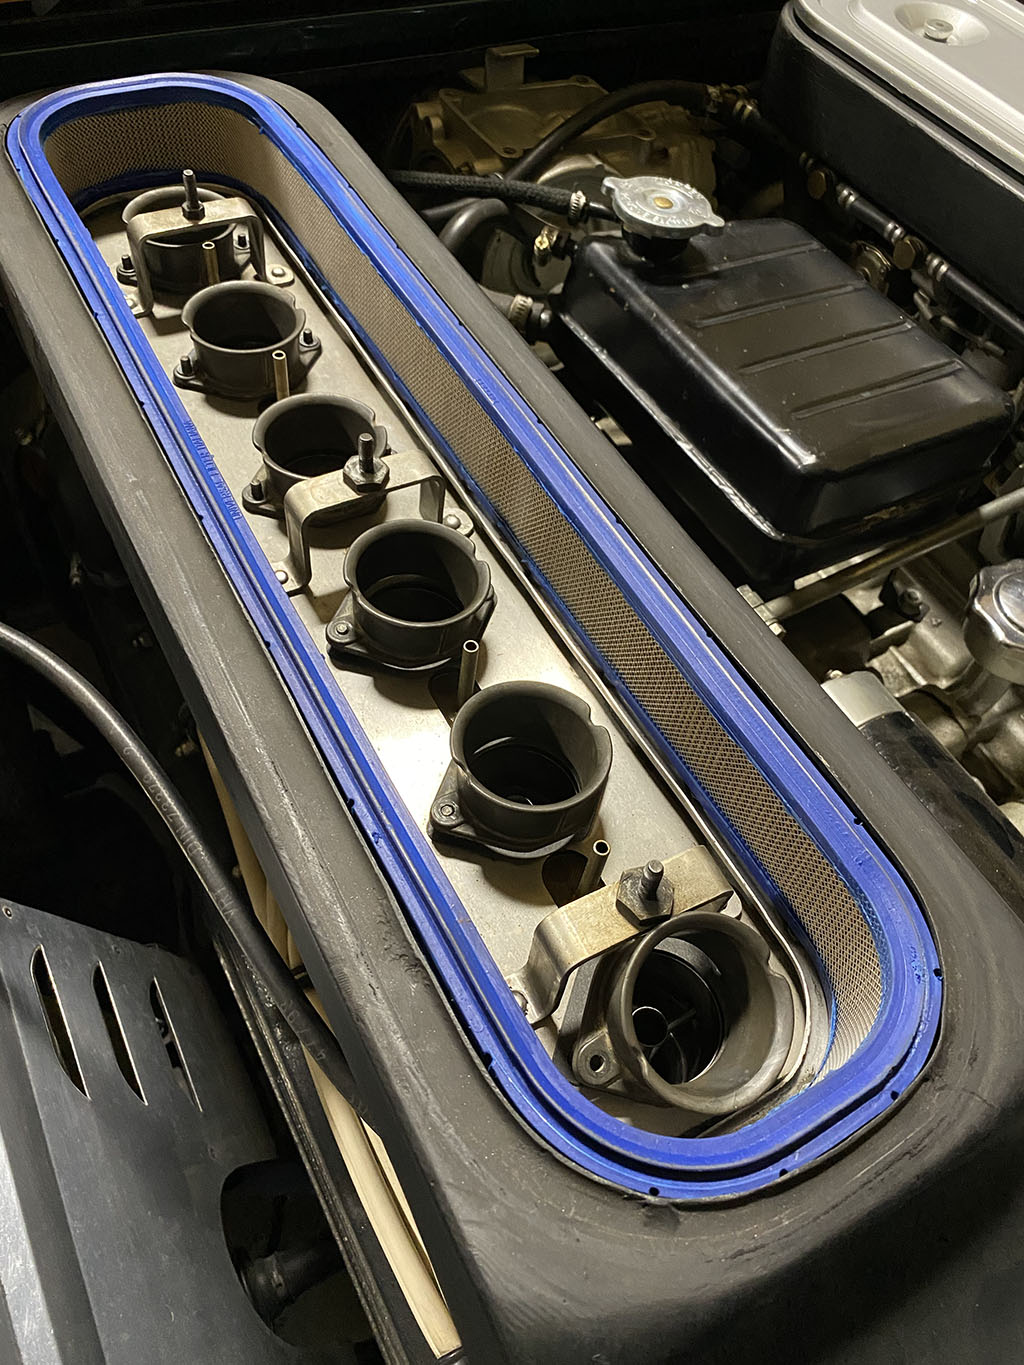
In order to remove the aluminum shielding, I had to remove the air filter housings and velocity stacks on the carbs.

Although this is not an error in detailing, but I eliminated the washers that were under the nyloc nuts securing the air horns. I always feel these washers risk falling into the throats of the carburetors whenever working on the carbs, and are better off left off the car.

With the rear panel removed, I started scraping the insulation off.

It was a multi step process to get the insulation off, then the glue, then the residue.

Sanding off the final bit of glue then required progressively sanding the aluminum with finer and finer grit so I could polish it.

I tried my best to polish the aluminum to match the other panels so it looked original.
Blog

Forum

Resource
