
Ferrari SII 330GT 2+2 Exhaust
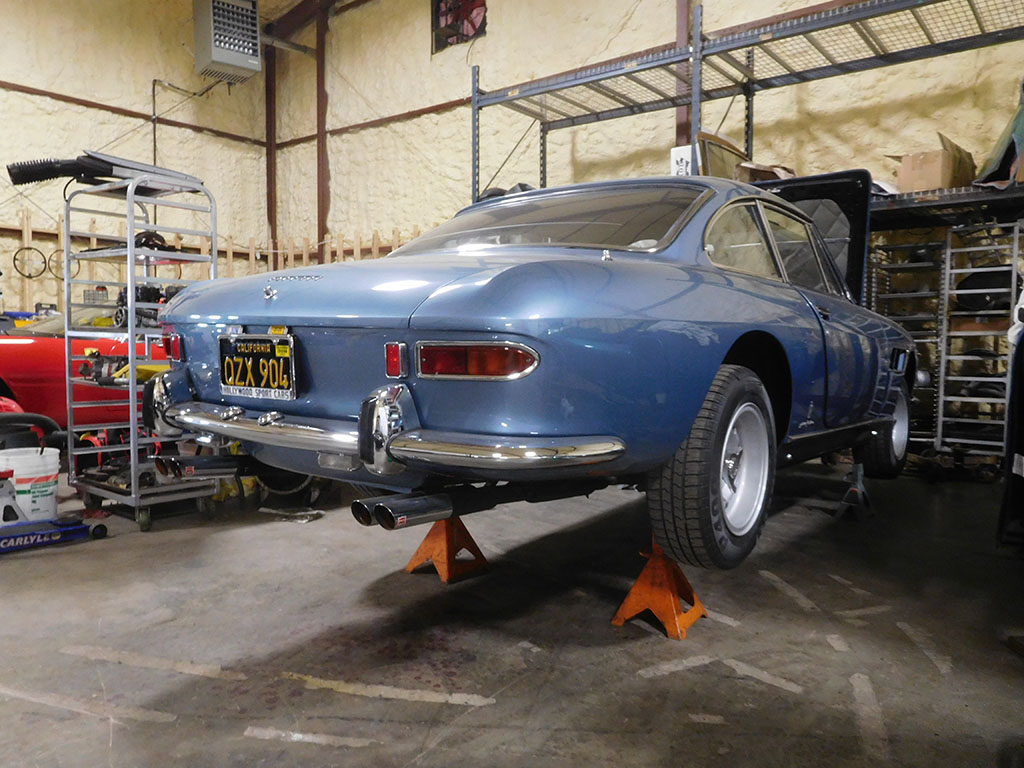
The new exhaust system finally arrived from Timevalve, so it was time to pull the rotted out ANSA system out of the SII 330.
I talked about ANSA and Abarth exhausts in a previous post, but this ANSA system was showing classic rust issues.

Because of the number of mufflers, short drives where the system doesn’t heat up enough for the moisture to evaporate, and perhaps the quality of the steel, these systems don’t seem to last long. The rust starts from the inside, and eventually turns the steel paper thin and falls apart.

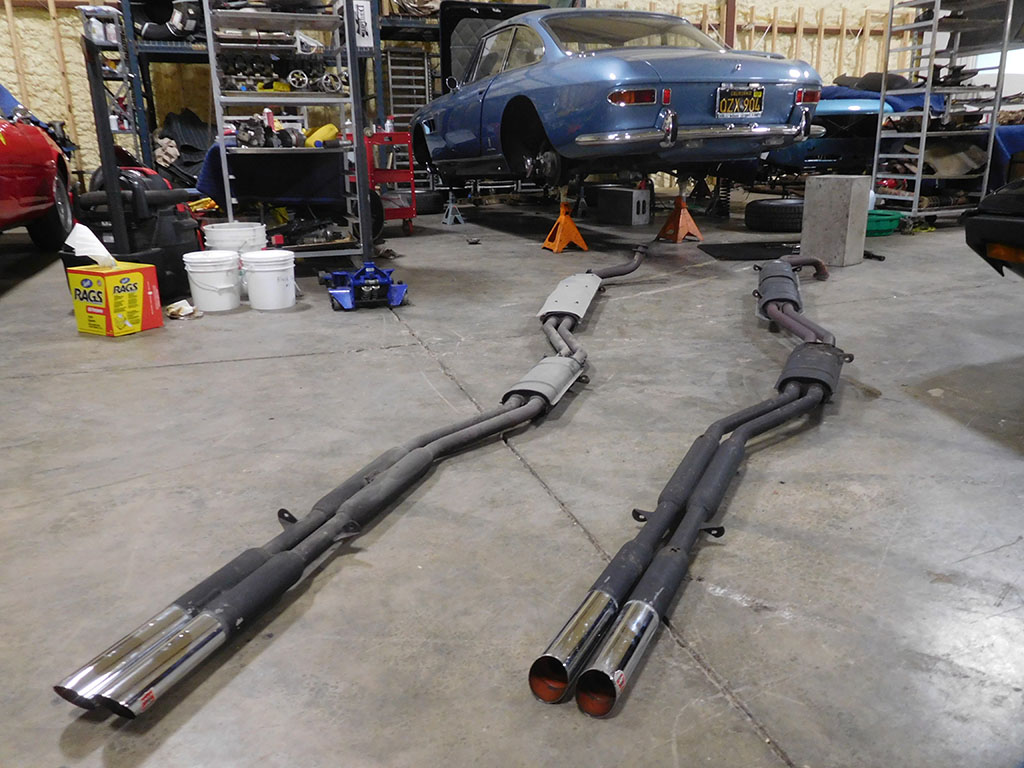
No amount of welding or patching will save this system, so the solution is to replace it with a new one.

The first job is to separate the front Y-pipe from the old system. The pipe was in good condition, but was seized to the first pipe on the muffler, but after heating things up red hot with a torch, the pipes separated. I had more problems holding the system down so I could pull the pipe off by myself. If the sawhorses didn’t work, I was tempted to strap the system to the bed of my pick up truck to pull it apart!

I had Timevalve make me a reproduction Abarth exhaust system that would have originally been installed on a SII 330GT. The details are subtle, but the main differences are the muffler cans are smaller and more square in shape, and the tips are two piece units with a chrome sleeve over a steel resonator.
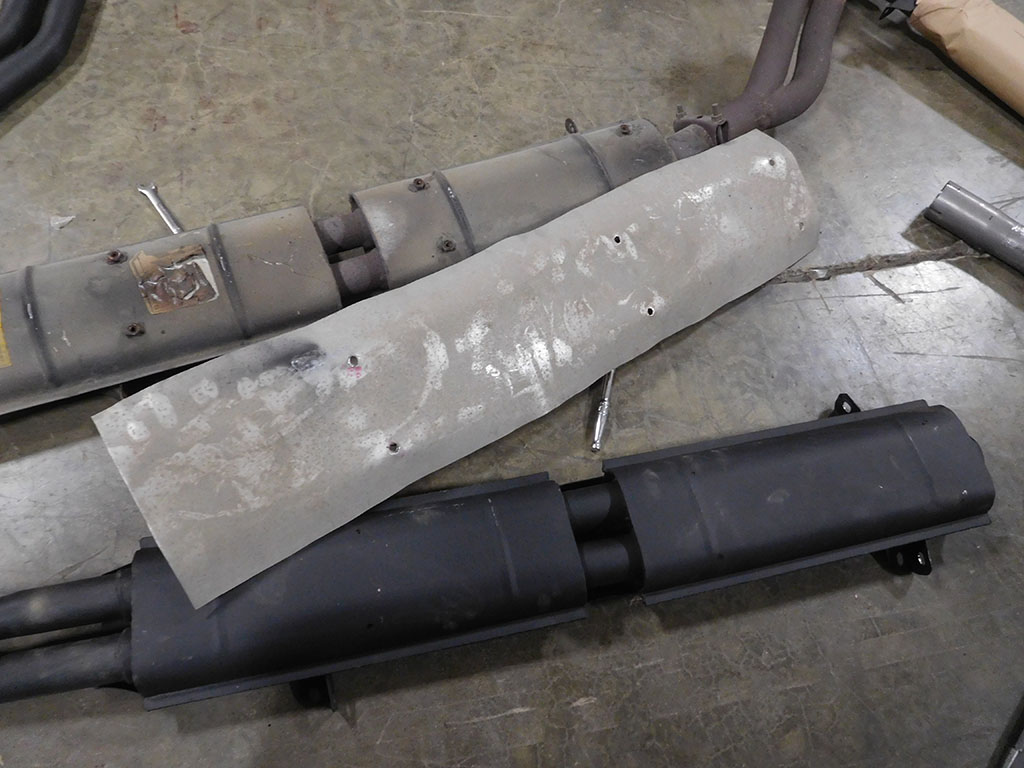
The next step was to transfer the heat shields from the old system to the new system by locating and welding the attachment nuts to the cans.
Timevalve has the jigs to weld these systems together, but there is always a certain amount of fitting to get it perfect. I’ve installed about half a dozen of these systems, and each time I have them weld more and more of the system as I confirm the accuracy of their jigs, but I’ve never had the hangers line up perfectly!

I had Timevalve lightly tack weld the inlet pipes to the front and rear sections, along with all the hangers so I could get the exhaust onto the car to check the fit.

Cutting off hangers and moving it up to half of an inch gets everything perfect.

The height or how low the exhaust hangs from the car is dictated by how the header inlet lines up with the first muffler, so more cutting and welding was needed to get things to line up.

Timevalve always includes extra hangers when Mike ships me a system, but occasionally I’ll have to make one slightly longer than the ones supplied. I could have simply extended the hanger with a strap, but since we’re taking such care to get things perfect, I might as well get it all to look perfect!
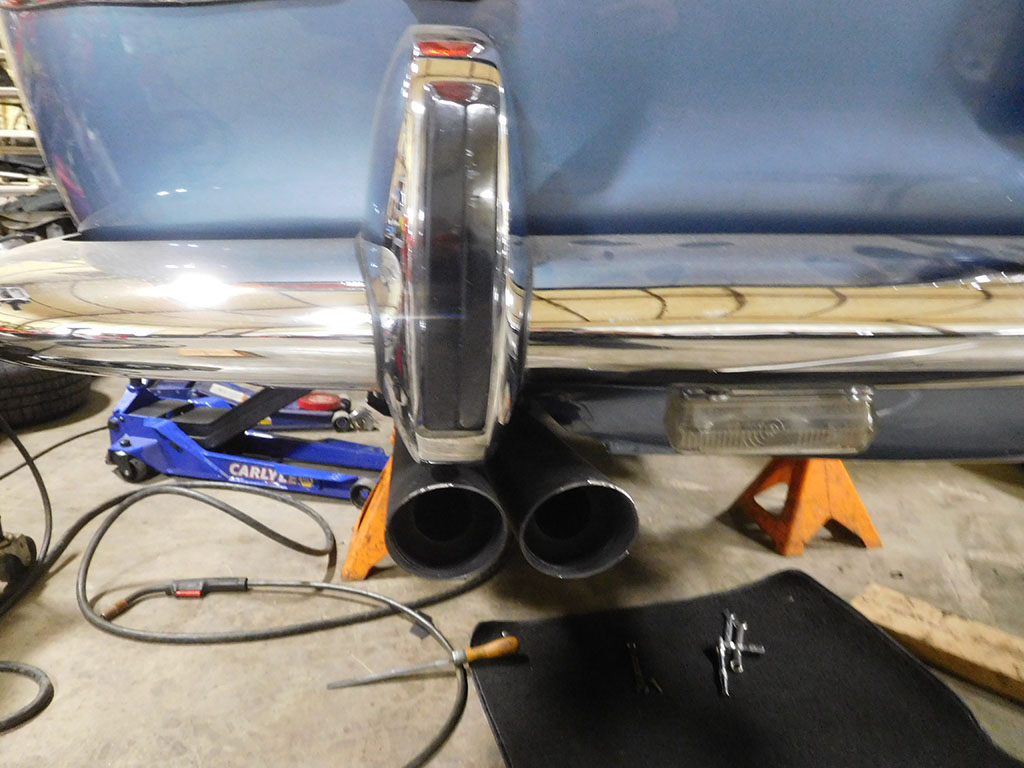
Once I got everything tacked in place and the rear resonators were exiting out back straight and even, I removed the two sides and will get all the hangers and pipe joints welded solidly.
Blog

Forum

Resource
