
Ferrari Lusso Exhaust Details
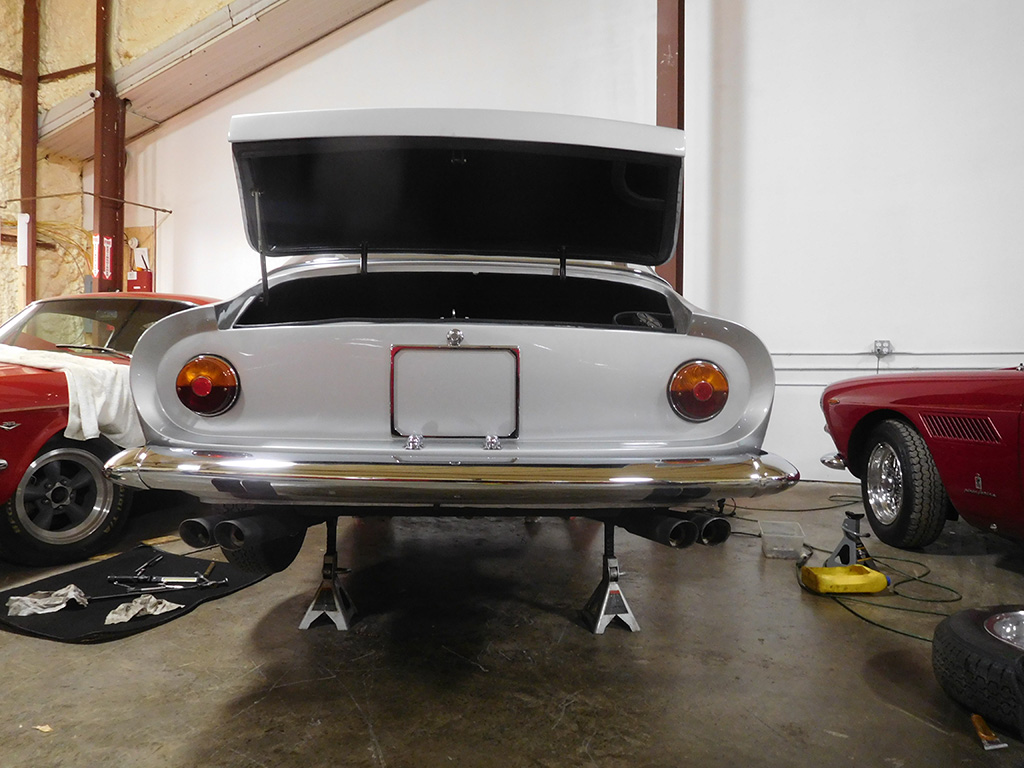
I hung the pipes on the Lusso and carefully checked for clearance making sure it wasn’t hitting against anything. Vintage Ferraris sit low to the ground, and their exhausts are the first thing to hit something, so tucking it up as close to the body is crucial. The other challenge with a Lusso is getting the rear pipes to exit properly once the pipes clear the undercarriage. There isn’t one straight line coming out the back of the car, so trying to reference parallel lines so the tail pipes look perfectly even and “straight” took a lot of looking and sighting the car from different angles. Setting the car down on the ground was also part of the process because no mater how well the pipes looked up in the air, the true test was to view the car on the ground looking it from a standing position.
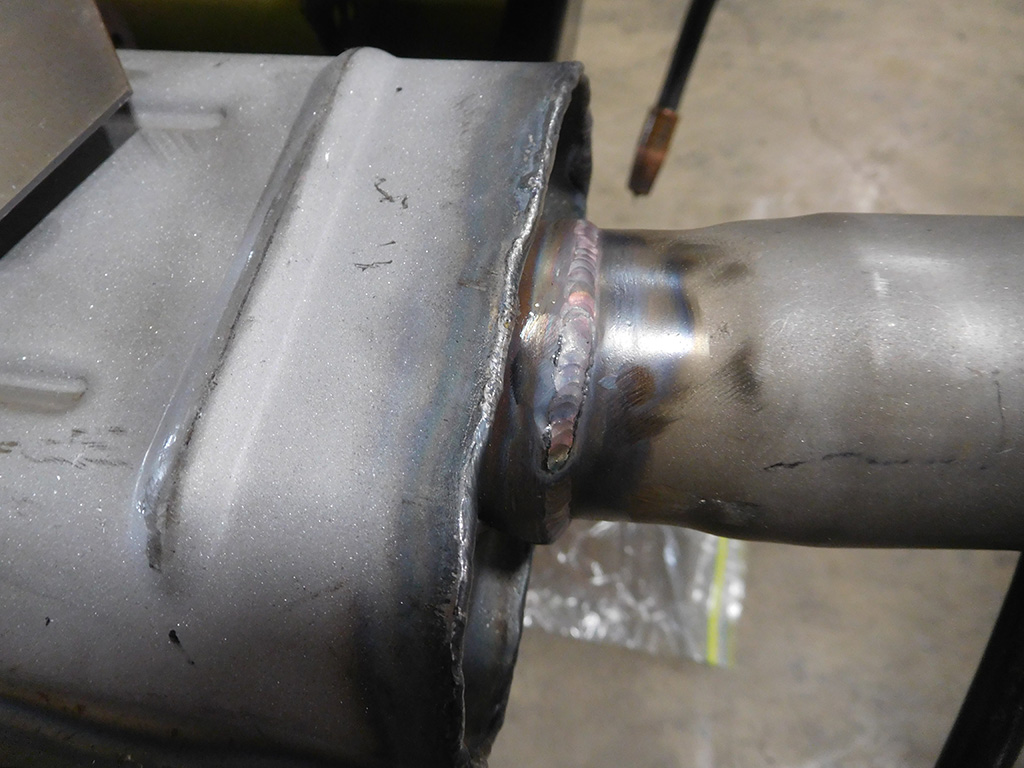
Once I had the system tacked in place, I took the whole assembly off and had it TIG welded together. Although everything will get painted black, TIG welding would give the system a much better connection with great penetration and a better looking weld. My friend Carter helped me out and had it returned to me in a couple days. Thanks Carter for the quick turn around!
Learning to TIG weld is on my list of skills I want to gain, but for now I have to rely on my friends!

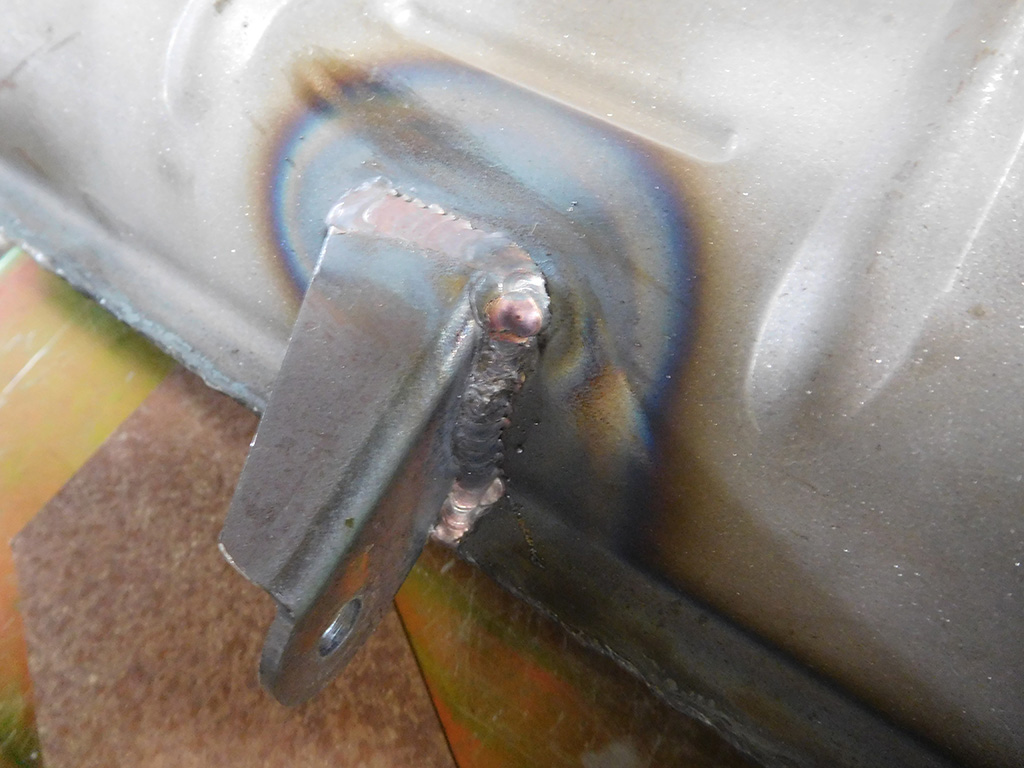
With the pipes all TIG welded in place, I MIG welded the plates that are another detail specific to the Abarth exhaust system that ANSA Systems don’t have.
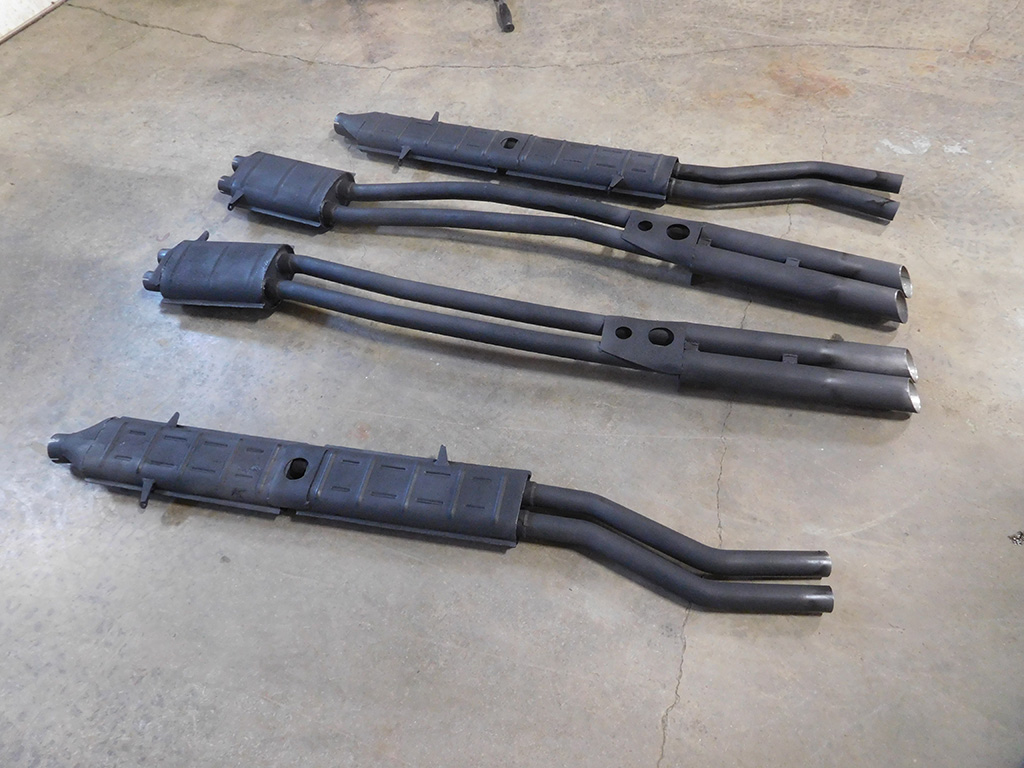
Greg Jones not only supplied the pipes for this reproduction Abarth exhaust system, he was also generous enough to send me some pictures of an original Lusso exhaust he photographed on an unrestored Lusso. The first thing I noticed was the finish of the exhaust was in black wrinkle. I’ve often painted exhaust systems in semi-gloss or flat black high temp heat paint, but the pictures of this original exhaust was proving at least on a Lusso, the Abarth system was in wrinkle. This detail would not have affected the Ferrari Certification Process, but I really wanted to get all the details right on this exhaust system.
Unfortunately, it was March, and just not enough heat from the midday sun to wrinkle the paint I would need to apply to the system. I was thinking of asking a local powder coater to allow me use of his oven, but he was pretty back logged with work. My only other choice was to paint the exhaust in sections and heat the paint with a heat gun. It was slow going, but I managed to get it done!

Greg came to the rescue again by supplying the correct exhaust clamps for the system. Abarth used these special clamps made from sheet metal bent into shape, and Greg had some made. The one on the right is an original one I had at the shop, and the one in the middle is what Greg supplied. Because pipes and connections were supplied by different vendors, not everything fit perfectly together, and the way these clamps fit the pipes, I had to grind some of the material away to make it all fit.

The larger clamp also had a small gusset welded to the clamp, that Greg’s did not have, so I welded some in.
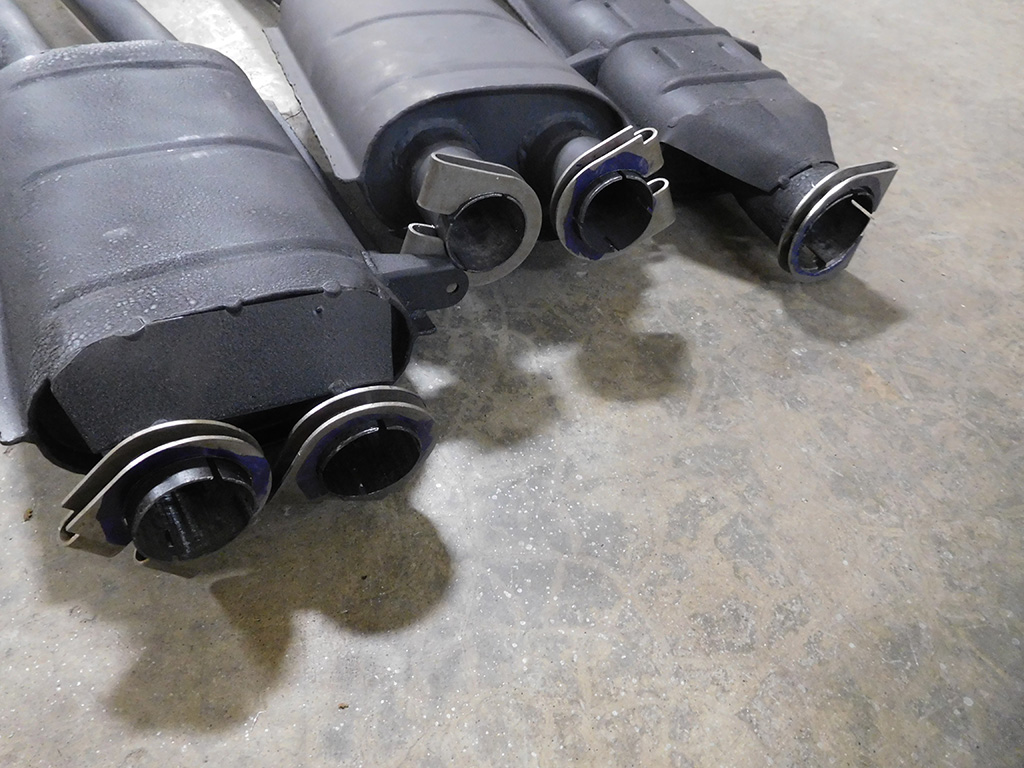
The smaller clamps did not have gussets and fit without any modifications, so they went on without much drama. These clamps, however, have to be installed on the pipes before the system is installed so forgetting to put them on the pipes before one hangs the exhaust will be a problem!
Well after much work and chasing down the details, the exhaust is in the car!

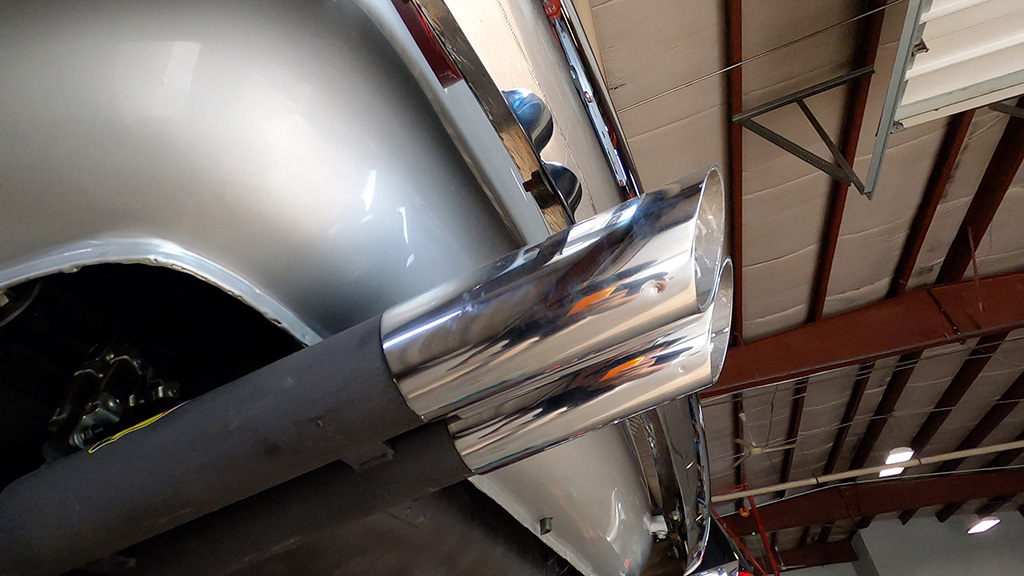
I have a couple more stickers to apply, and I have to wipe off my finger prints on the chrome exhaust tips, but she’s done!
Blog

Forum

Resource
