
Ferrari 330 Center Console

The saga of the center console for a Series II 330 continues and is finally finished! This project has been going on for months because it took several shops to coordinate and create a center console from scratch. After Additive Restorations scanned and created the file for the center console by borrowing an original console I had from another car, Steven sent the file to a 3D printer that could print something this large. It took took a couple of tries, but we finally got a console printed!
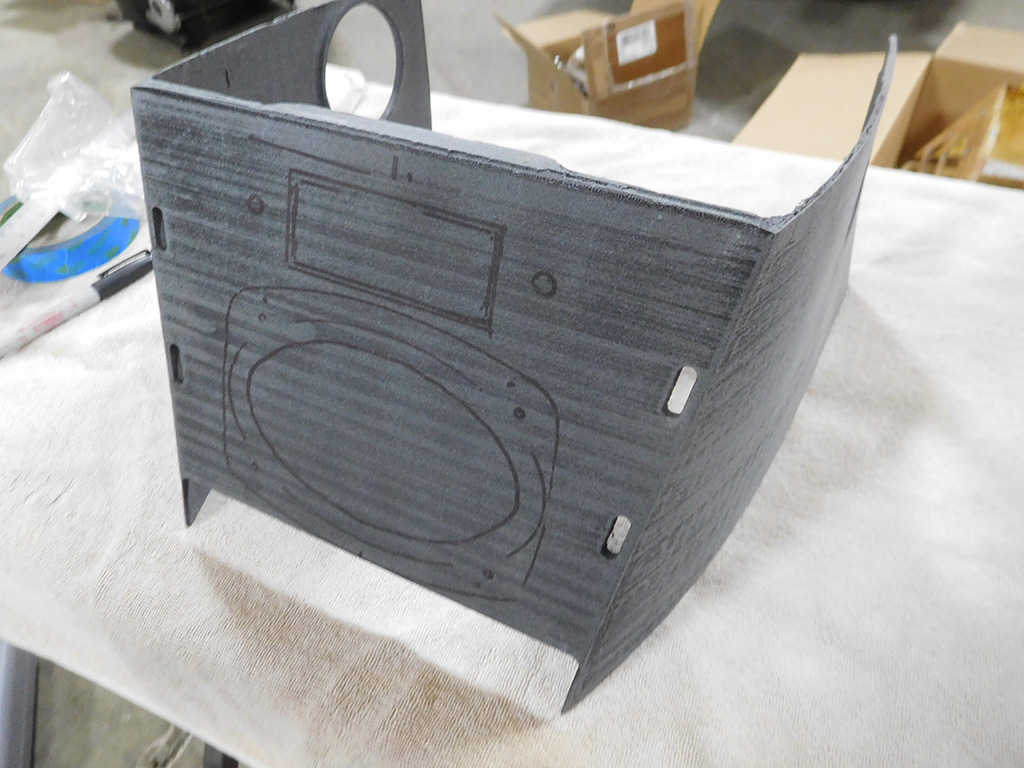
Before I sent the pieces out for upholstery, I had to mock up where I wanted to put the radio and speakers. Originally, we wanted to put the radio and one speaker in the center, and I’ve seen this done in another 330, but my error was not realizing air conditioning cars have less clearance behind this panel, so we had to go back to putting the speakers in the back deck.
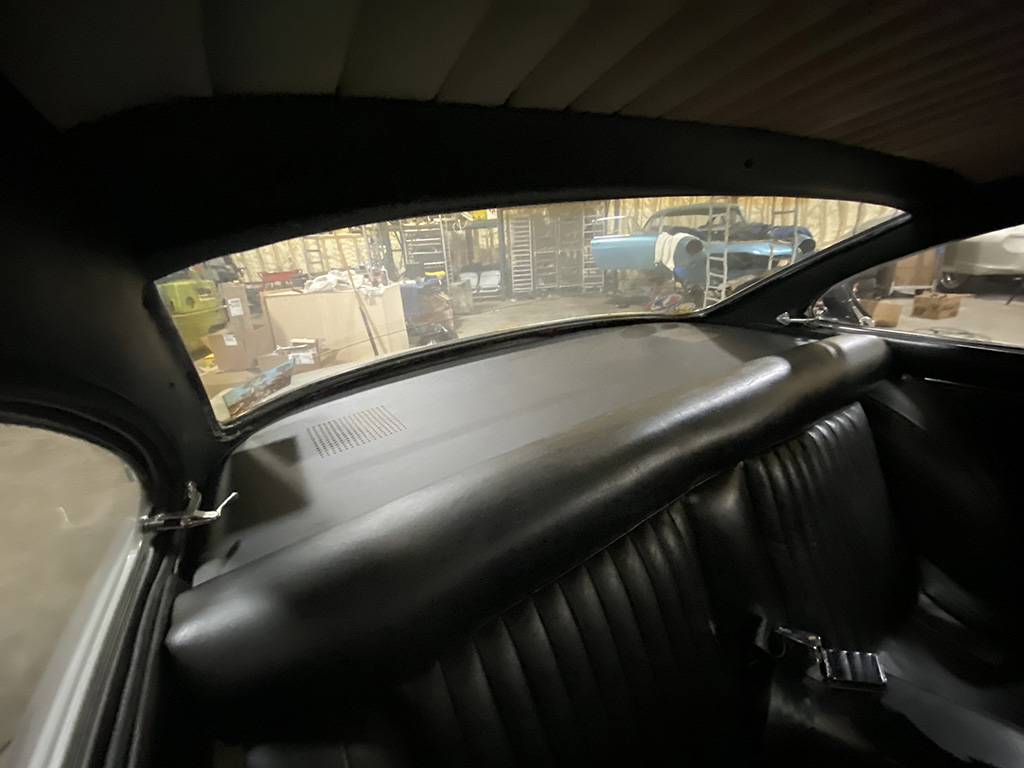
A previous owner installed a rear deck panel that was all wrong so we had already made a new rear panel with the correct perforations for the speakers, but I had to go back and carefully cut holes in the panel for actual speakers!
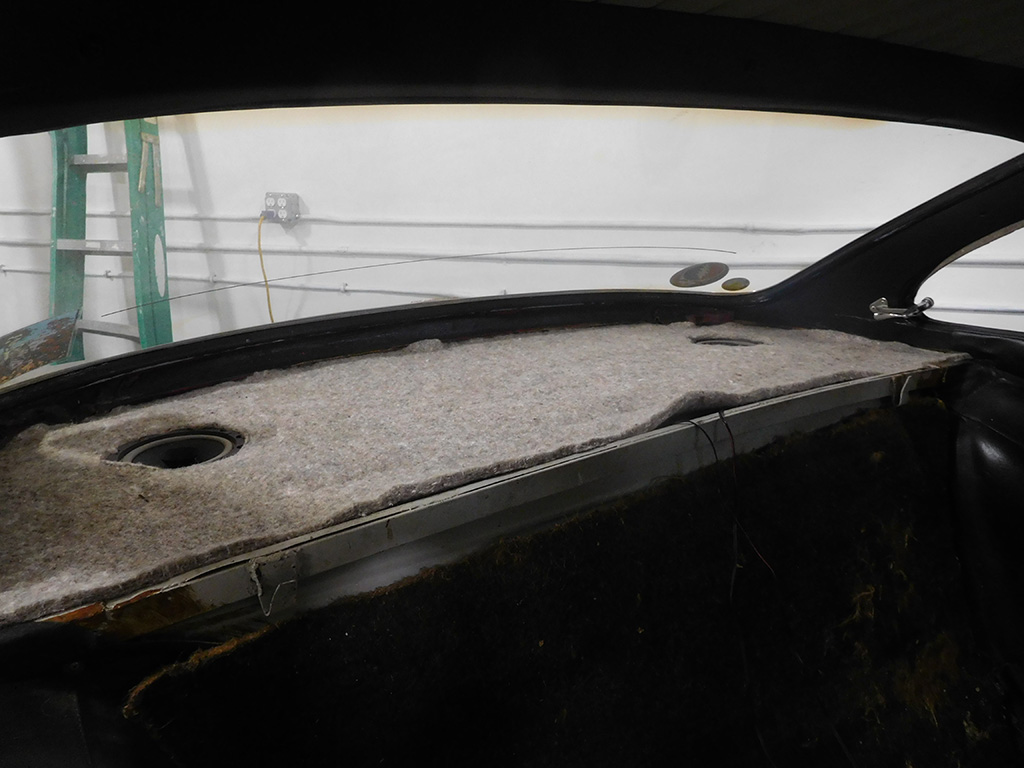
Out came the panel, and speakers were installed.

Once I had all the details finalized, I sent the 3D printed console to my upholsterer for covering. The original console was covered in black vinyl, but the owner wanted black leather, so a week later the console came back ready to install…kind of.
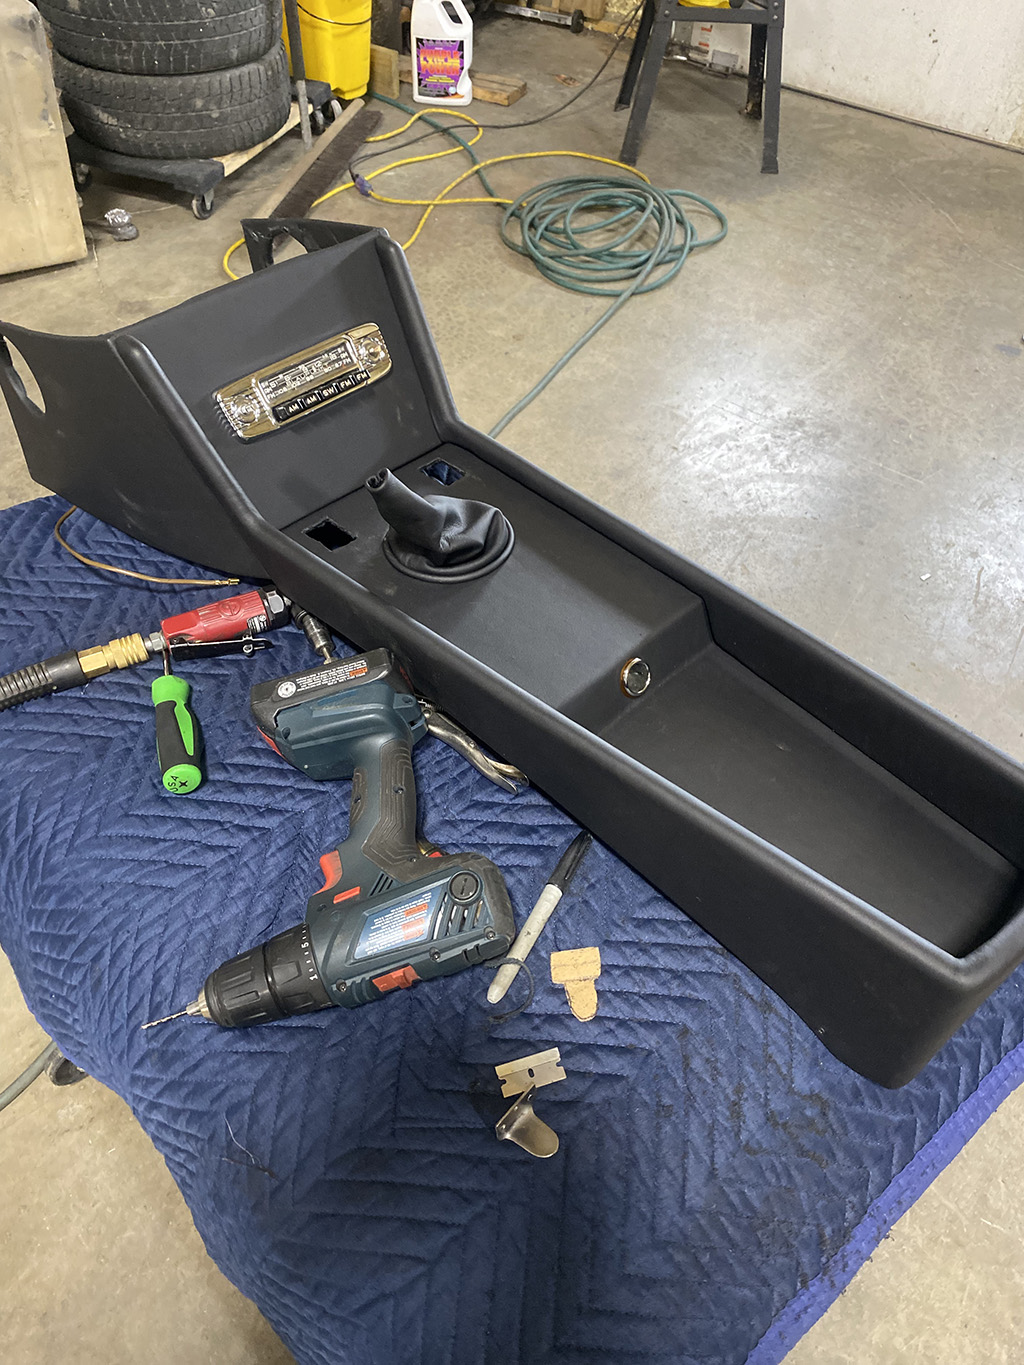
I still needed to trim the excess leather so the radio would fit along with the window switches. I also had to make sure the wiring was finished and run to the radio and lighter socket.
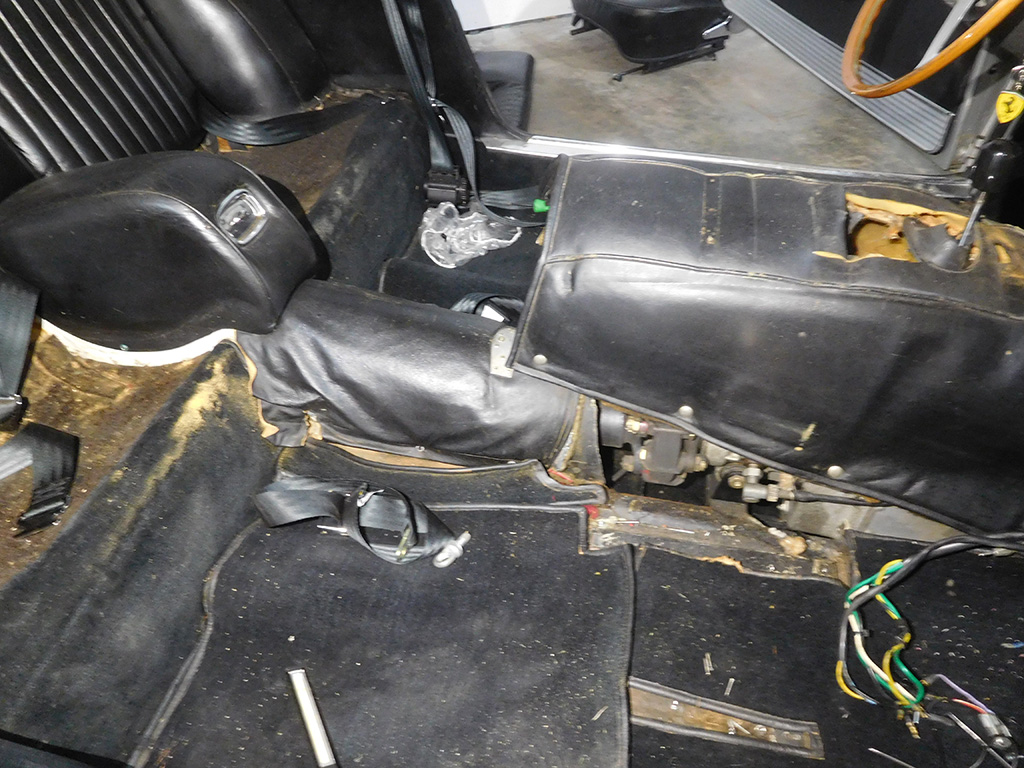
With the center console finally completely assembled and ready to install into the car, I ran into another problem with the center tunnel mounting point.
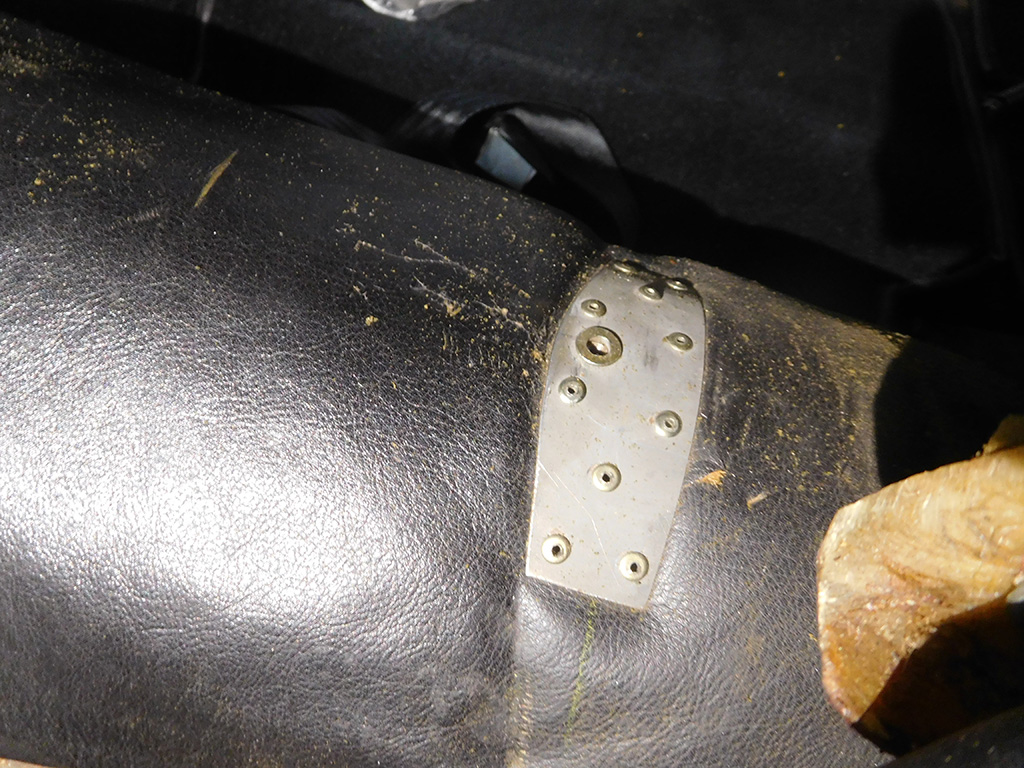
The old console was mounted to the tunnel with an extra plate pop riveted in place. The old console covered this plate so it wasn’t a problem, but with the correct console, this plate was now exposed.

A new transmission tunnel cover would have to made to cover the plate.

The project was getting close to finishing as I mounted the console, but we were still missing one last detail.

This car was missing the original ashtray.
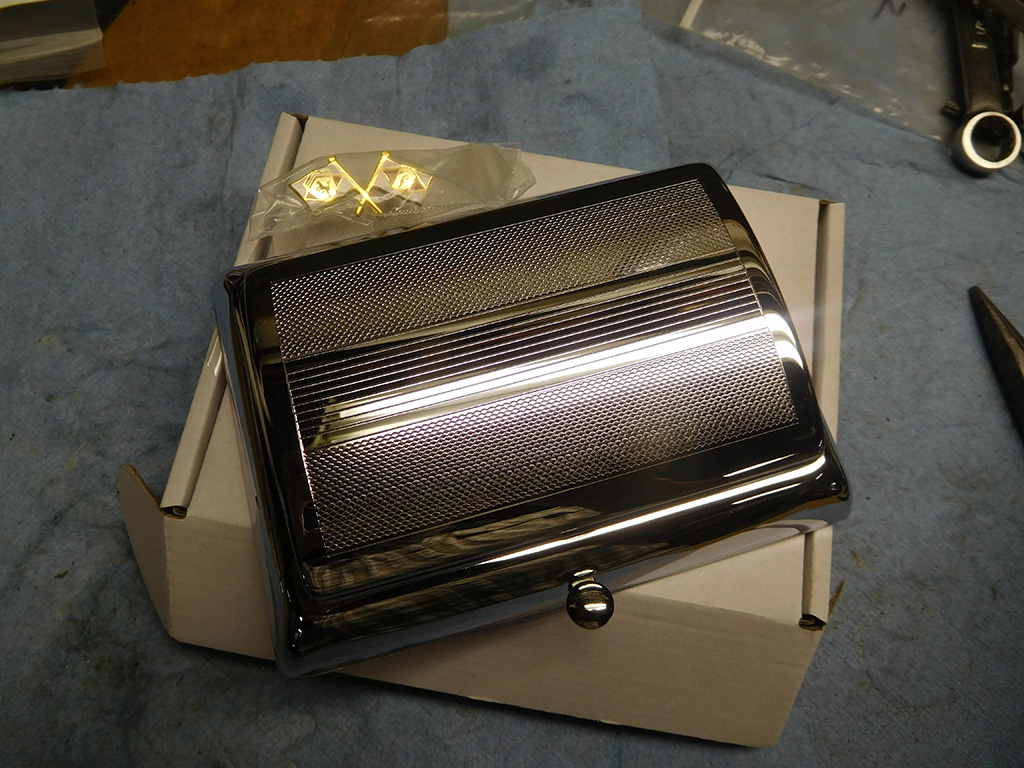
There are two sizes of ashtrays that go on Ferraris for 330s and 250s, and the 330 gets a large one. The original ashtrays are usually pretty dented and scratched up, but a nice reproduction hit the market several years ago. For the longest time, only the smaller ashtray that fit the 250s was available in reproduction, but I found the large one is now available in Europe. I also found the correct crossed flags that needed to be mounted on the lid from Maranello Parts in the UK, and I had everything I needed to finally finish this project!
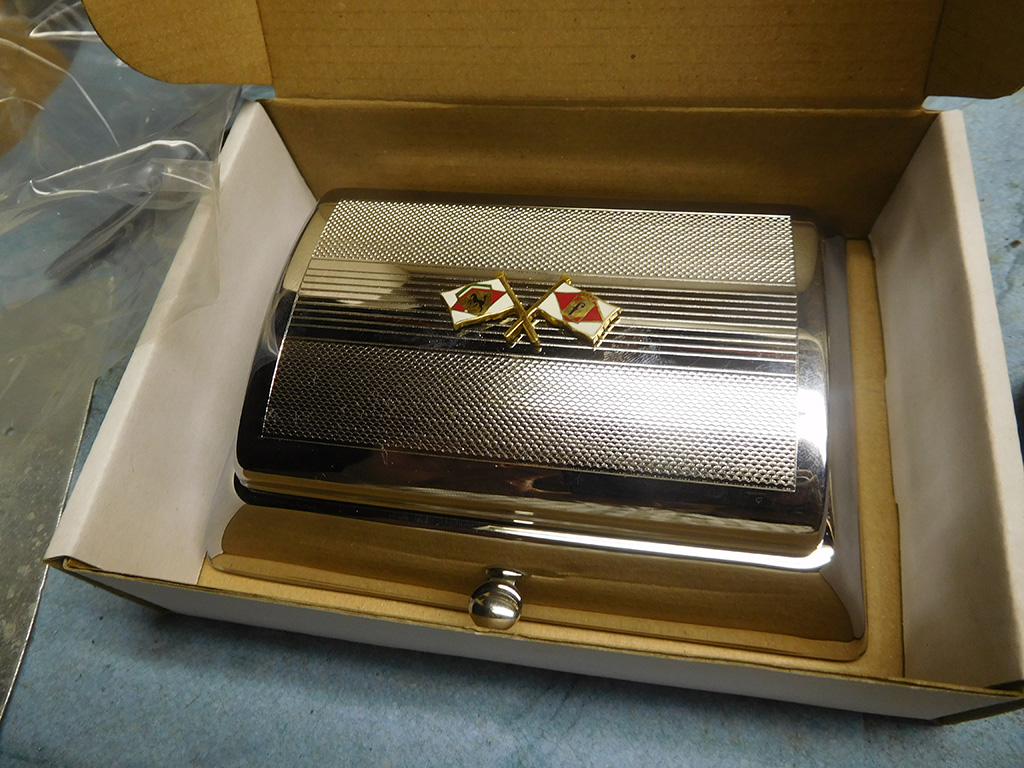
After carefully locating, drilling, and mounting the flags to the ashtray, I breathed a sigh of relief that I didn’t mess anything up, I mounted the ashtray in the car.
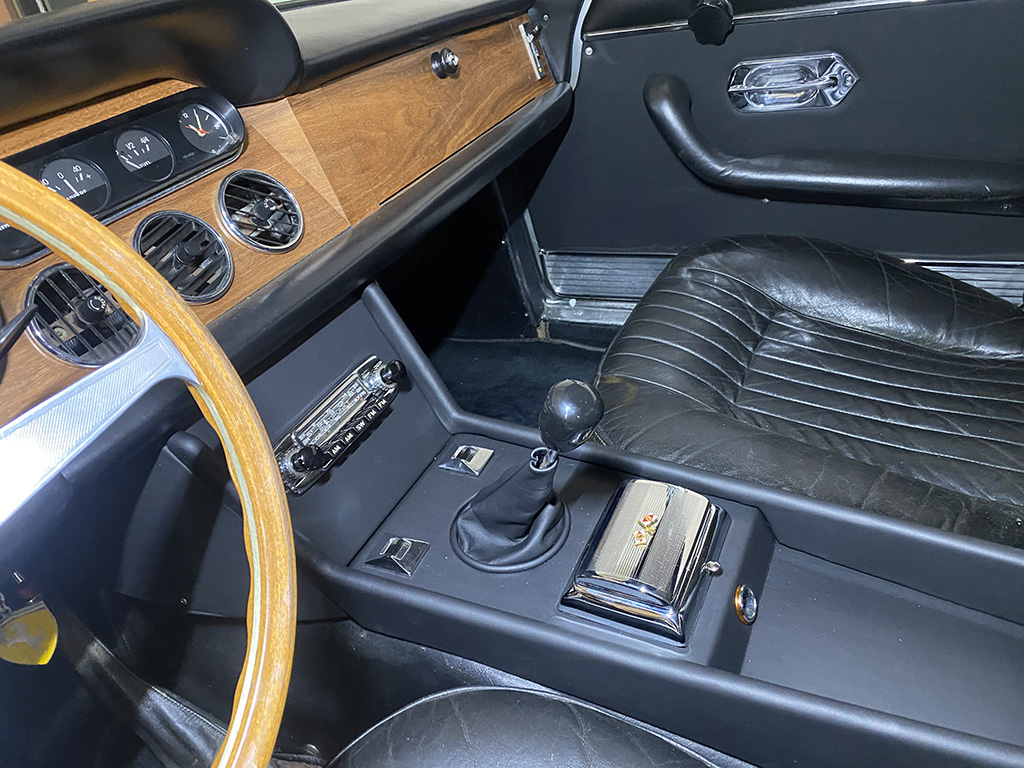
It was a journey of several months, but the center console project was finally completed. I learned a lot about 3D printing with the help from Additive Restorations, and feel it’s a great tool to have when I need certain parts fabricated. It will still take a certain amount of hand fitting, but still a good process for solutions in restoration!
Here’s the video of the process.
Blog

Forum

Resource
