
Ferrari 365 Winter Service

I had a Ferrari 365GT 2+2 return to my shop for an annual service and check up. I usually go over things the owner would like to fix and tell him about things I found that need addressing. He bought this car last year and has enjoyed a summer of driving out in the Hamptons, so it’s always nice to see people driving and enjoying their cars!
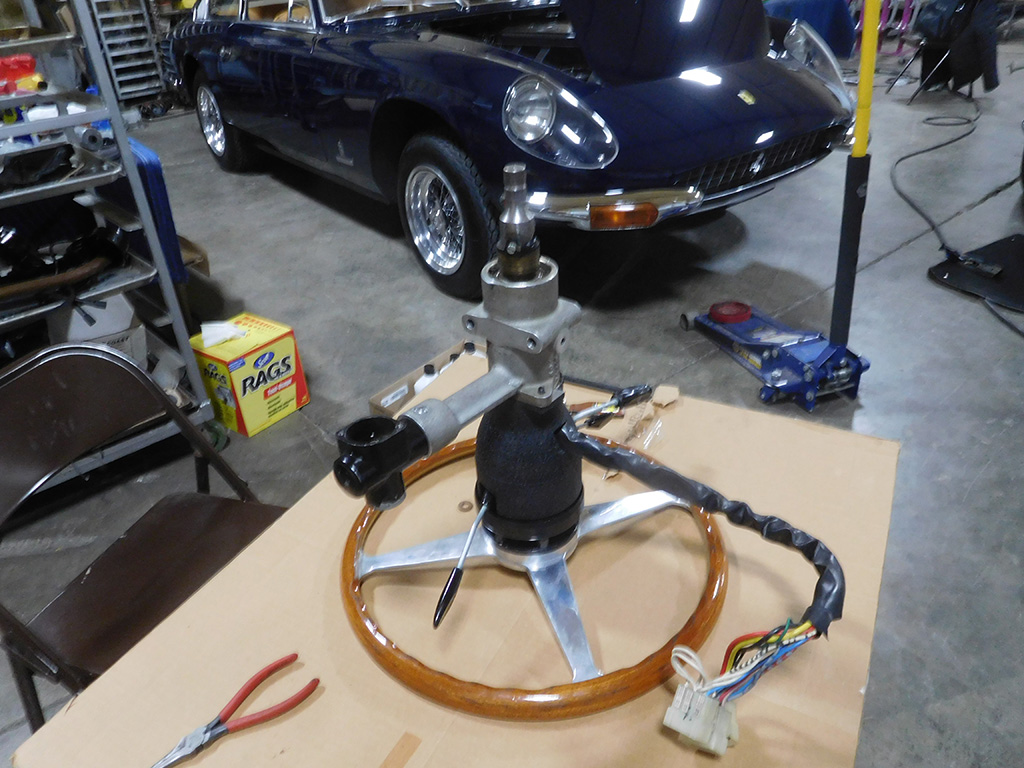
One issue on his list was to try and fix the sticky ignition switch. Having taken several of these apart, I had suspected the worst, which was the lockset was wearing out. The solution was to remove the ignition switch and send it out to ODD parts for repair. Jim Simpson has made just about every replaceable part inside these ignition switches, but it was a big job. The symptoms were the key would stick between positions and it would take some jiggling and force to turn the key in the lock. Our fear was one day the key would break off inside the lock from forcing the key to turn between positions. I tried using some dry lubrication, but couldn’t get it to work any better, but once I removed the steering column, I was surprised to find another culprit! After I removed the electrical portion of the ignition switch, the key moved freely in the lock! It turned out the electrical switch was binding up. There were spring loaded ball bearings that gave the switch detents and these ball bearings were wearing in their holes causing them to get stuck in certain positions. Luckily these switches are readily available and much easier and cheaper to replace. Problem solved, and the worst case scenario was eliminated!
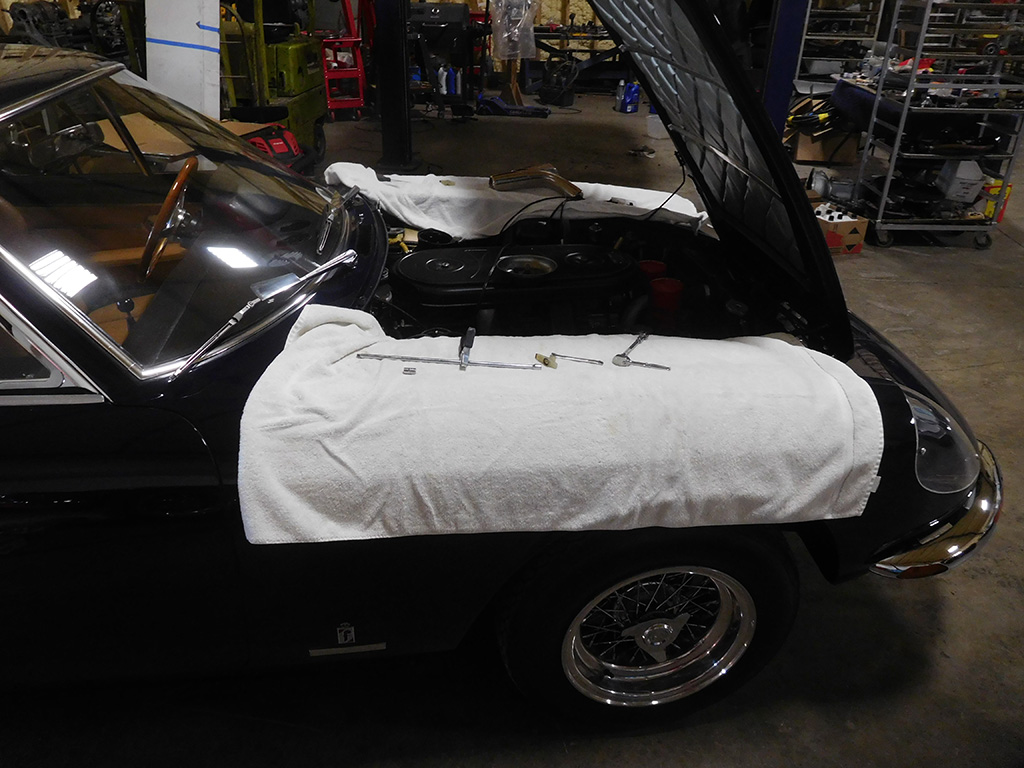
I noticed the car was running a little rough, so I decided to check the ignition system and tune it up.
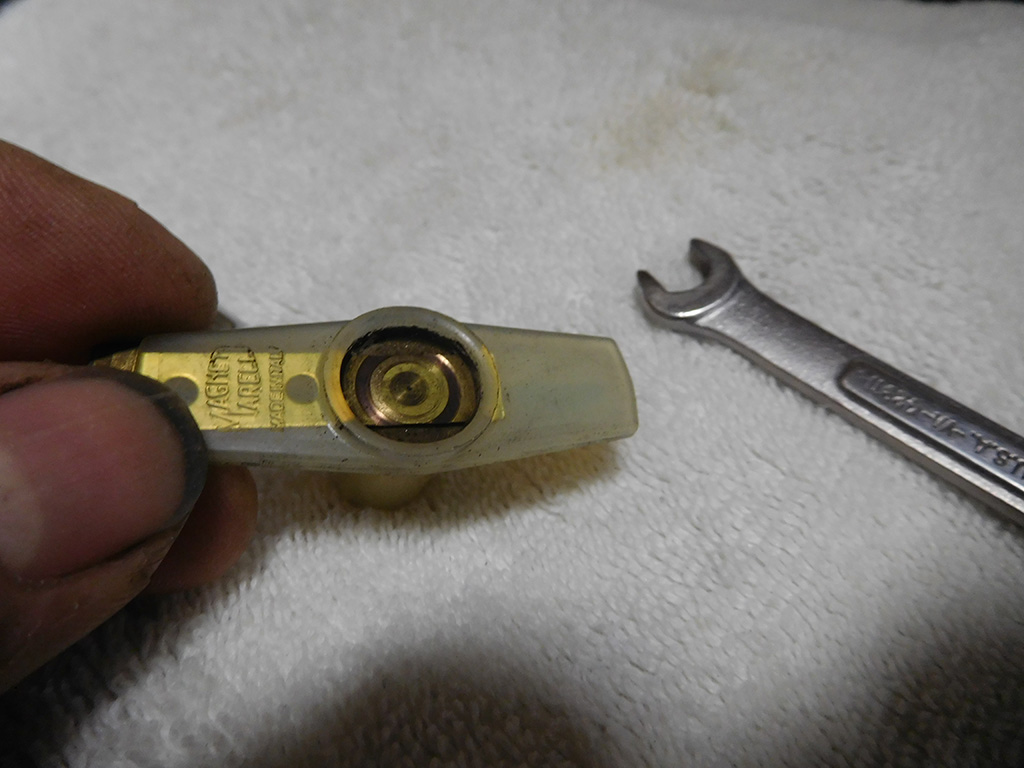
When I pulled off the cap, I found a strange wear mark on the rotor.
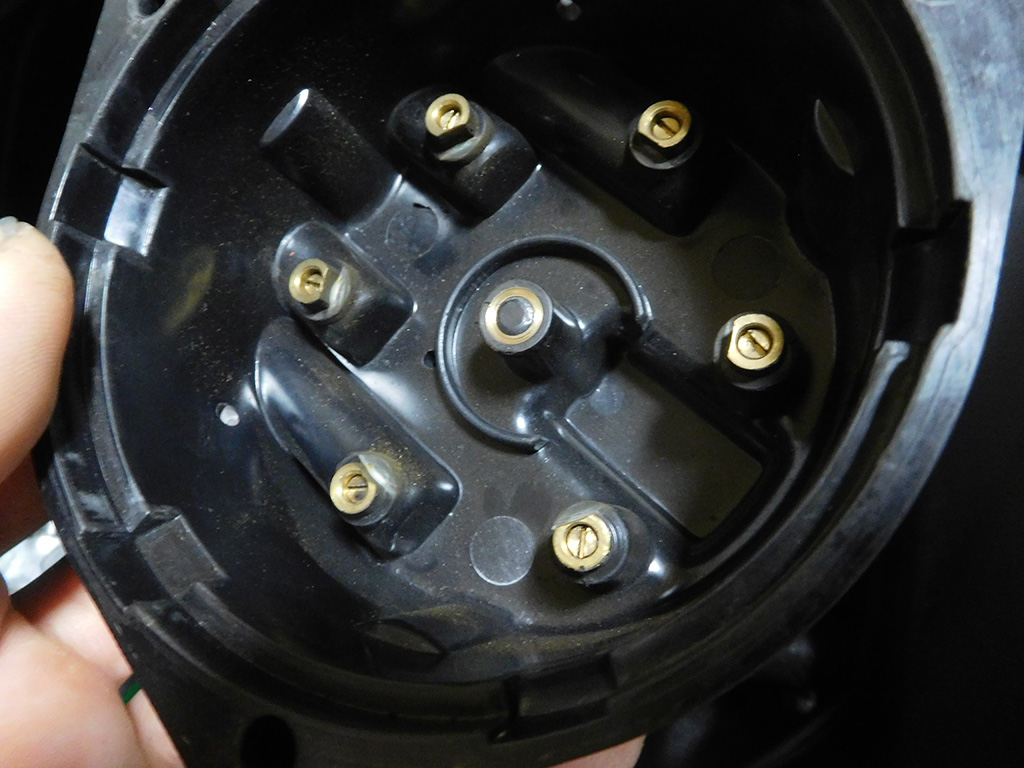
Looking at the bottom of the cap, I noticed the carbon brush that normally moved in and out riding on a spring was pushed all the way inside the center electrode. The cap must have fit too tightly on the distributor and caused it to wear against the rotor.
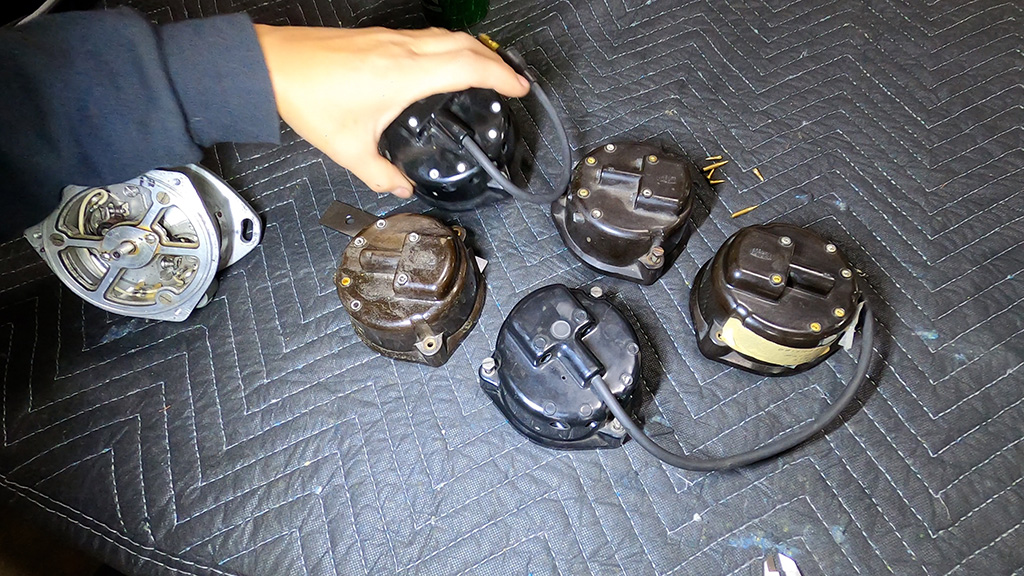
I broke out a bunch of distributor caps from my parts stash and started comparing measurements. The brown caps are the original Marelli caps, and the distance between the center electrode and base of the cap was almost 2 mm closer on the reproduction cap! I managed to find a second set of black caps that were made by a different manufacturer, and they had measurements that were closer to the original spec so I replaced the caps.
Here’s a video I posted about some of the work and explained how I measured the distributor caps.
If you like these posts and videos, please consider sending a pledge of support to my website. It helps me know you appreciate the efforts I make to bring content like this in a blog and videos. I love creating this site and the videos, but love doesn’t pay the bills! I have considered other avenues of monetizing this content, but it’s a struggle to keep true to your creativity without compromising if for more revenue. I don’t need to reach the whole world with my content, but the select few who appreciate this kind of content. Thanks for your support!
For those that want to send a traditional check, my snail mail address is:
Tomyang.net LLC
PO Box 36
Hollowville, NY 12530
Blog

Forum

Resource
