
Blue Sera 330GT 2+2
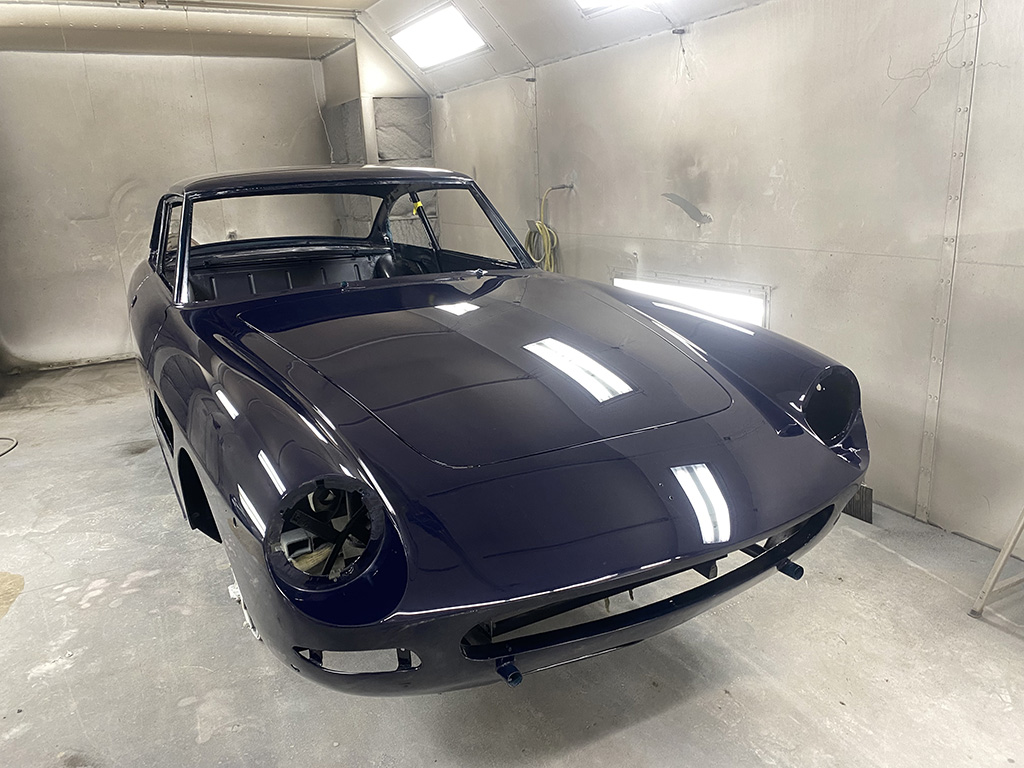
I stopped by the Paddock to do the final inspection on a SII 330GT 2+2 they painted for me. The original color is “Blu Sera” which is translated to midnight/night blue, or dark blue. It’s a truly stunning color, as it changes from blue to black depending on the light. I just don’t know how I’m going to keep it clean while I’m re-assembling the car!

Speaking of reassembly, eminent return of this car to my shop just ramped up my list of to-dos so I can get all the sub-assemblies repaired, refurbished, and readied to reinstall on the car. One of these items was the fuel tank. This car prior to my restoration sat for decades, so the fuel tank, although dry, rattled with a lot debris inside.
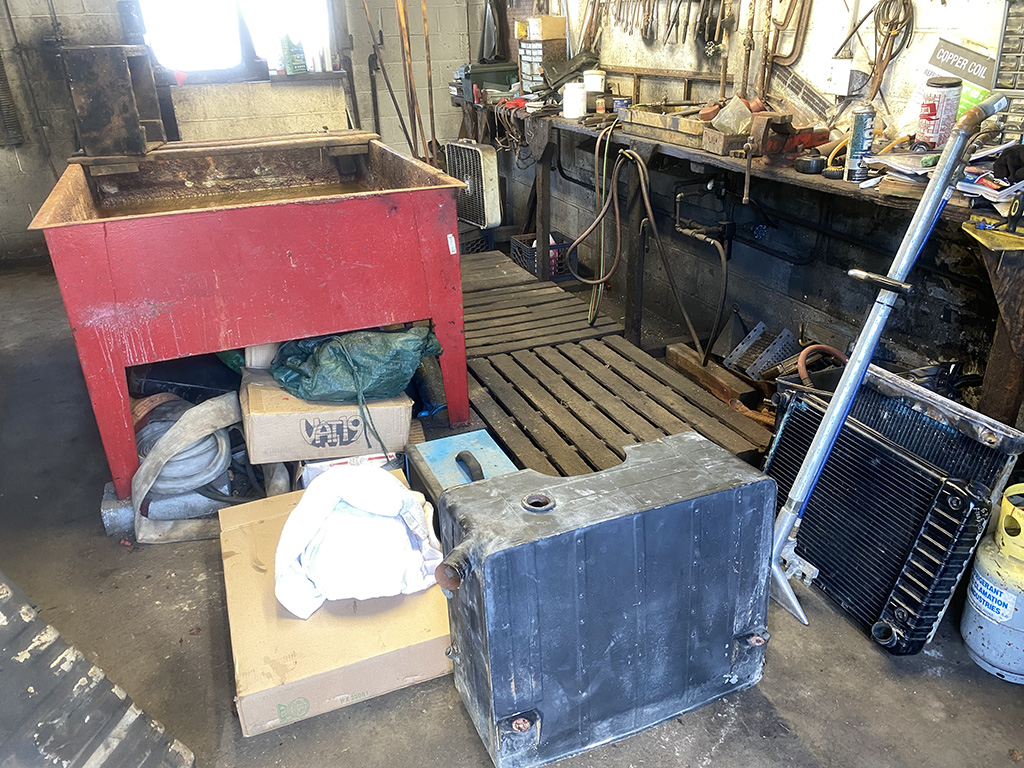
I threw (placed) the tank in my truck and brought it down to Portchester Radiator in NY to clean and coat. Portchester has been doing mine and Francois’ Ferrari tanks and radiators for years. Shops like these are getting harder and harder to find, because cheap imported radiators, aluminum OEMs that are not designed to be rebuilt, and lack of knowledge from the consumer that old radiators can be re-cored, are causing these shop to go out of business. Fuel tanks are also made of plastic these days, but when you have an irreplaceable Ferrari tank, Rick’s shop is our savior.
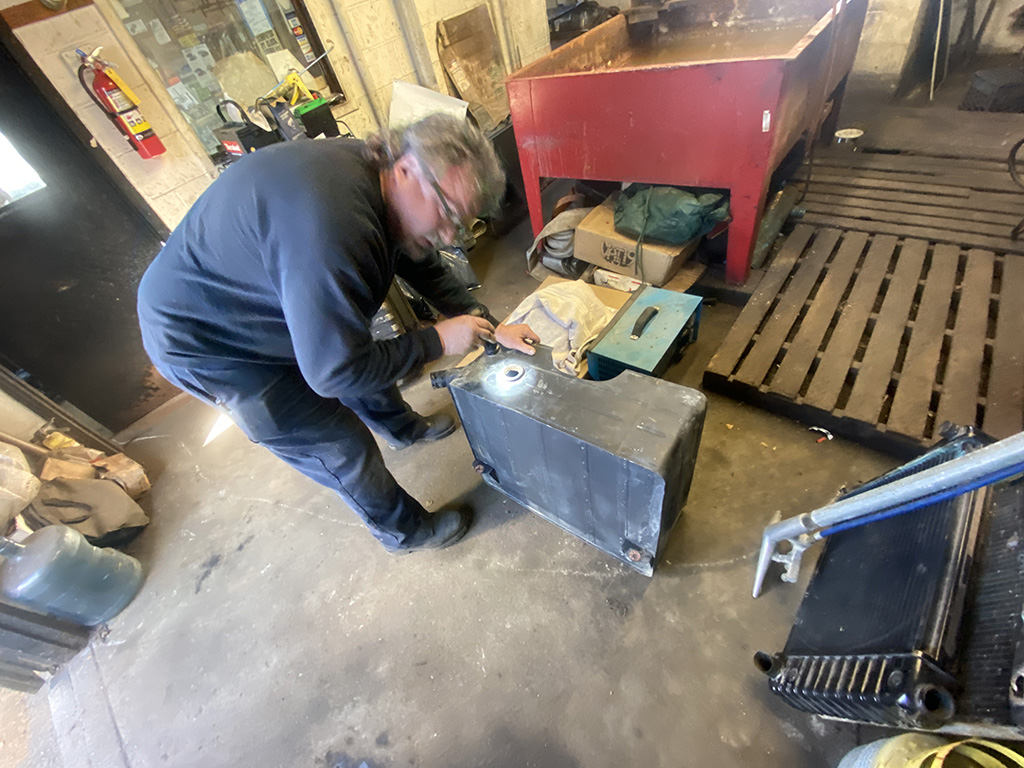
Rick took a look inside this tank and determined the debris inside was not rust, but old fossilized fuel! I knew old fuel would turn into a jelly like substance after the volatile elements evaporated, but I guess the jelly would eventually turn into the chunks I found rattling inside this tank! Portchester Radiator’s plan was to knock loose and pressure wash the internals of this tank. We found an obscured place on the tank where a flap could be surgically cut to access the areas obscured by the internal baffles so it could be better cleaned and emptied of debris. The flap could then be expertly soldered back together without any knowledge of it happening (if you promise not to tell!).
The final step will be to coat the insides of the tank with a special coating to permanently seal the tank. There are several gas tank sealers available on the market, and I’ve personally heard of some of these sealers fail over time. Portchester uses a coating that I have proof works for years. I had Rick coat the tank on my 330 America over 20 years ago and to this day, I have not had a problem. That’s a testament for something that seems to work with the changing fuel formulas and alcohols.

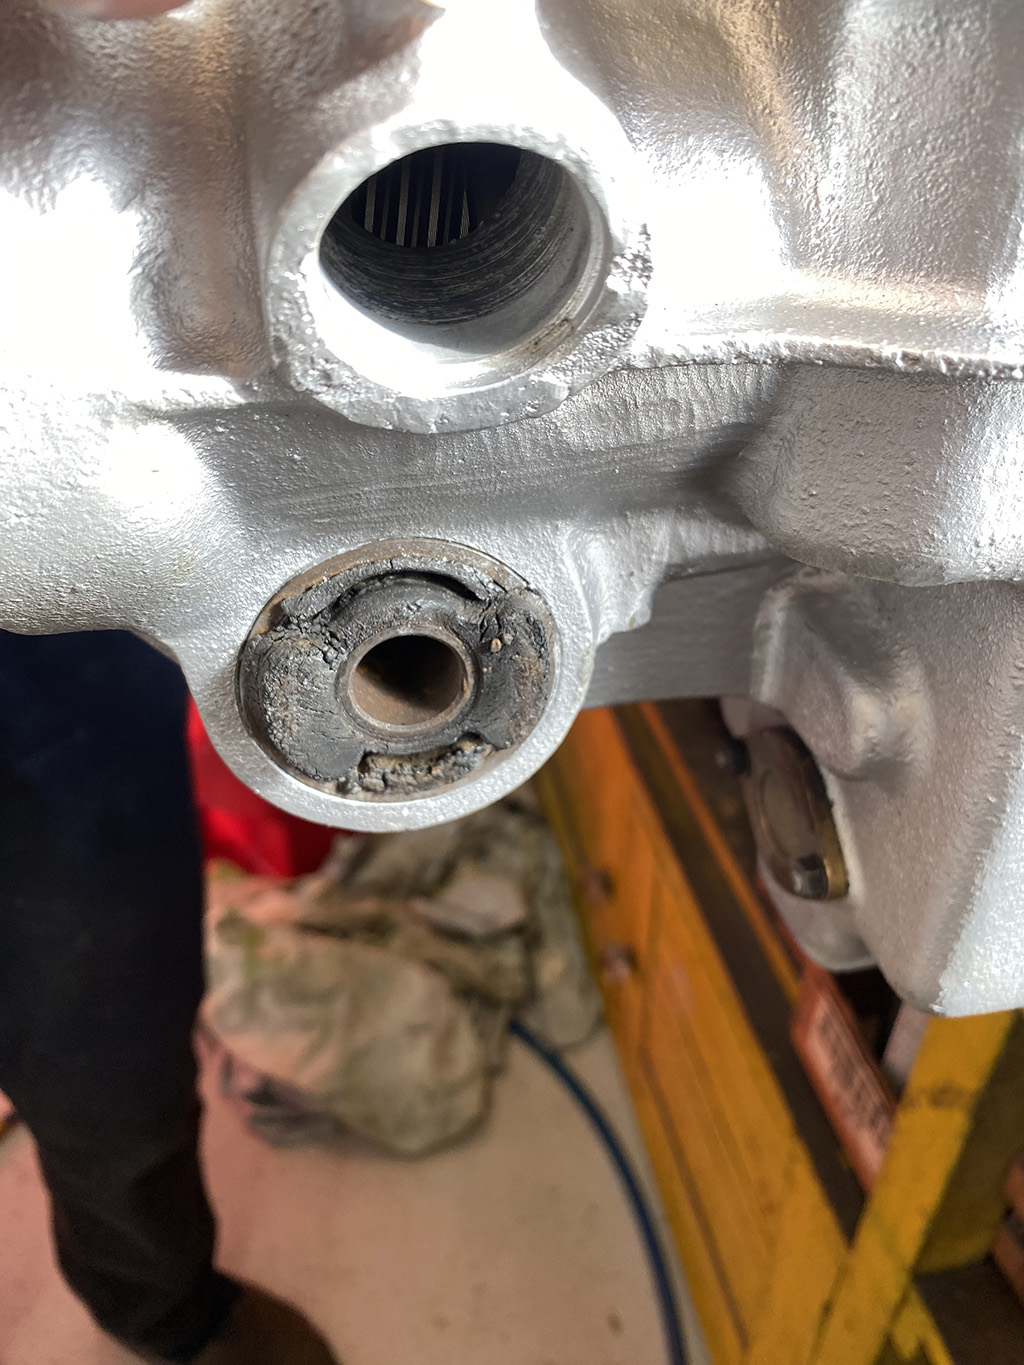
After dropping off the tank, I stopped by Francois’ shop to drop of the rear axle to this same 330GT. The plan was to replace the bearings inside this rear end, but since we don’t have any history of the condition of this rear axle, I felt it was best for Francois to check the gears inside the differential. Now was the time to check before installing it in the car.
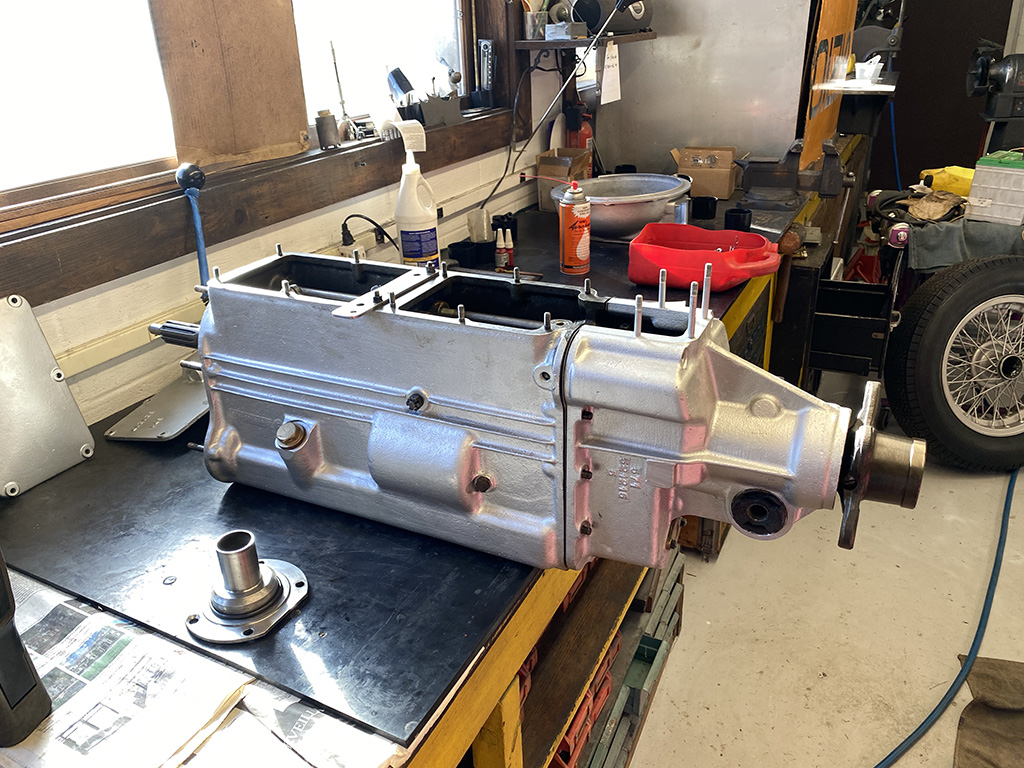
The transmission for this 330 is basically done, but we’re still waiting for a couple of gaskets.
I was reminded we need to source this rubber transmission mount. Luckily it’s readily available, but it has to come from the UK. I seem to recall someone else contacting me about this same bushing, and if they still need it, I have a source!!
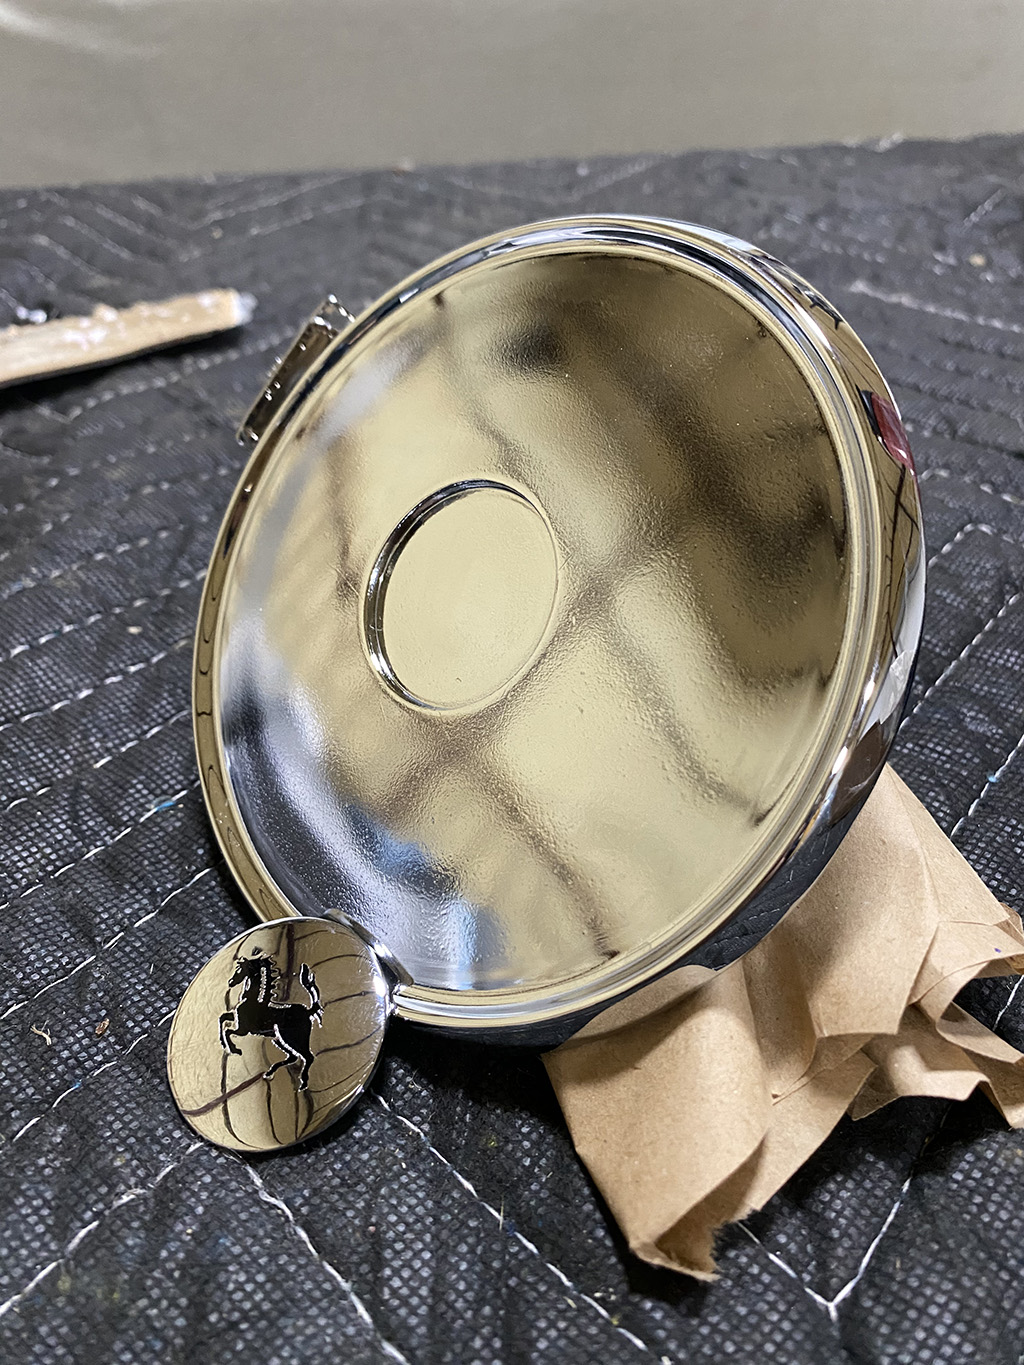
When I finally got home after all the travel and deliveries, I got a call from my chrome plater that the gas cap that I needed was back and ready for me to pick up! I got the call 12 hours too late to drop off at the painter while I was there. The area surrounding the center spot where the cavallino mounts needed to be painted in body color, but the edges needed to be chrome plated. I’ll have to decide if I trust UPS to ship this to my painter instead of hand delivering an irreplaceable part!
An interesting note on this gas cap. Normally for me, the center emblem is secured with a threaded stud that is part of the spring loaded seal for the filler neck, but this one had no stud, nor hole for the emblem. This was glued in place. I’ve done a bunch of GTCs with the threaded stud, but was wondering if other 2+2s were also done like this?
Blog

Forum

Resource
