
Ferrari 365GT 2+2 Service
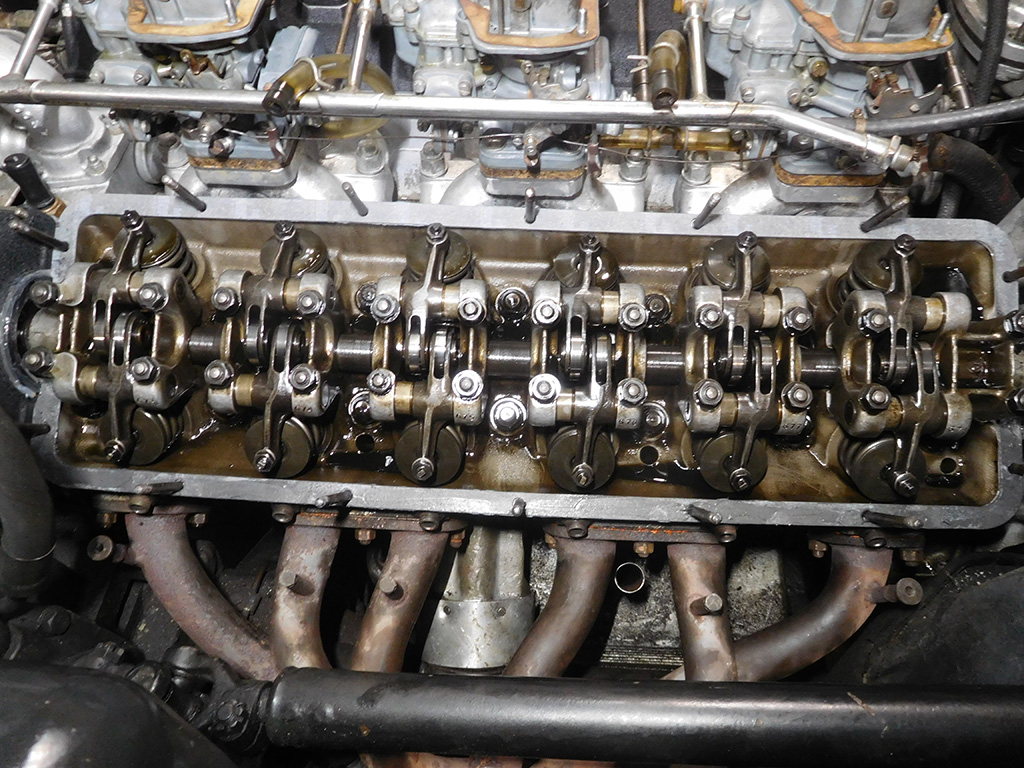
I completed the valve adjustment on the Ferrari 365GT 2+2 and changed out the motor mounts. The valve adjustment was a breeze compared to removing the motor mounts and replacing them. Having squashed motor mounts to remove made it slightly easier to remove, but getting the new ones in posed a little bit of a challenge. There was very little room to even remove the nuts securing the mounts to the engine block, and getting the engine high enough to clear the studs of the new mounts required removing the exhaust headers and disconnecting the radiator. Each extra step required more work from rethreading exhaust header studs, to disconnecting anything between the engine and the frame so the engine could move without breaking something. I eventually got everything removed and reinstalled, but trust me when I say it was not easy!
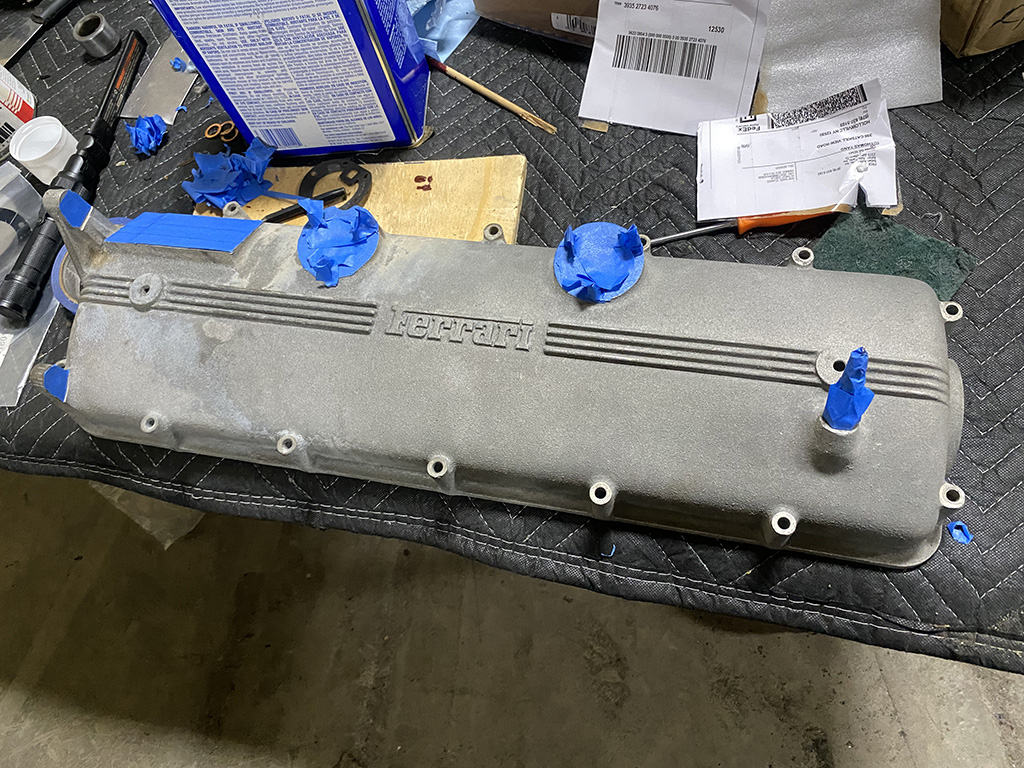
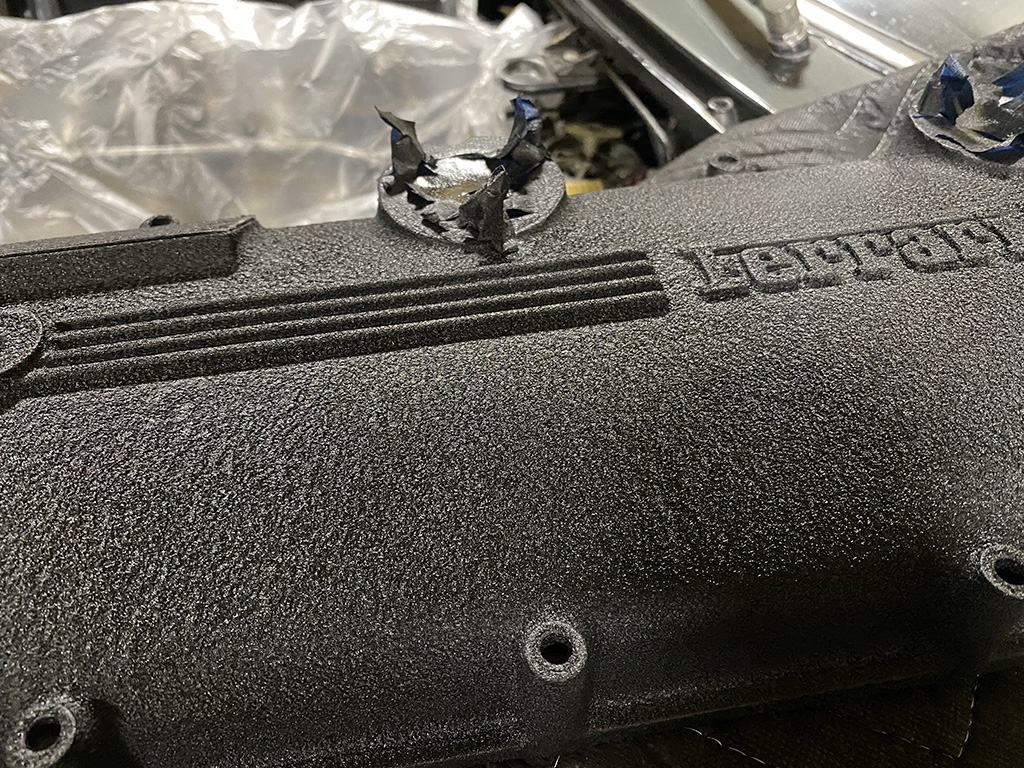
The owner and I decided now was the time to refinish the wrinkle paint on the valve covers, so I sent them out to my local powder coater to strip all the old paint off in their hot tank. Before applying the wrinkle paint, I had to mask all the areas that didn’t need to be painted.
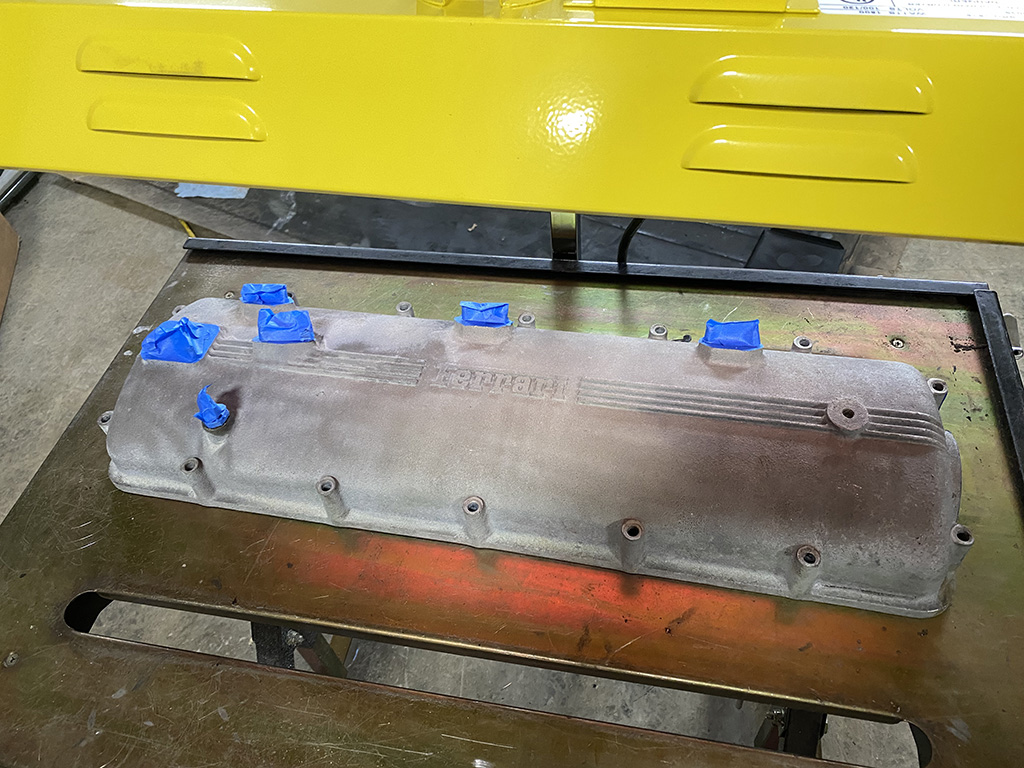
I discovered my repurposed BBQ grille reached its capacity limit with 365GT 2+2 valve covers so I had to buy a radiant heat lamp that could heat up larger pieces. I was due for an upgrade, so I purchased a 1500 watt IR lamp. that worked out perfectly. I still preferred to do the large valve covers one at a time, so getting a larger lamp was not necessary. Painting these covers one a time helped me maintain control and insure a nice even paint job.
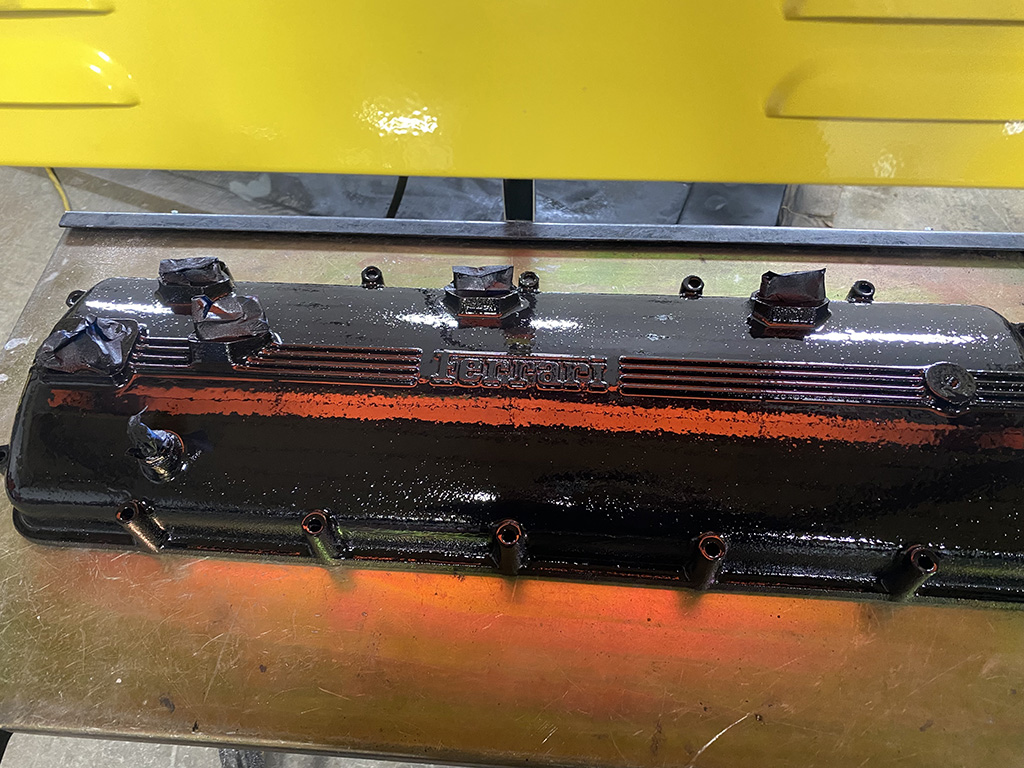
Everyone has a technique that works for them when it comes to wrinkle painting. I still have found a spray can VHT product works well for my purposes. The trick I have found is to preheat the part a little bit before applying paint, and then apply a few really heavy coats. I usually wait about 30 seconds between coats and continue with more heavy coats of paint. The application of paint borders on making the paint run, but I have found that is the only way to achieve the coarseness of the wrinkling I like.

As the paint drys, the wrinkling will creep across the part. You really get only one shot at getting this right as touch ups are very hard to feather in unless it’s done when the previous coats are still wet. Once the paint starts to wrinkle it’s really unpredictable how another layer will look over the base of wrinkle paint.
I prefer a very coarse wrinkle paint, and I tend to think the Concours Judges feel the same way.
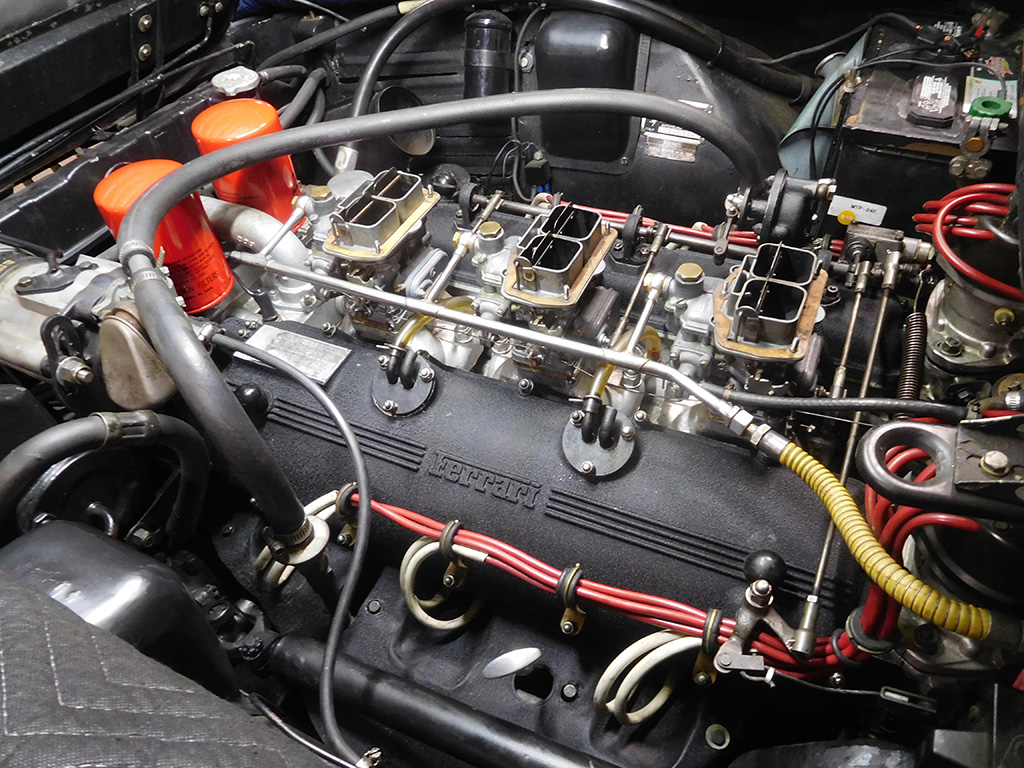
I gave the valve covers a day to cure and harden. Wrinkle paint is very soft even after it wrinkles, so it needs time to cool down and harden before I can handle it. I pulled up the pictures I took before I disassembled the car, and followed them to return all the accessories to the way I found them.
Blog

Forum

Resource
