
Mechanical Fuel Pump Rebuild

I recently rebuilt a mechanical fuel pump that was leaking and not pumping any fuel. I found several issues inside the fuel pump, from a dried out gasket, to incorrect check valves.
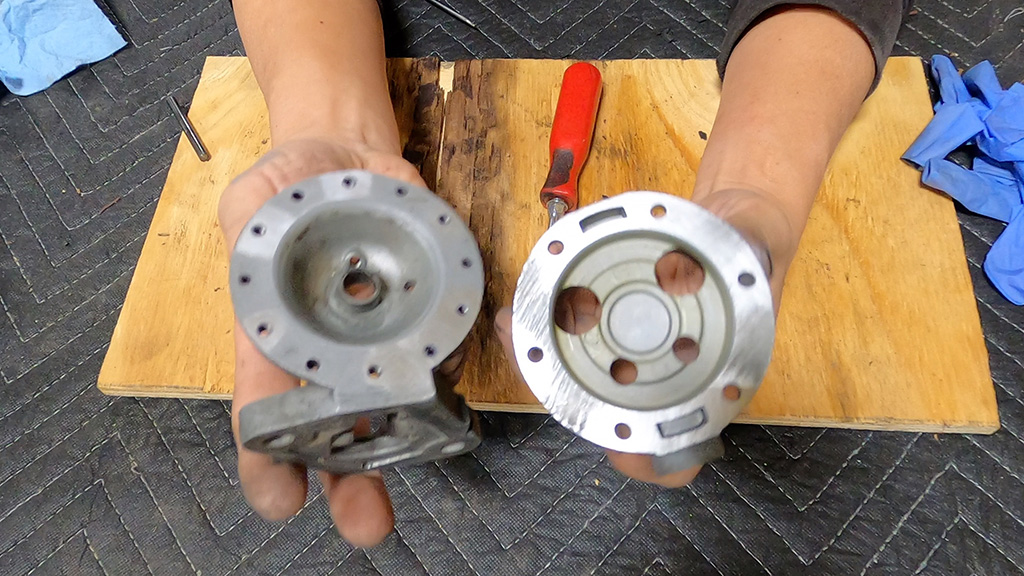
On top of replacing the faulty parts, I checked the flatness of the mating surfaces that held the pump diaphragm in place. The pump body can warp from tightening the screws that hold the diaphragm in place, and getting the surfaces flat again helps insure a leak free seal.

My biggest complaint is the use of these aluminum check valves often supplied by the cheaper rebuild kits. They simply do not work. The don’t really fit where the original check valves were located, and probably come from another application made for another car. In fact, I recently rebuild a mechanical pump out of a Sunbeam, and found these aluminum check valves in the Lucas kit. This proves these valves were never meant for a Ferrari!

I have found the original brass bodied check valves work better than any aluminum replacement. The check valve portion rarely fails, but it’s the rubber sealing rings that harden and fail. The correct rebuild kits come with these nitrile seals, and replacing them is easy and reliable.

Once I have all the moving parts correctly assembled and seals, I mount it on my fuel pump tester. It helps me check the draw of the fuel pump and make sure everything is working properly. The Ferrari fuel pump pushrod driven off the engine only moves a few millimeters, so making sure you have the right amount of back lash, and movement insures your rebuild will work when it’s back on the car.
Seeing the movie of the fuel pump rebuild may help better than pictures.
Blog

Forum

Resource
